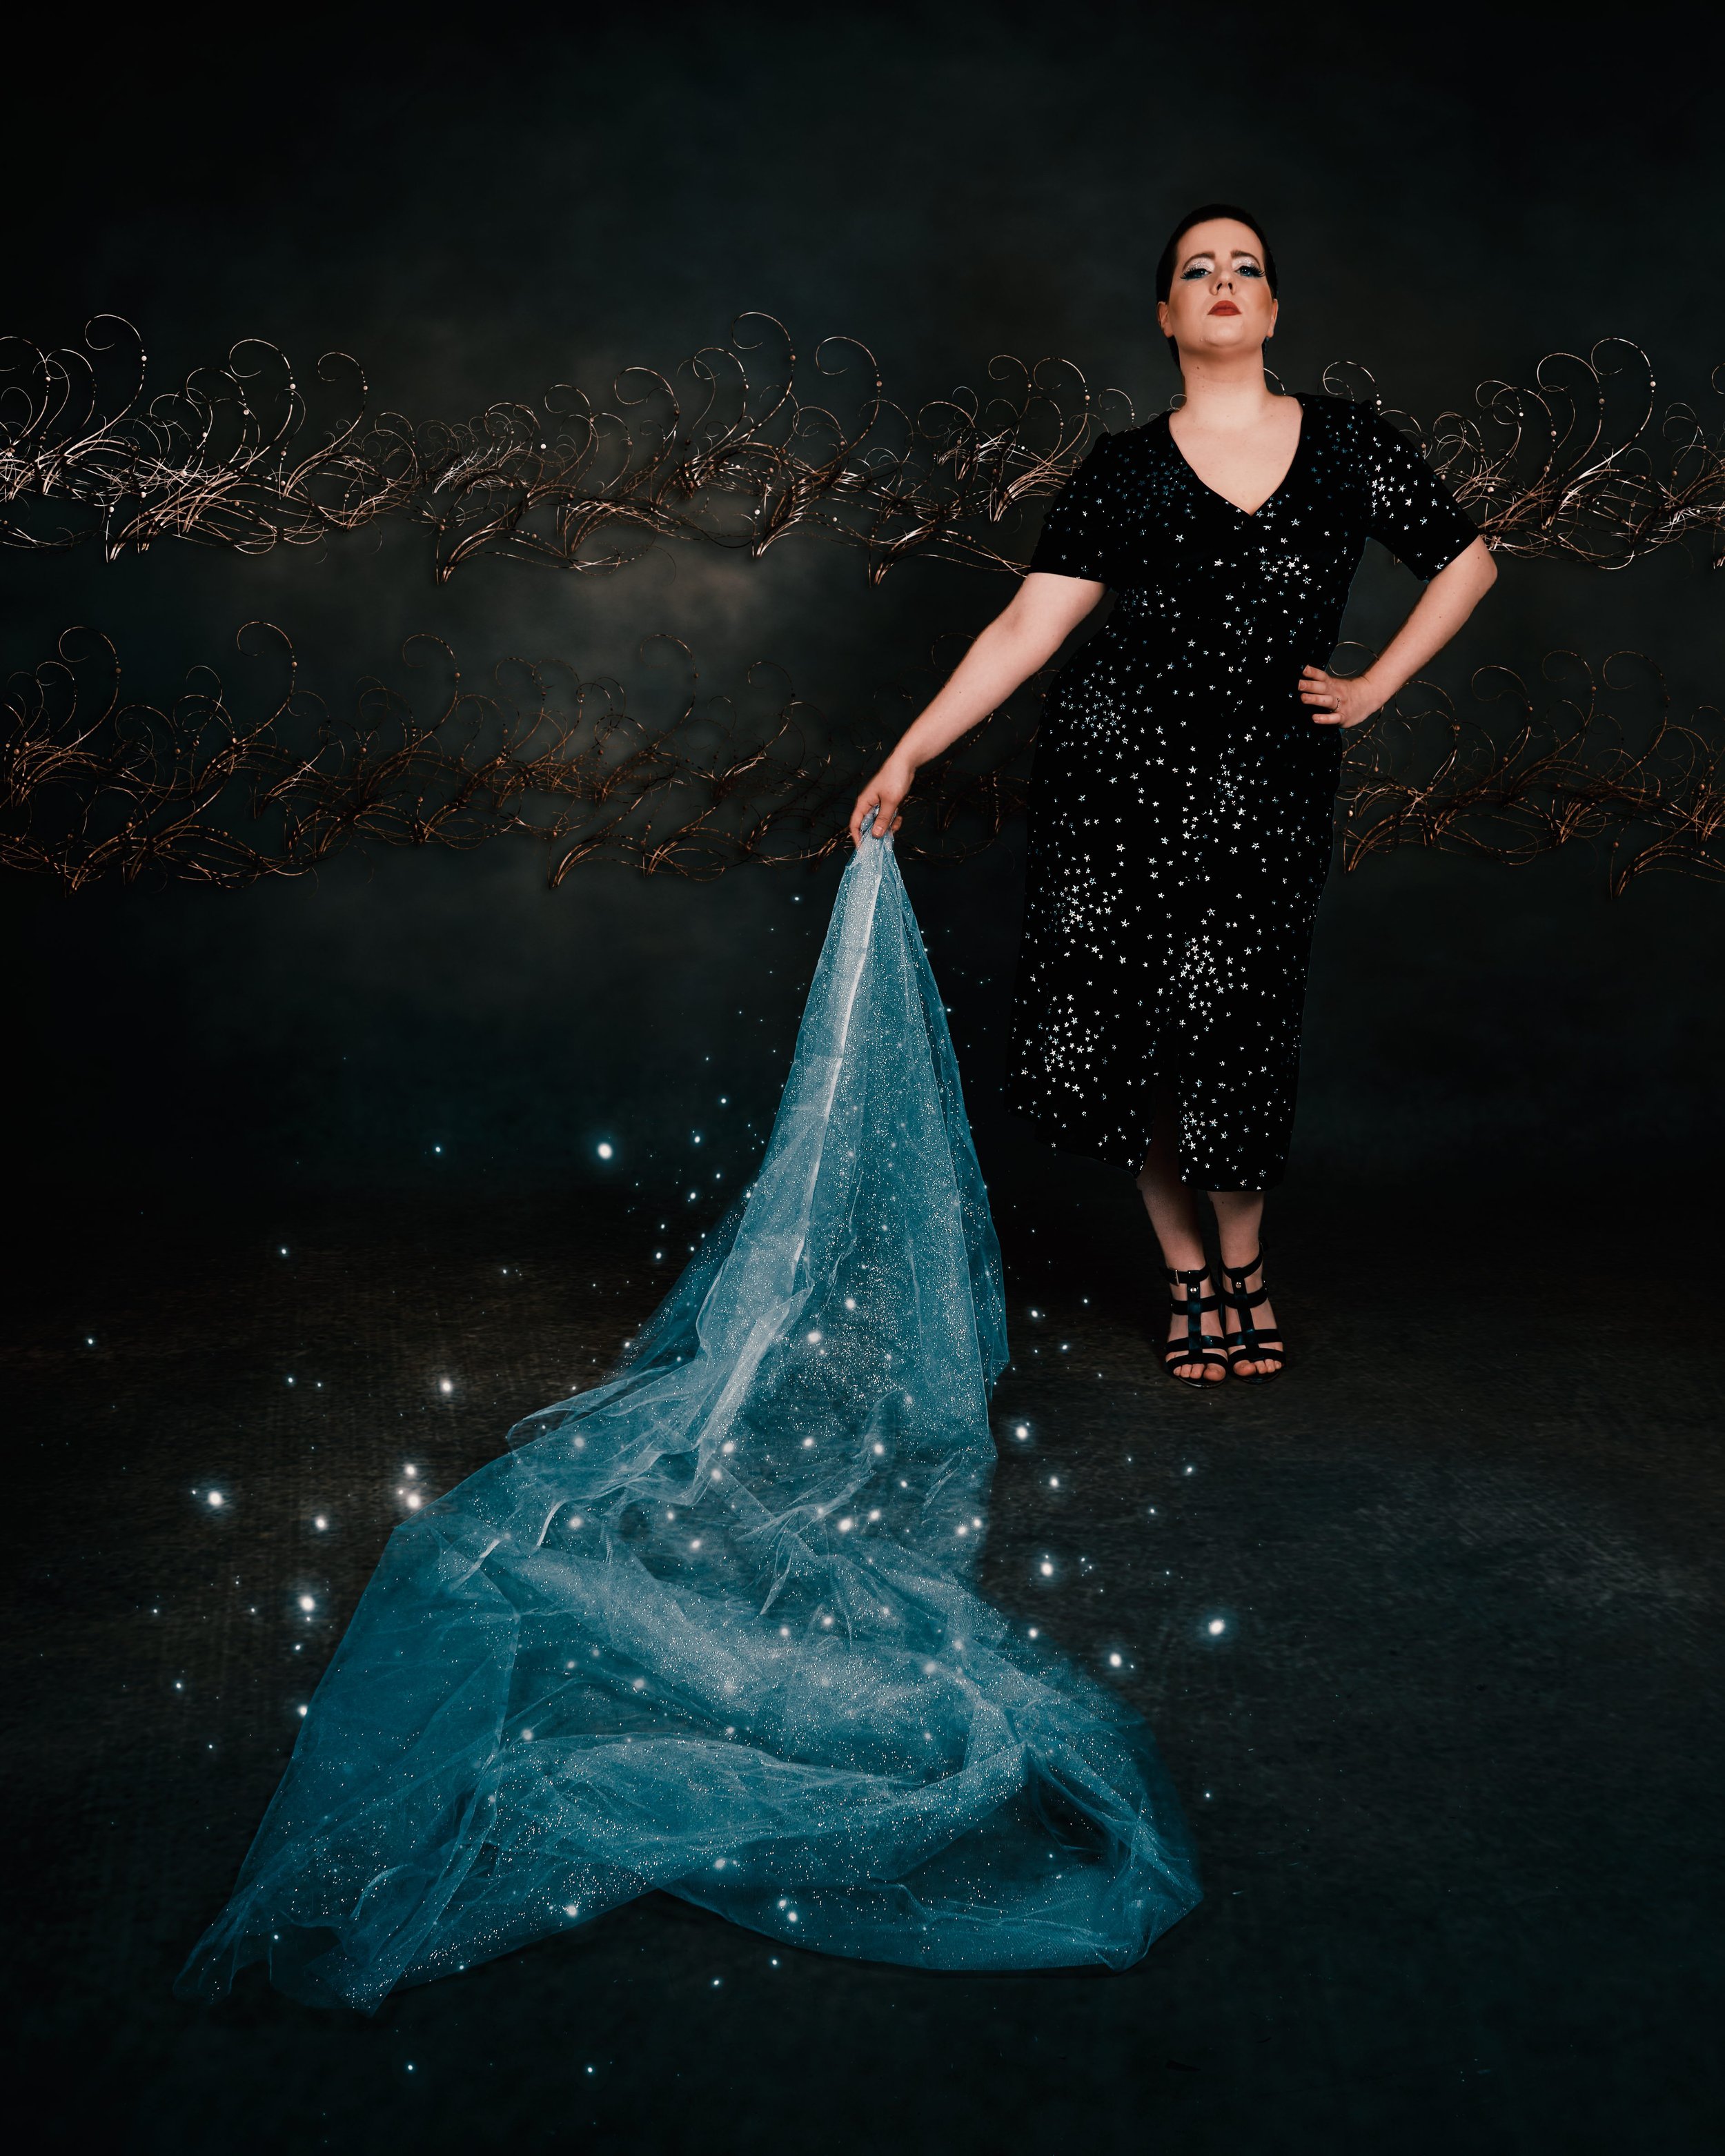
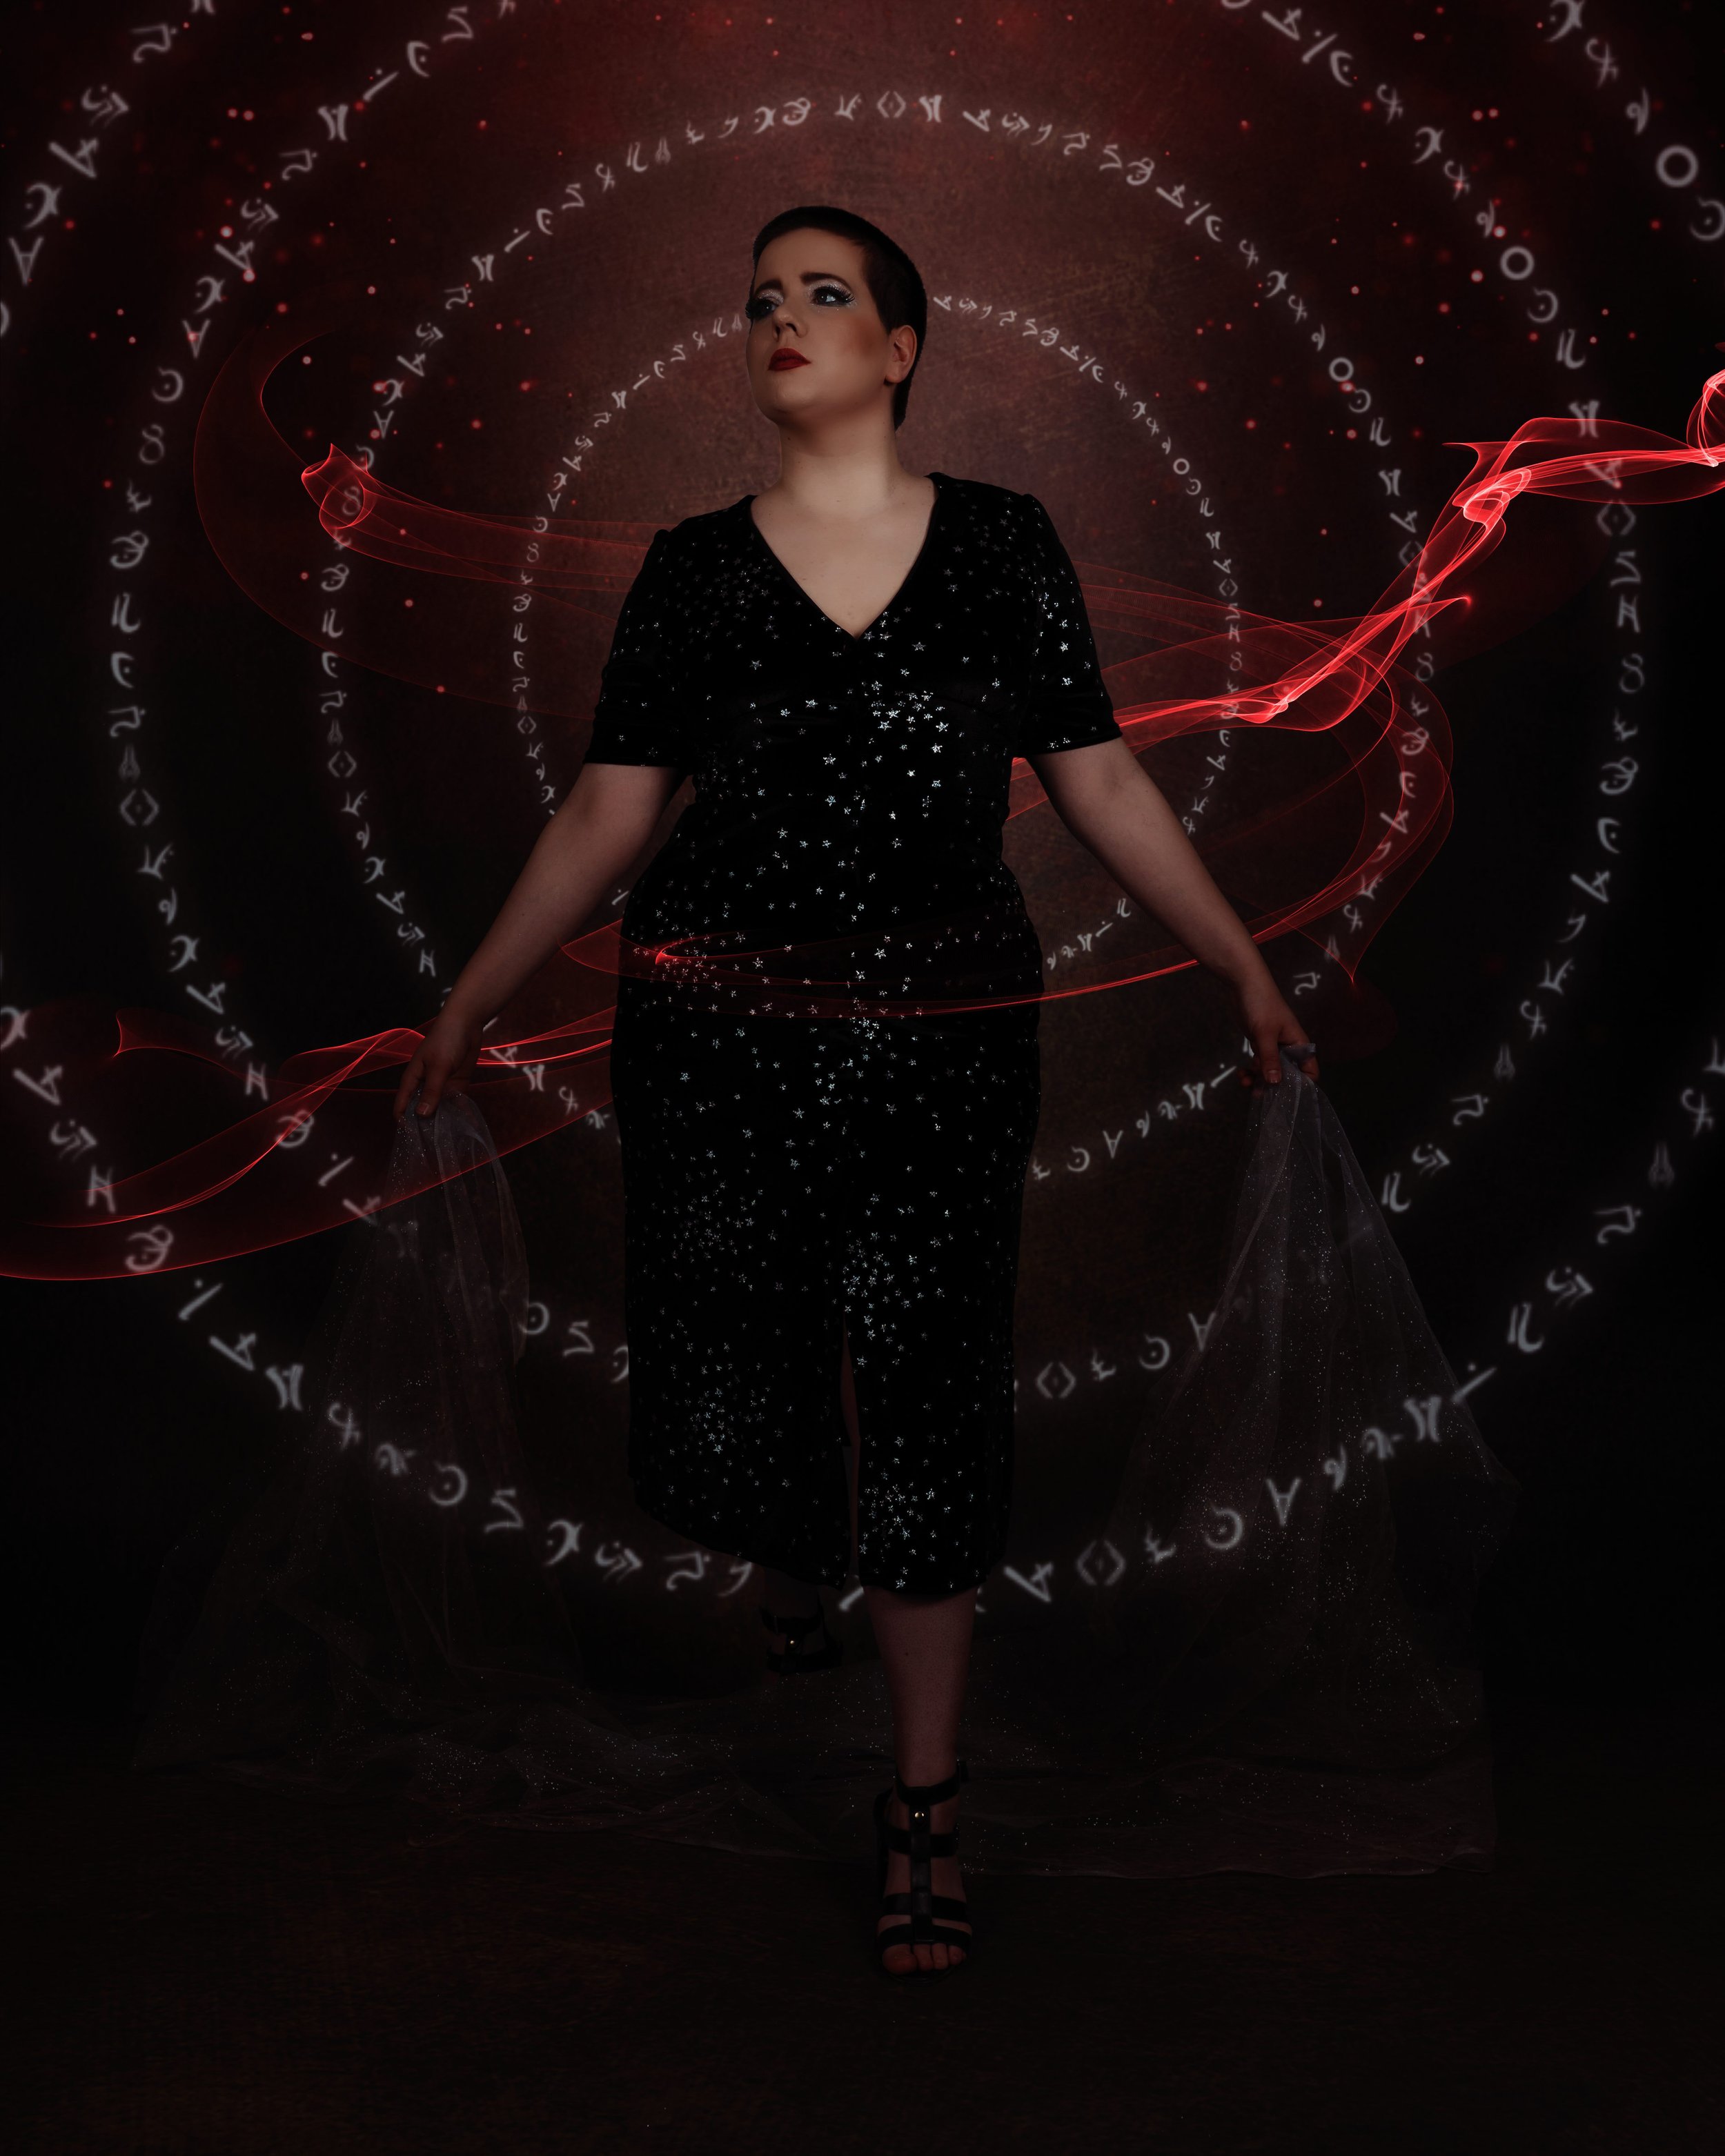
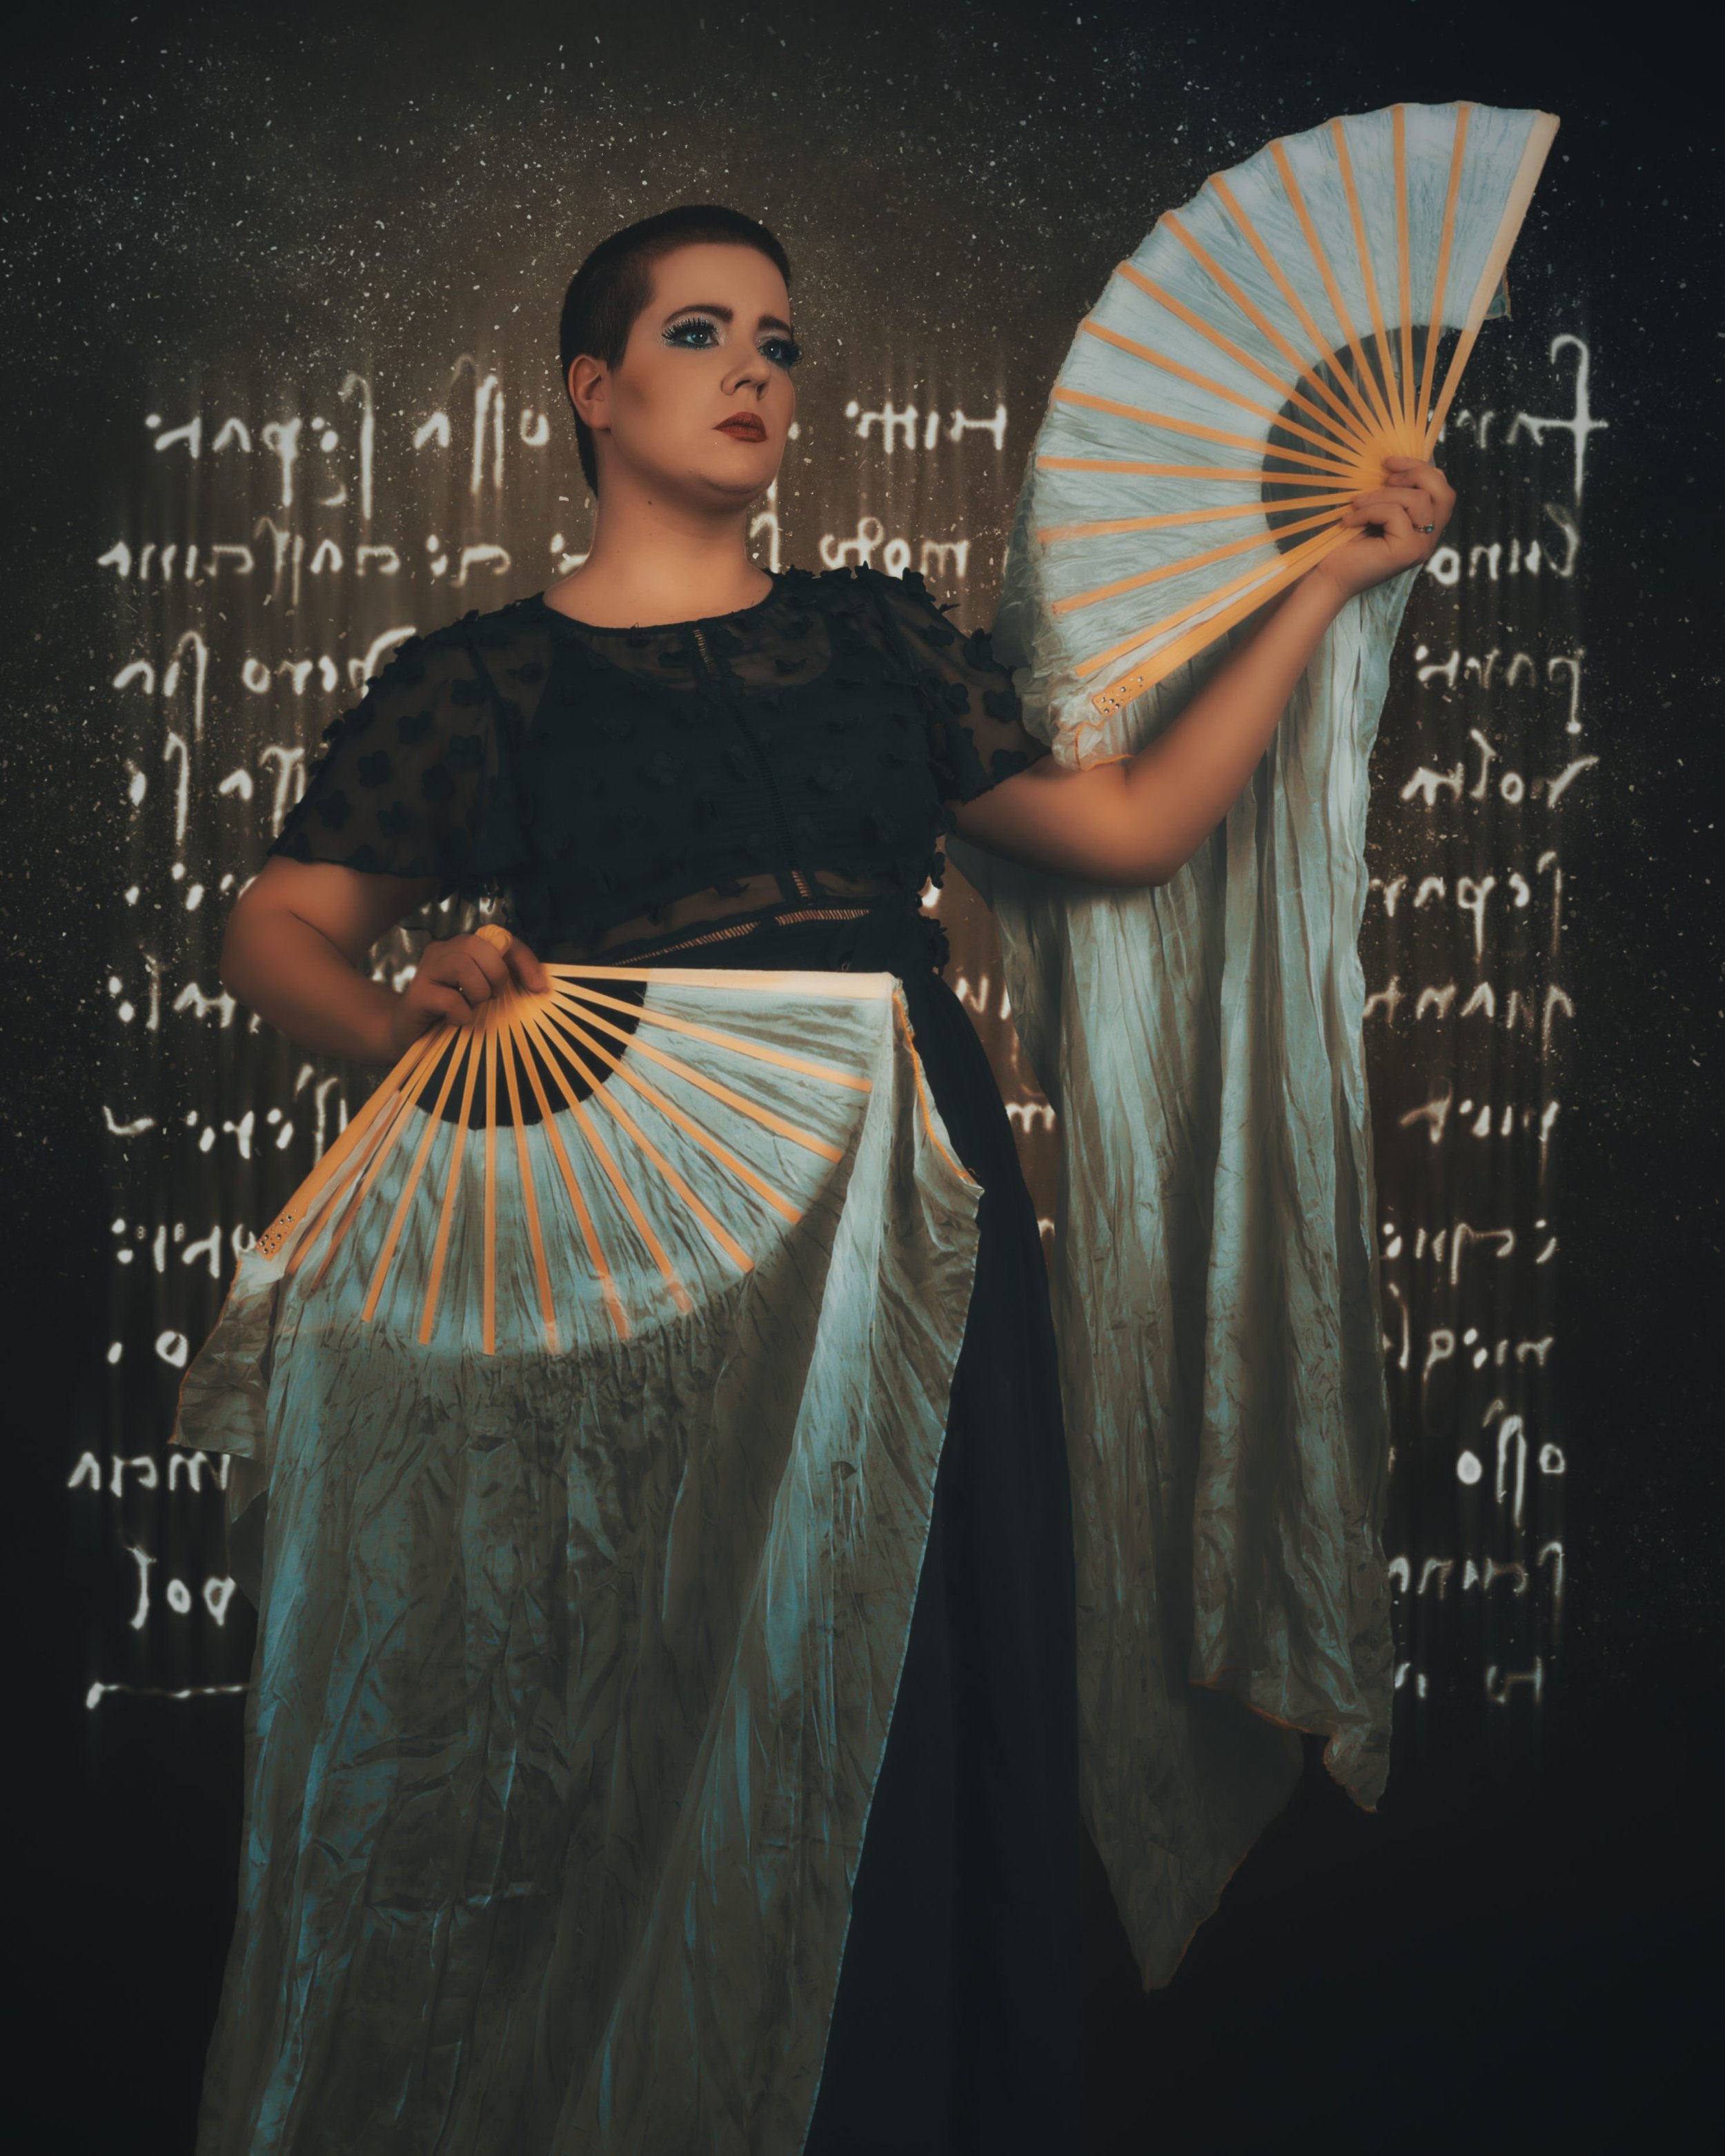
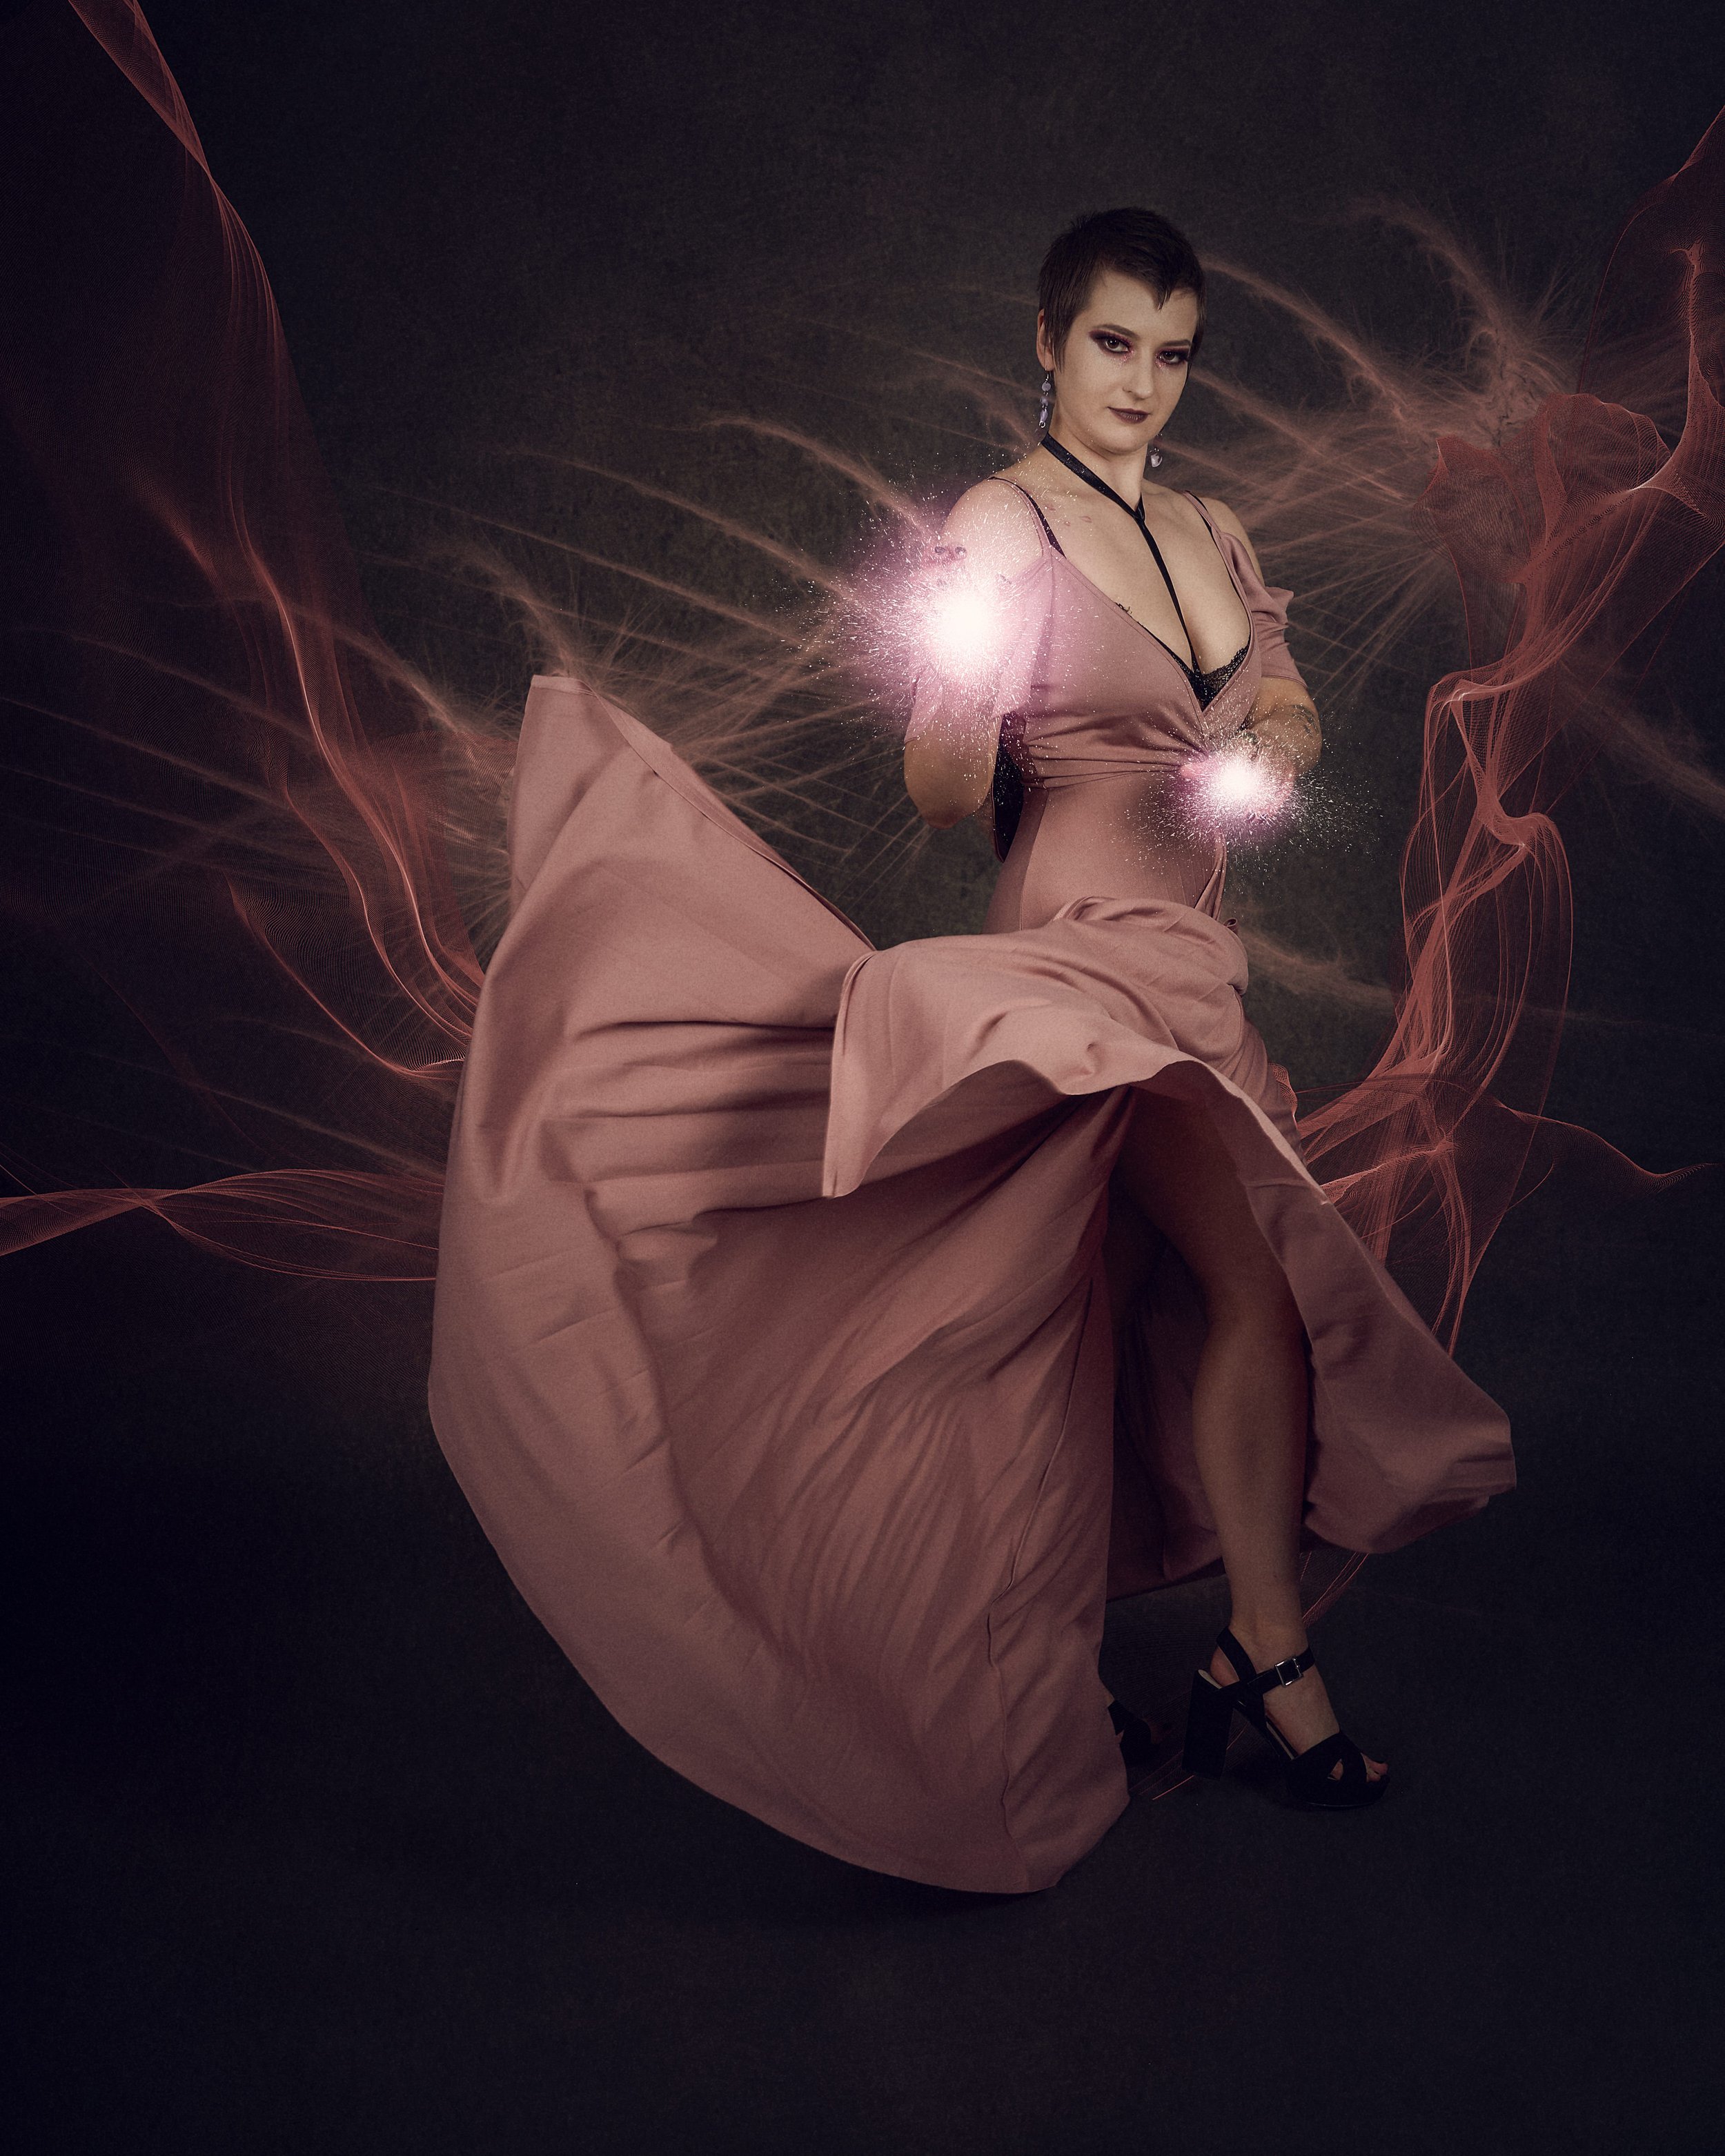
Ultra Widescreen!!

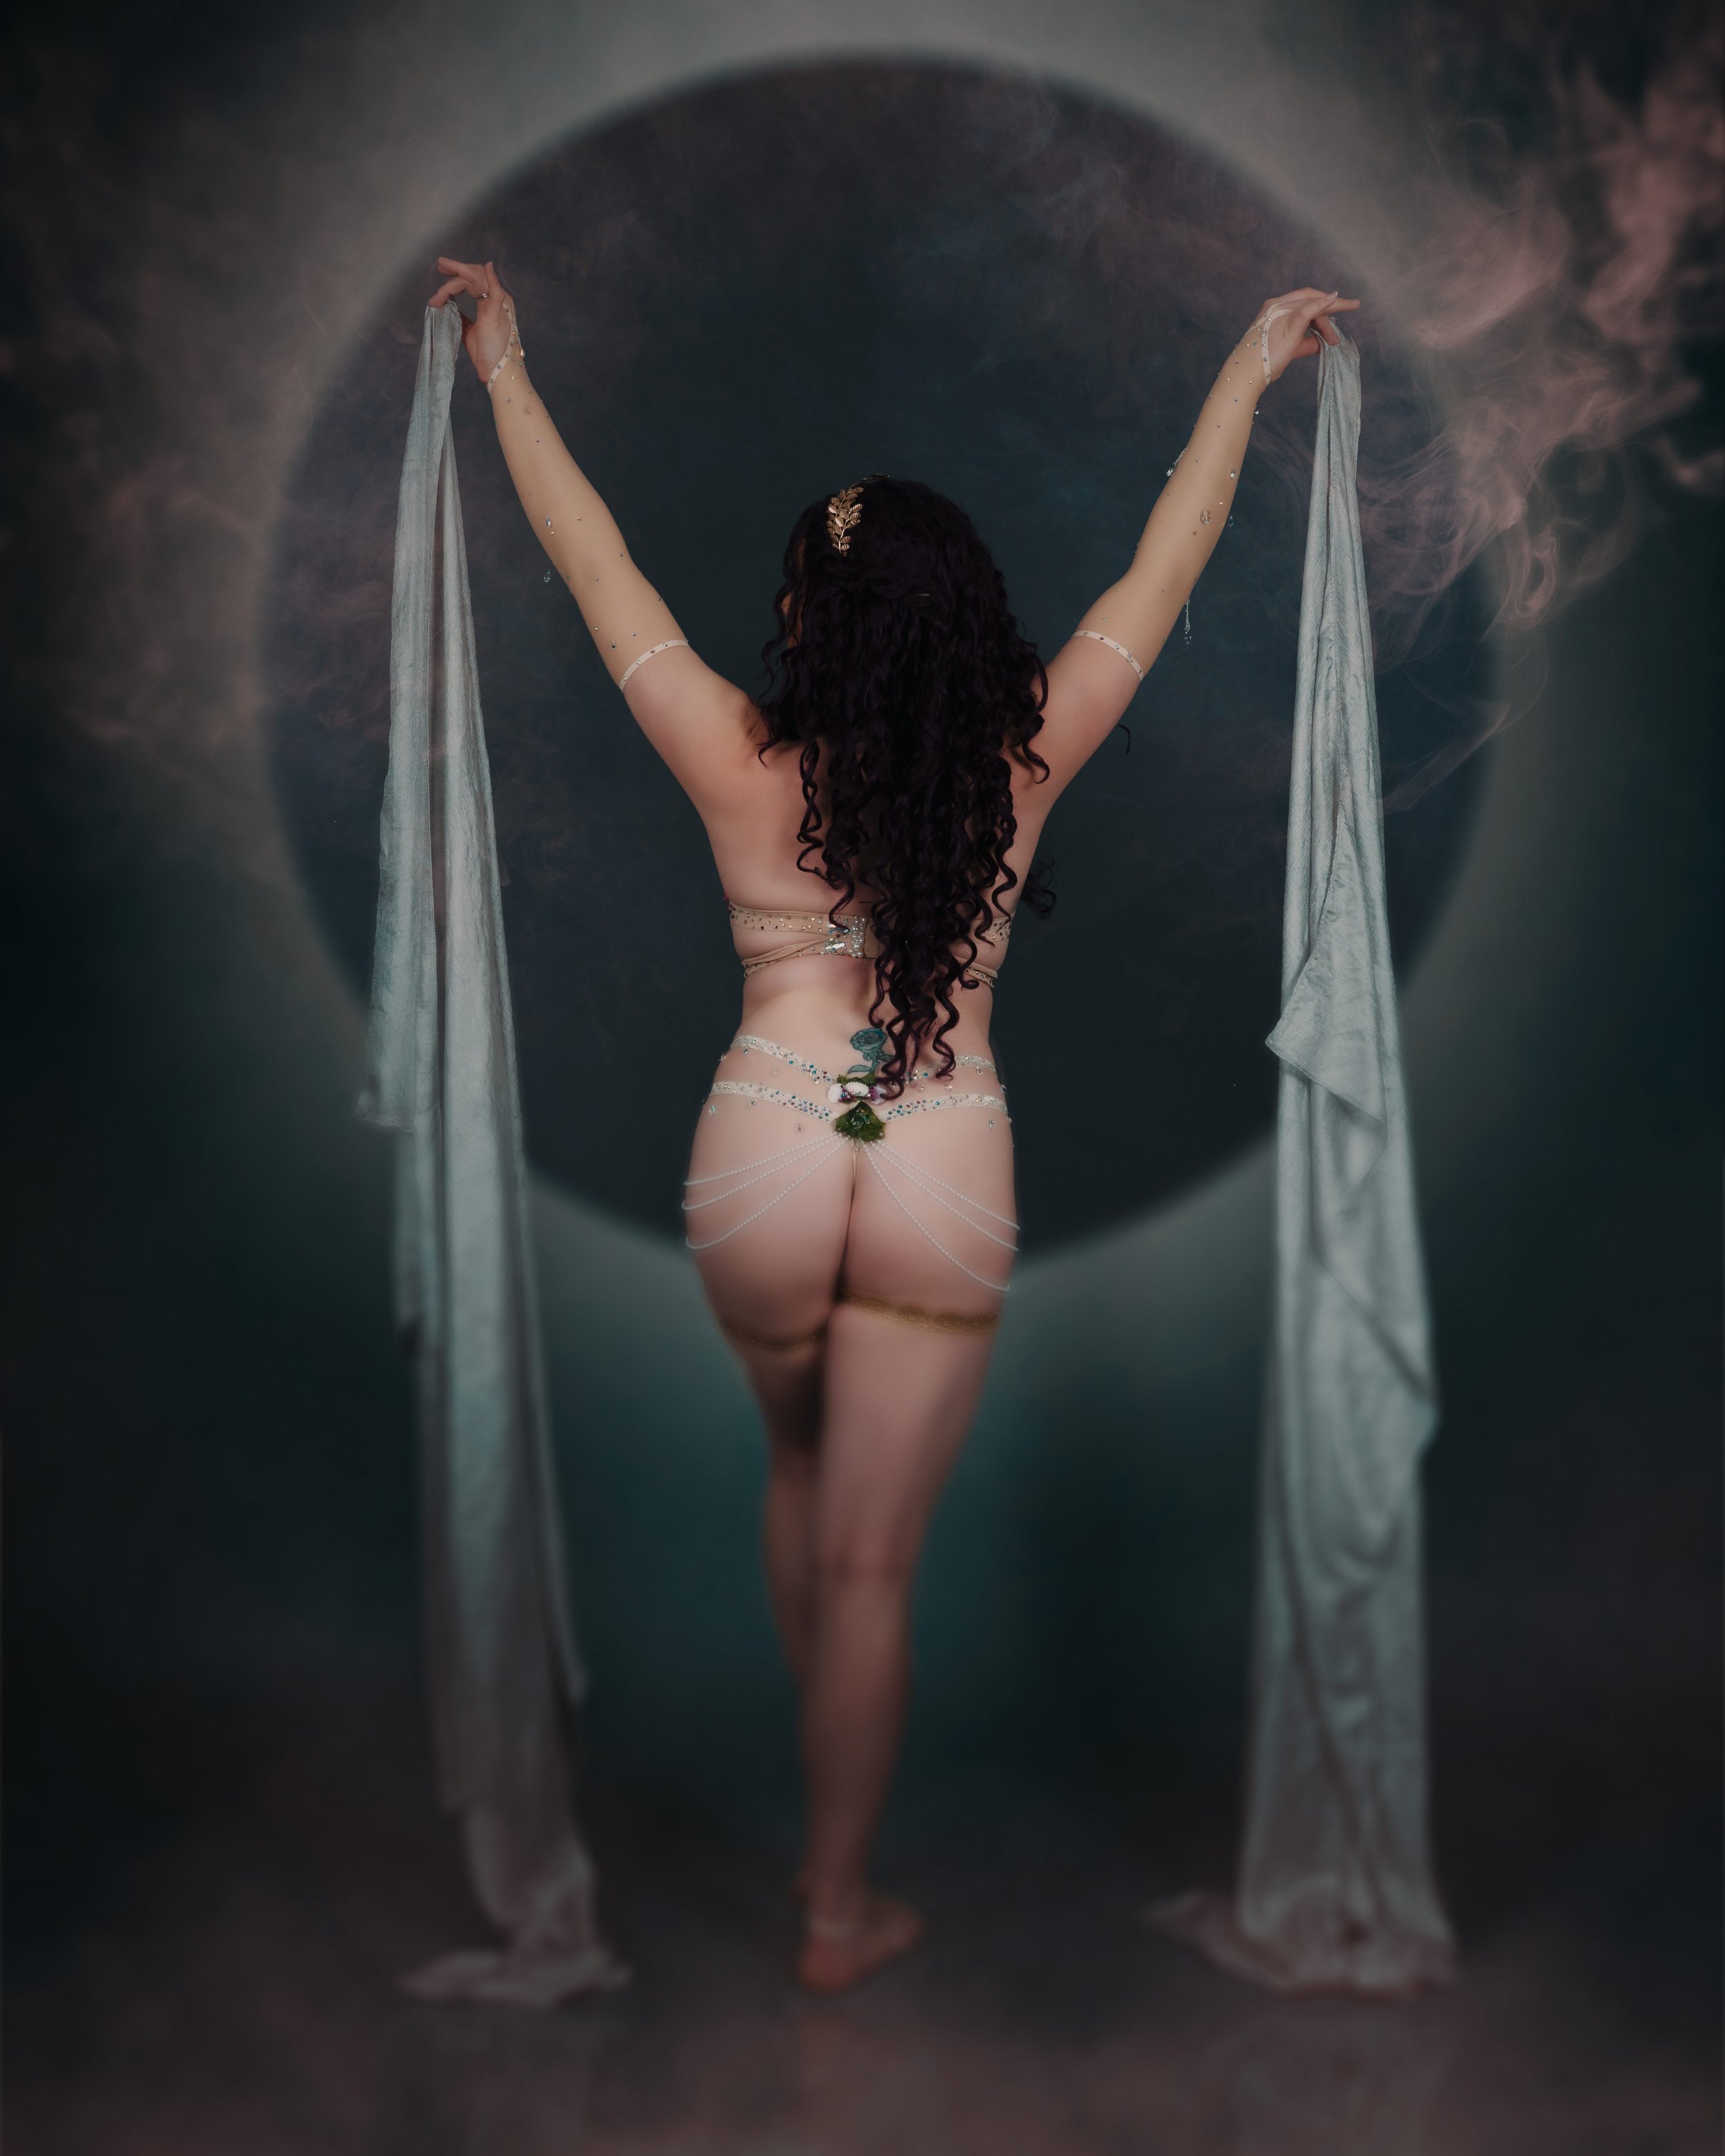
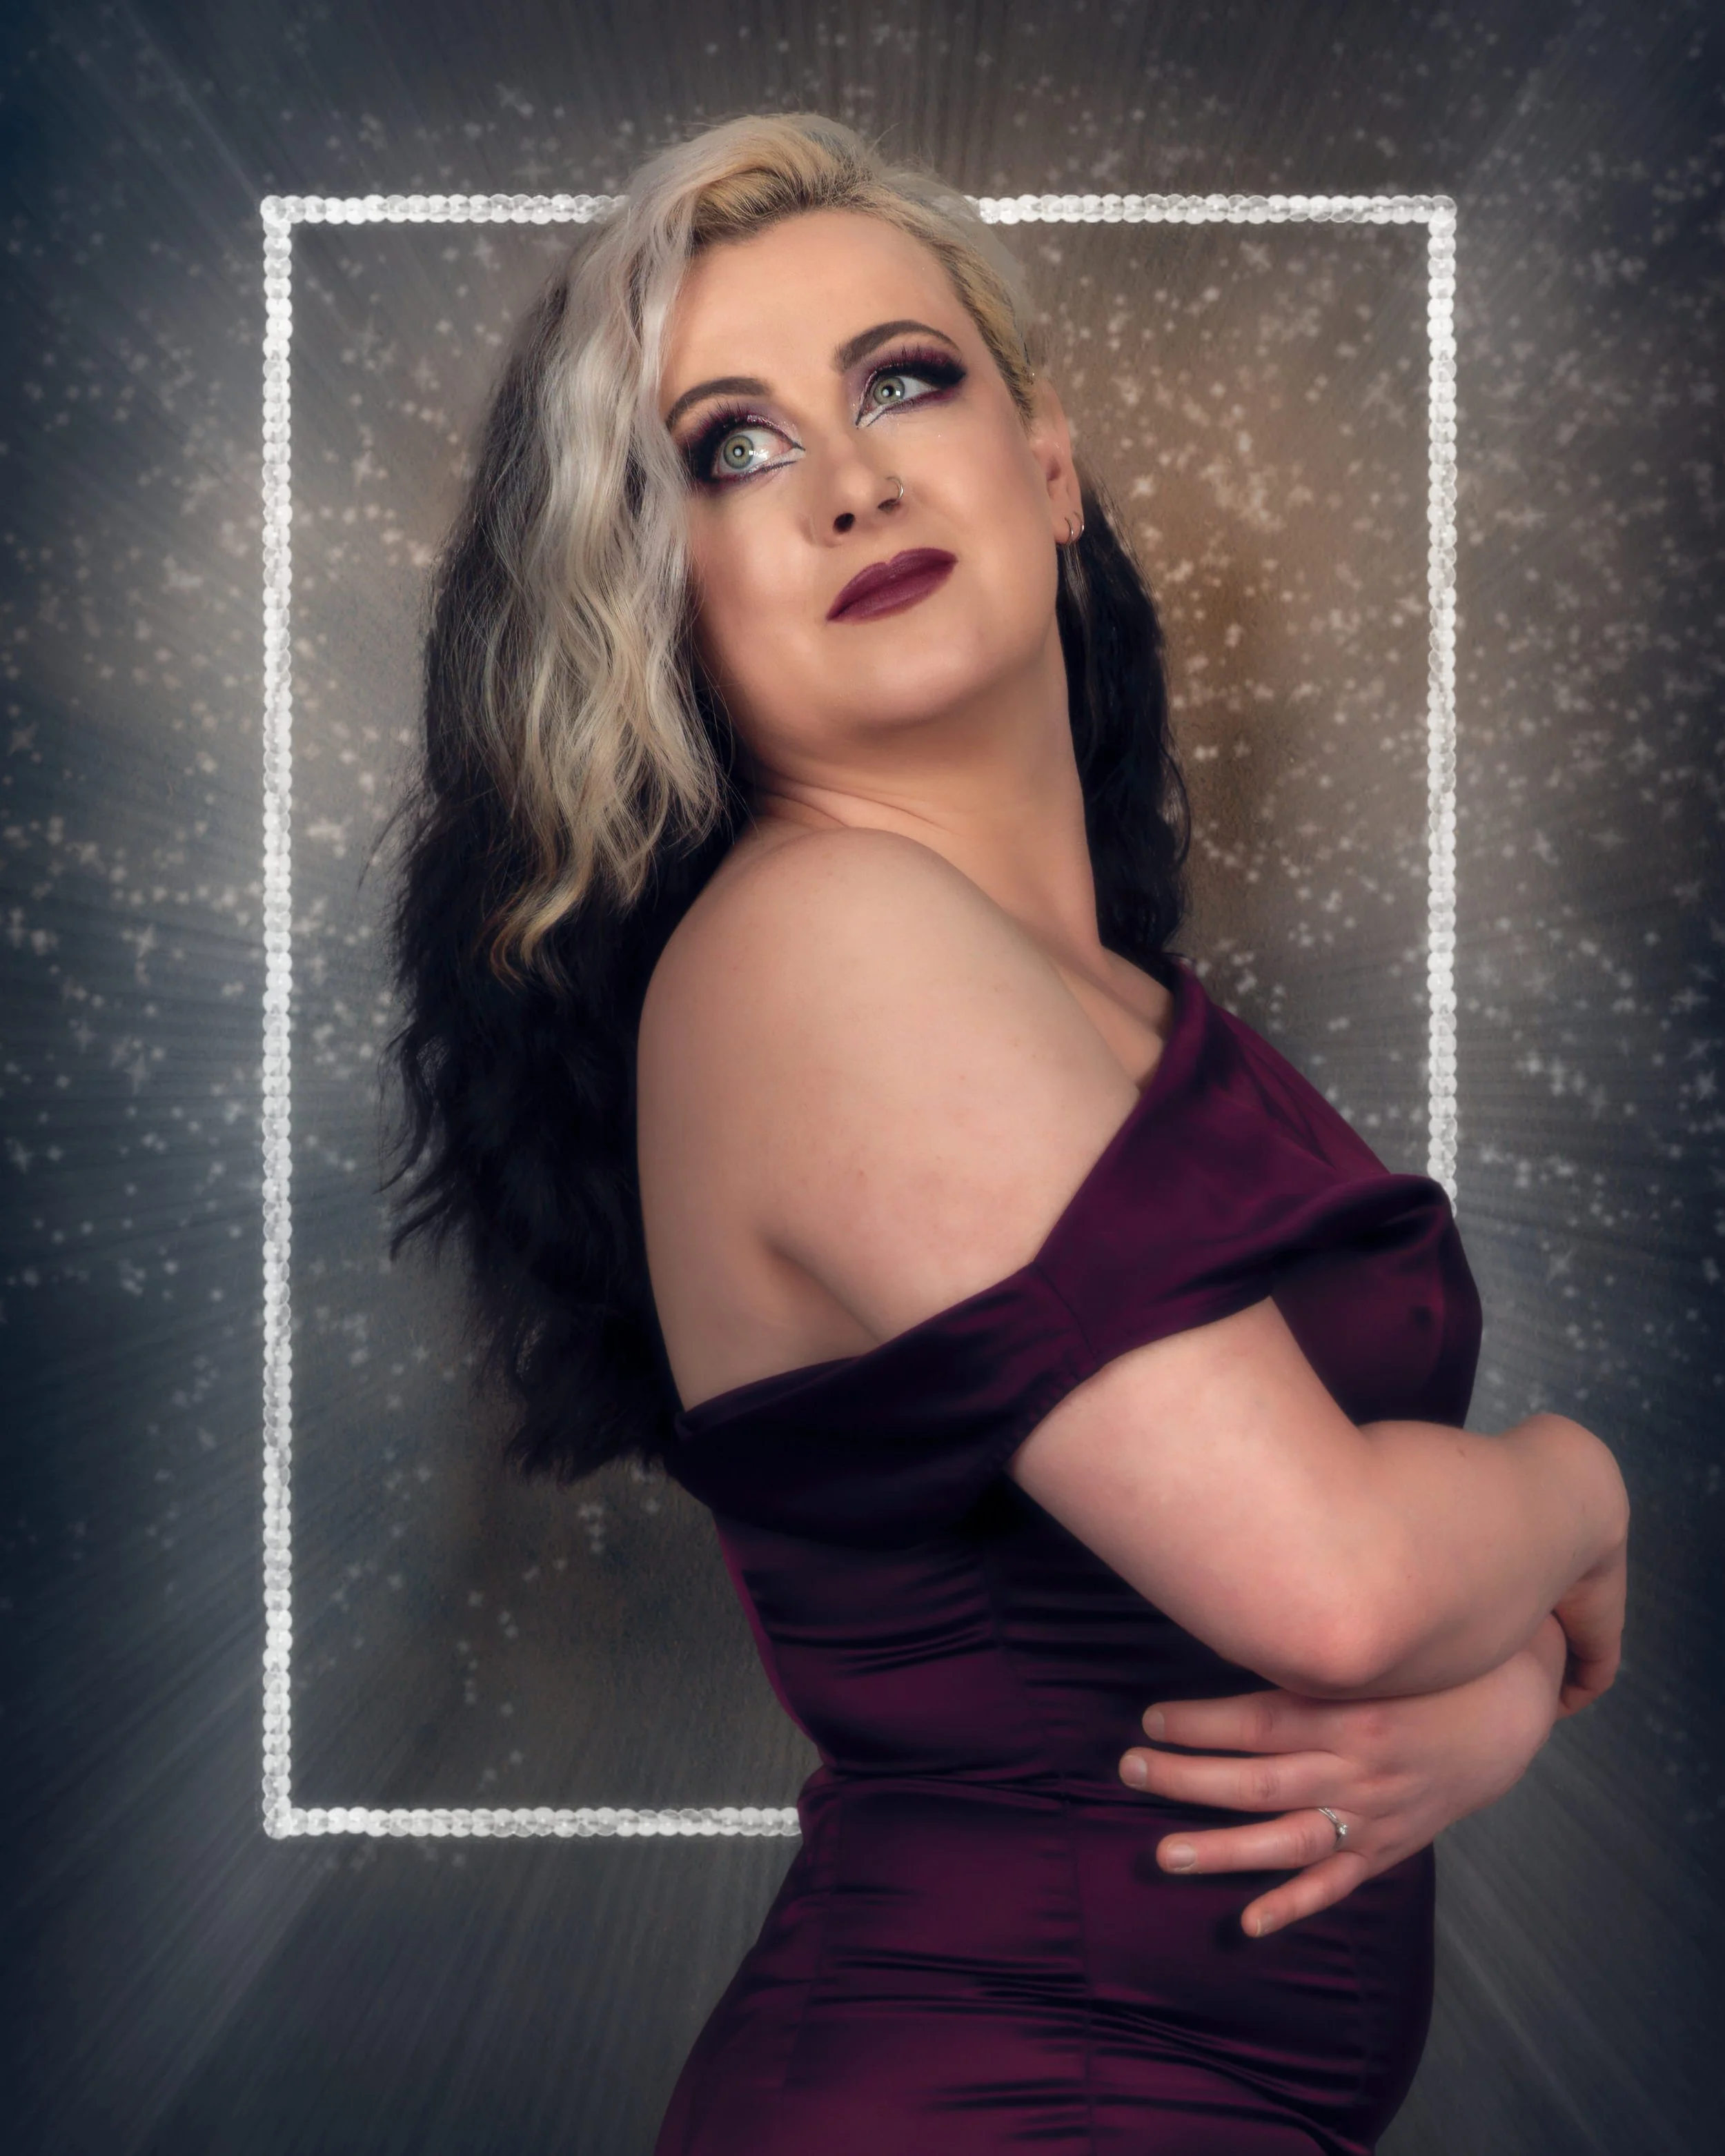
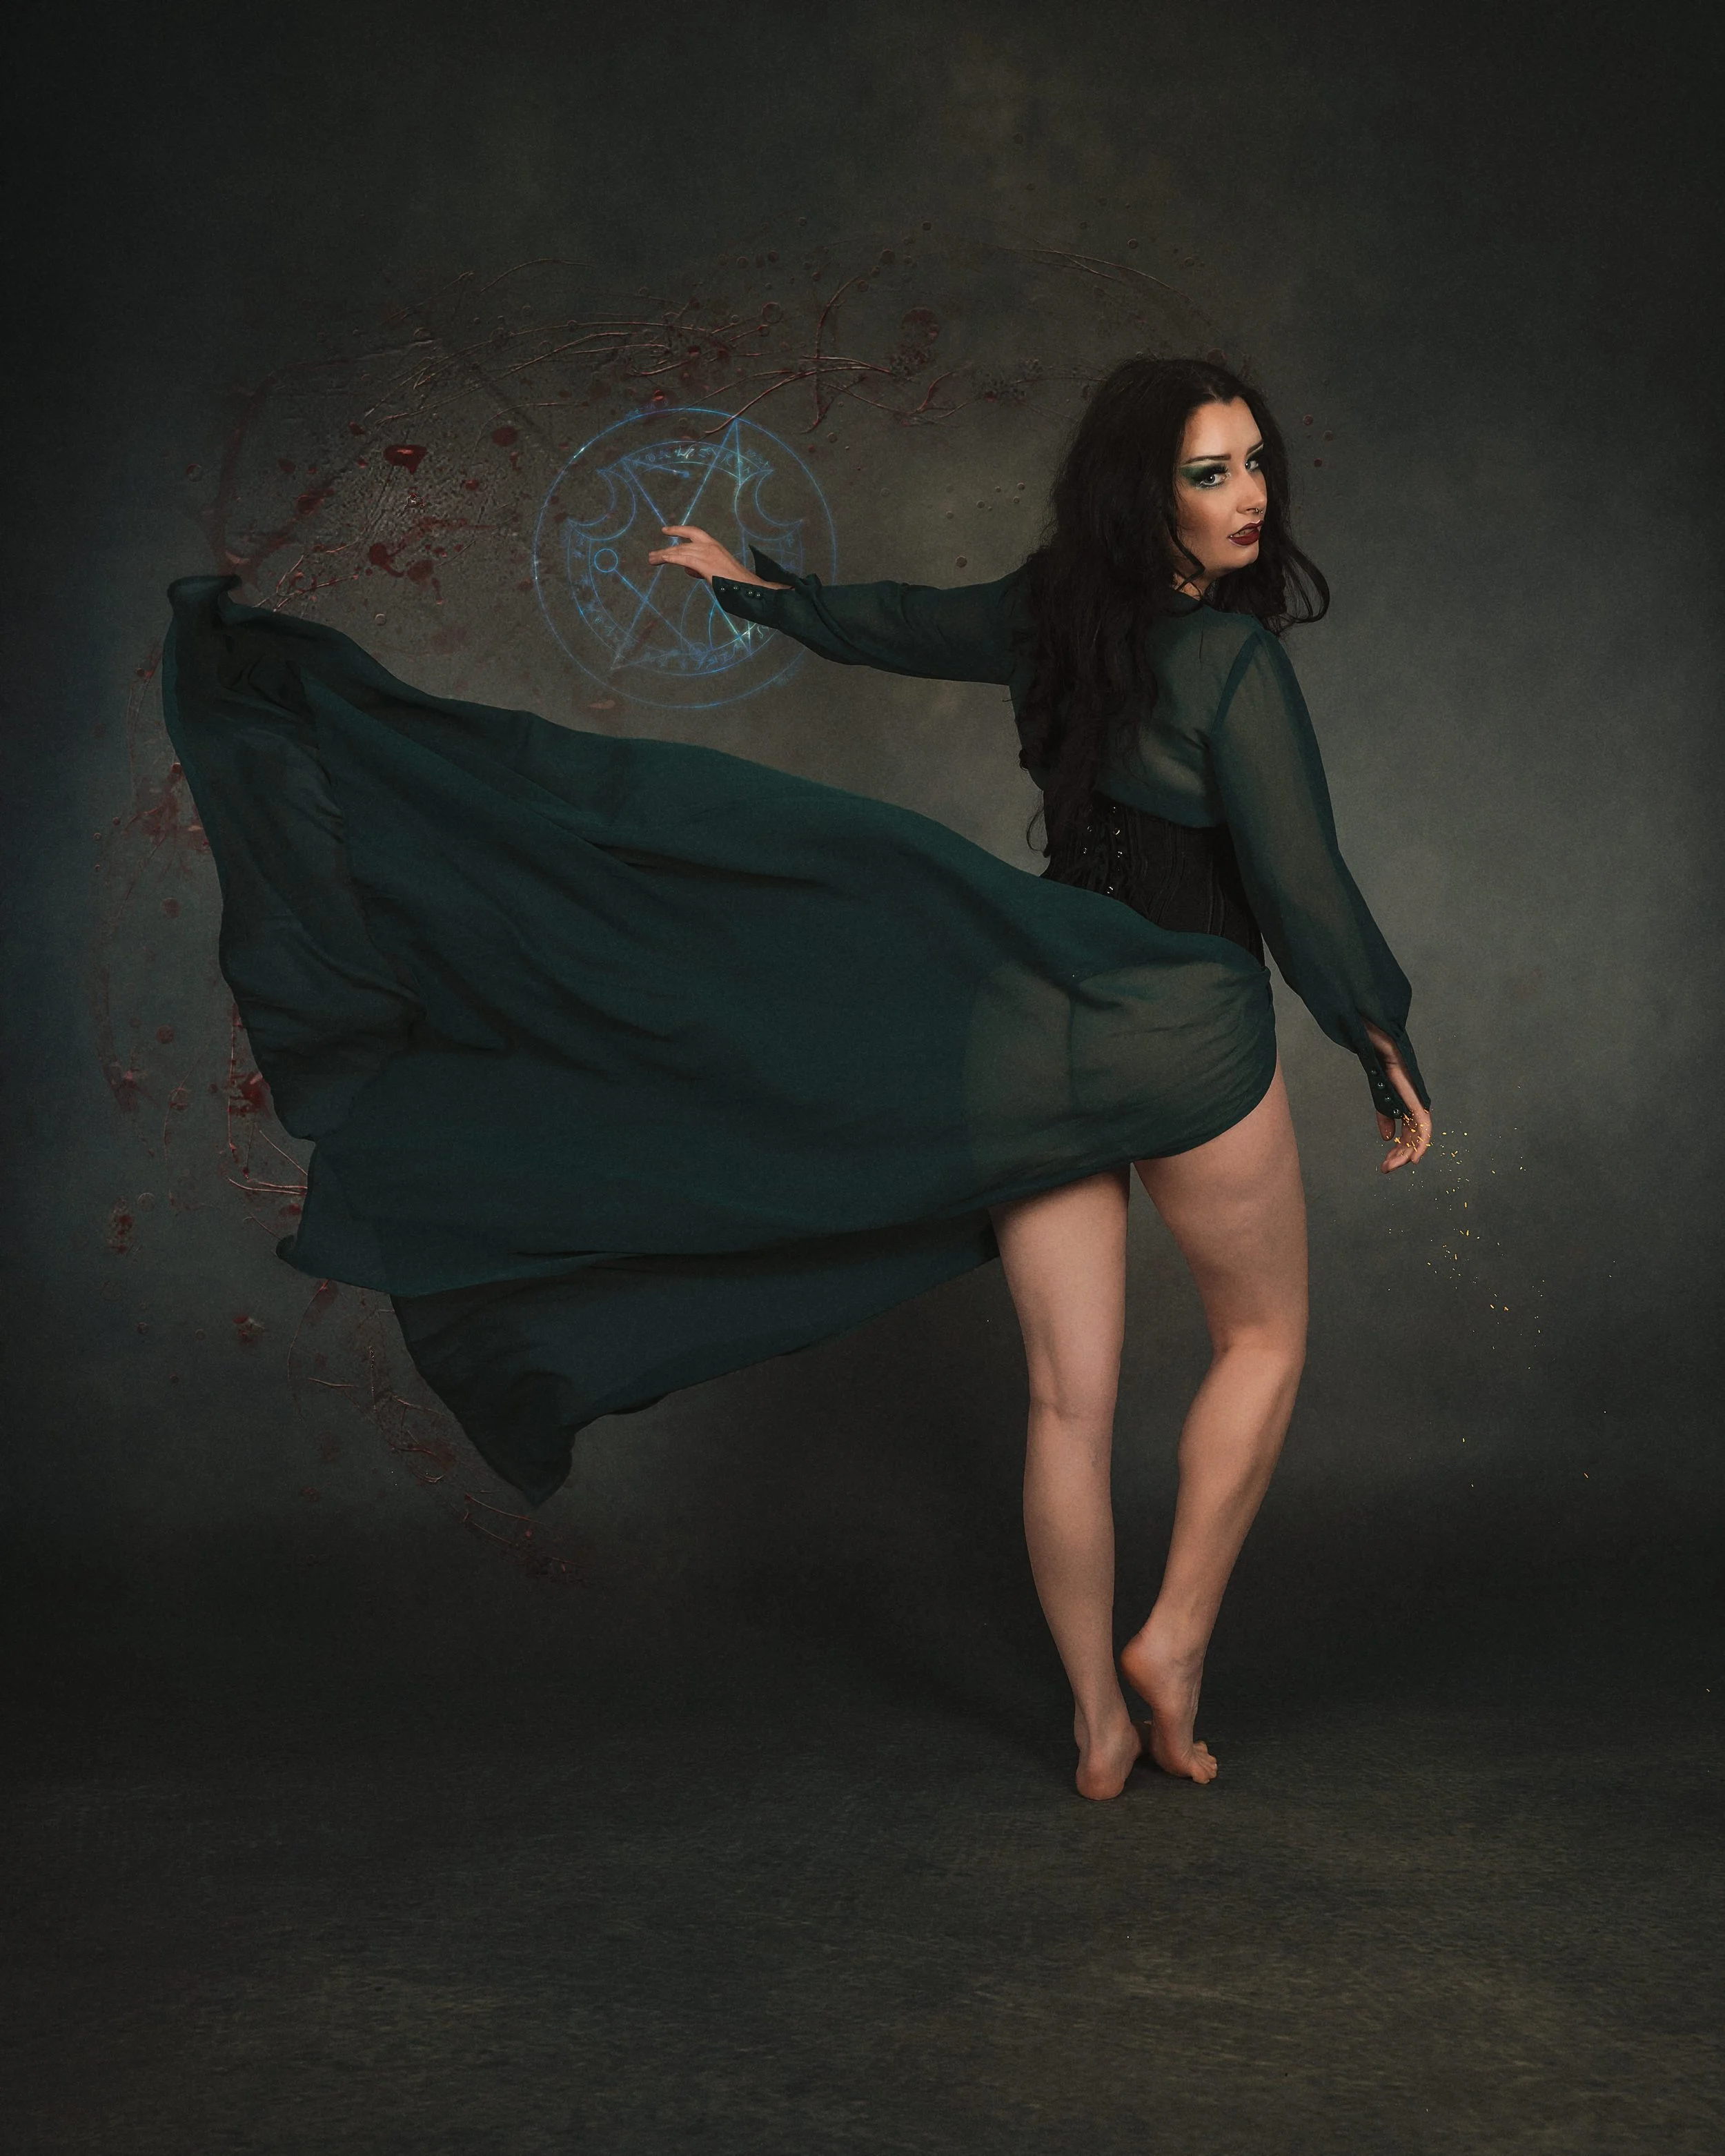
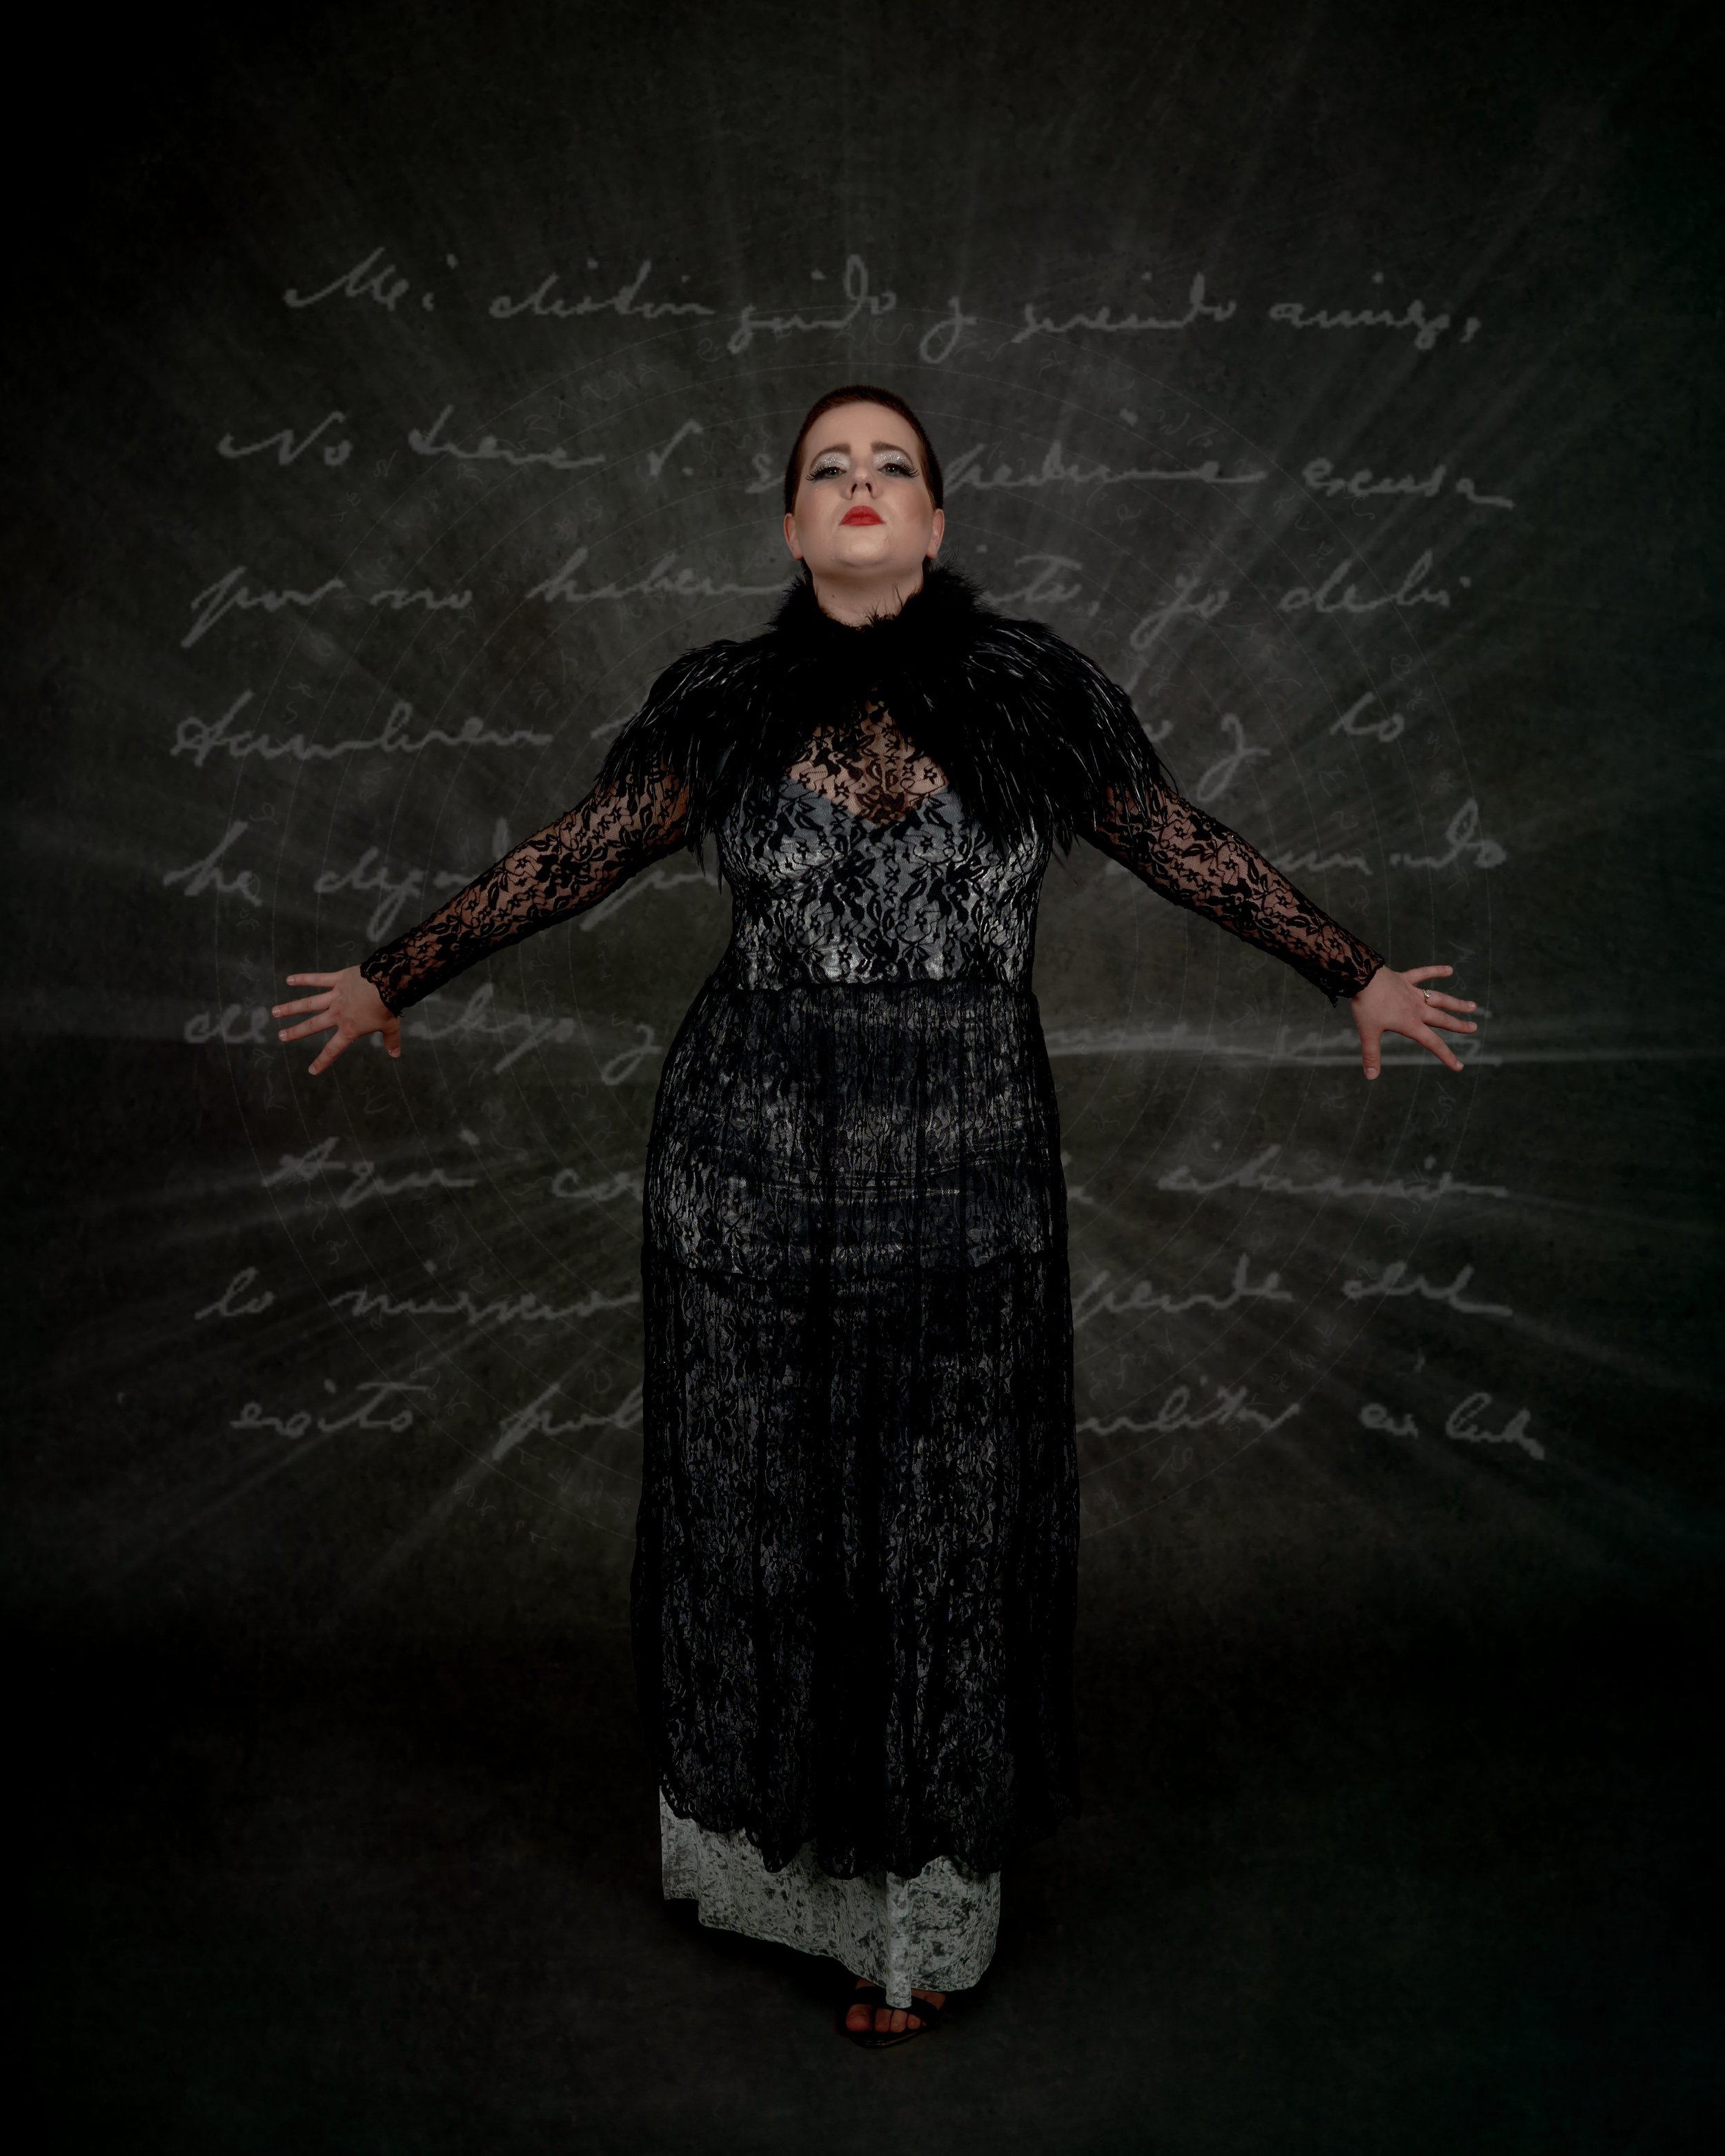
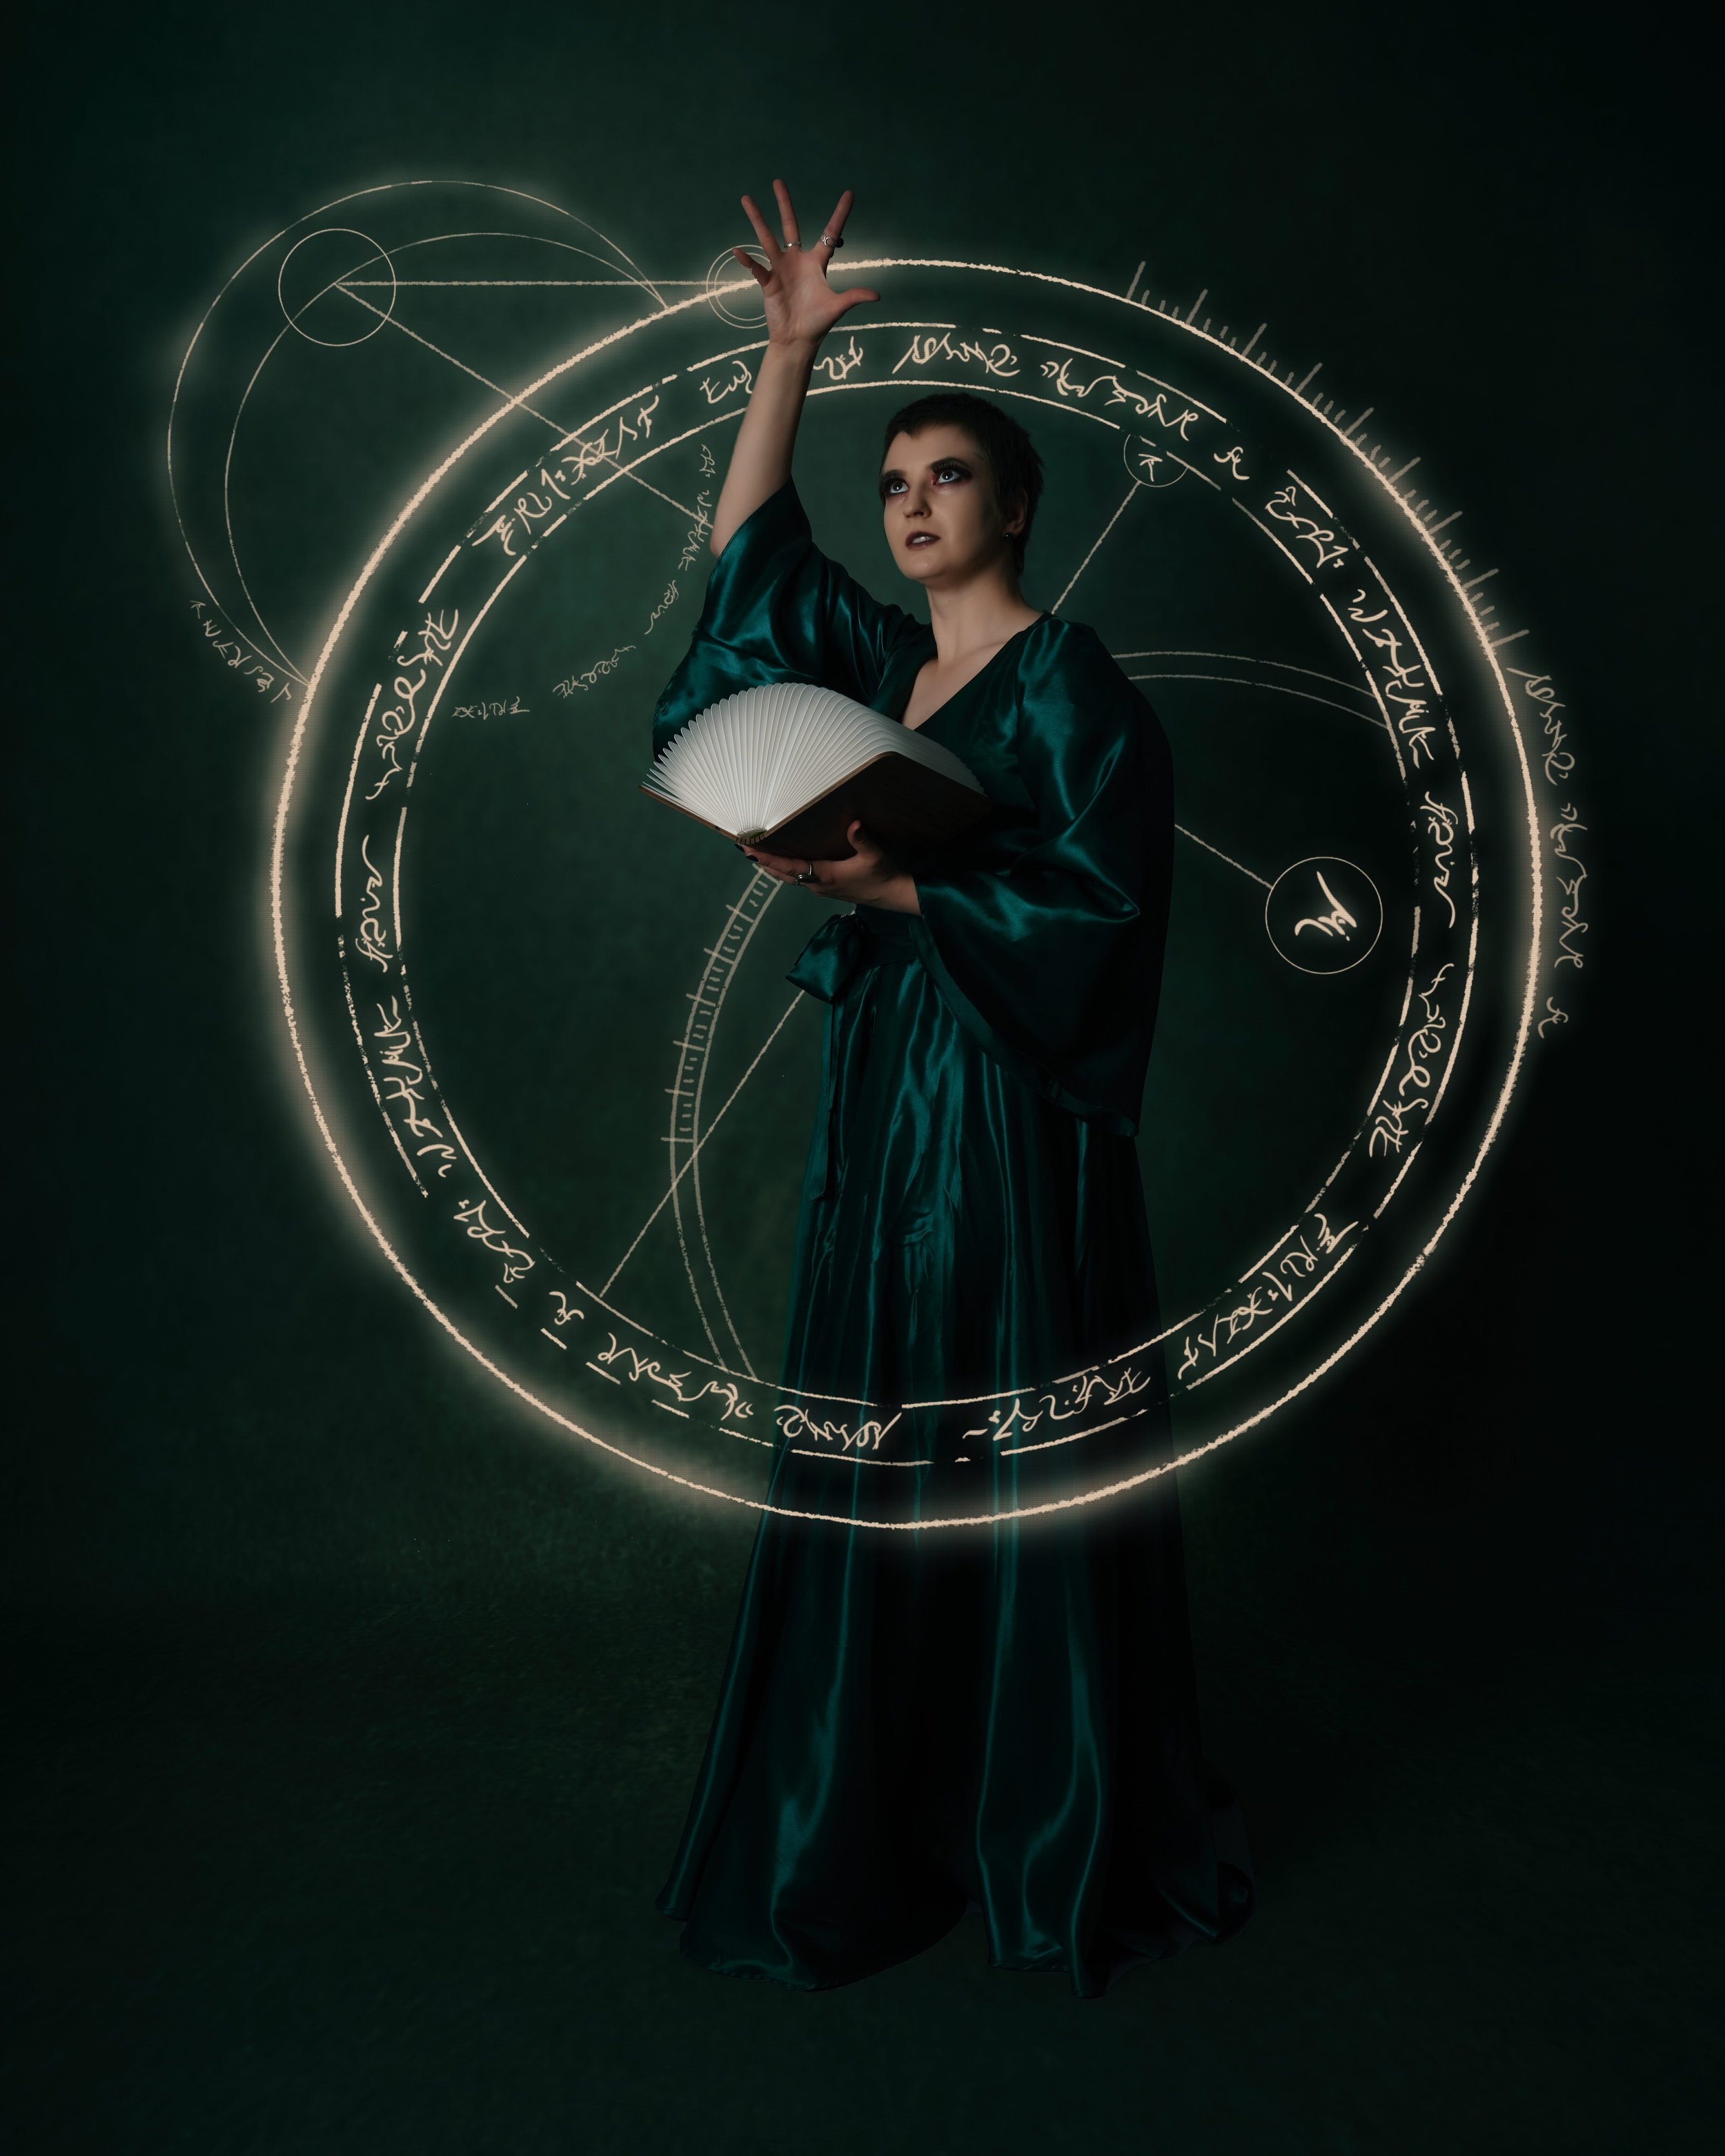
In my ongoing pursuit for another project, I was staring at my ultra-wide screen monitor when I had the idea of creating a wallpaper image based on one of my studio artworks. I used to work with a 2:3 ratio, which is standard for a photo, but switched to the 4:5 ratio after using Instagram. I sometimes use the 1:1 square ratio for my Facebook profile picture. However, my studio art portraits are usually 5:4, so it would be a challenge to recreate them in the 21:9 ratio.

So I hit on an idea… why not create the initial artwork in a 21:9 ratio, then crop the image down for the respective sizes if required? As long as the focal point is still in the dead centre, the crop tool in Capture One expands from the centre anyway, so I can export the 21:9 switch to 16:9, export, switch to 1:1, export then 5:4 etc…

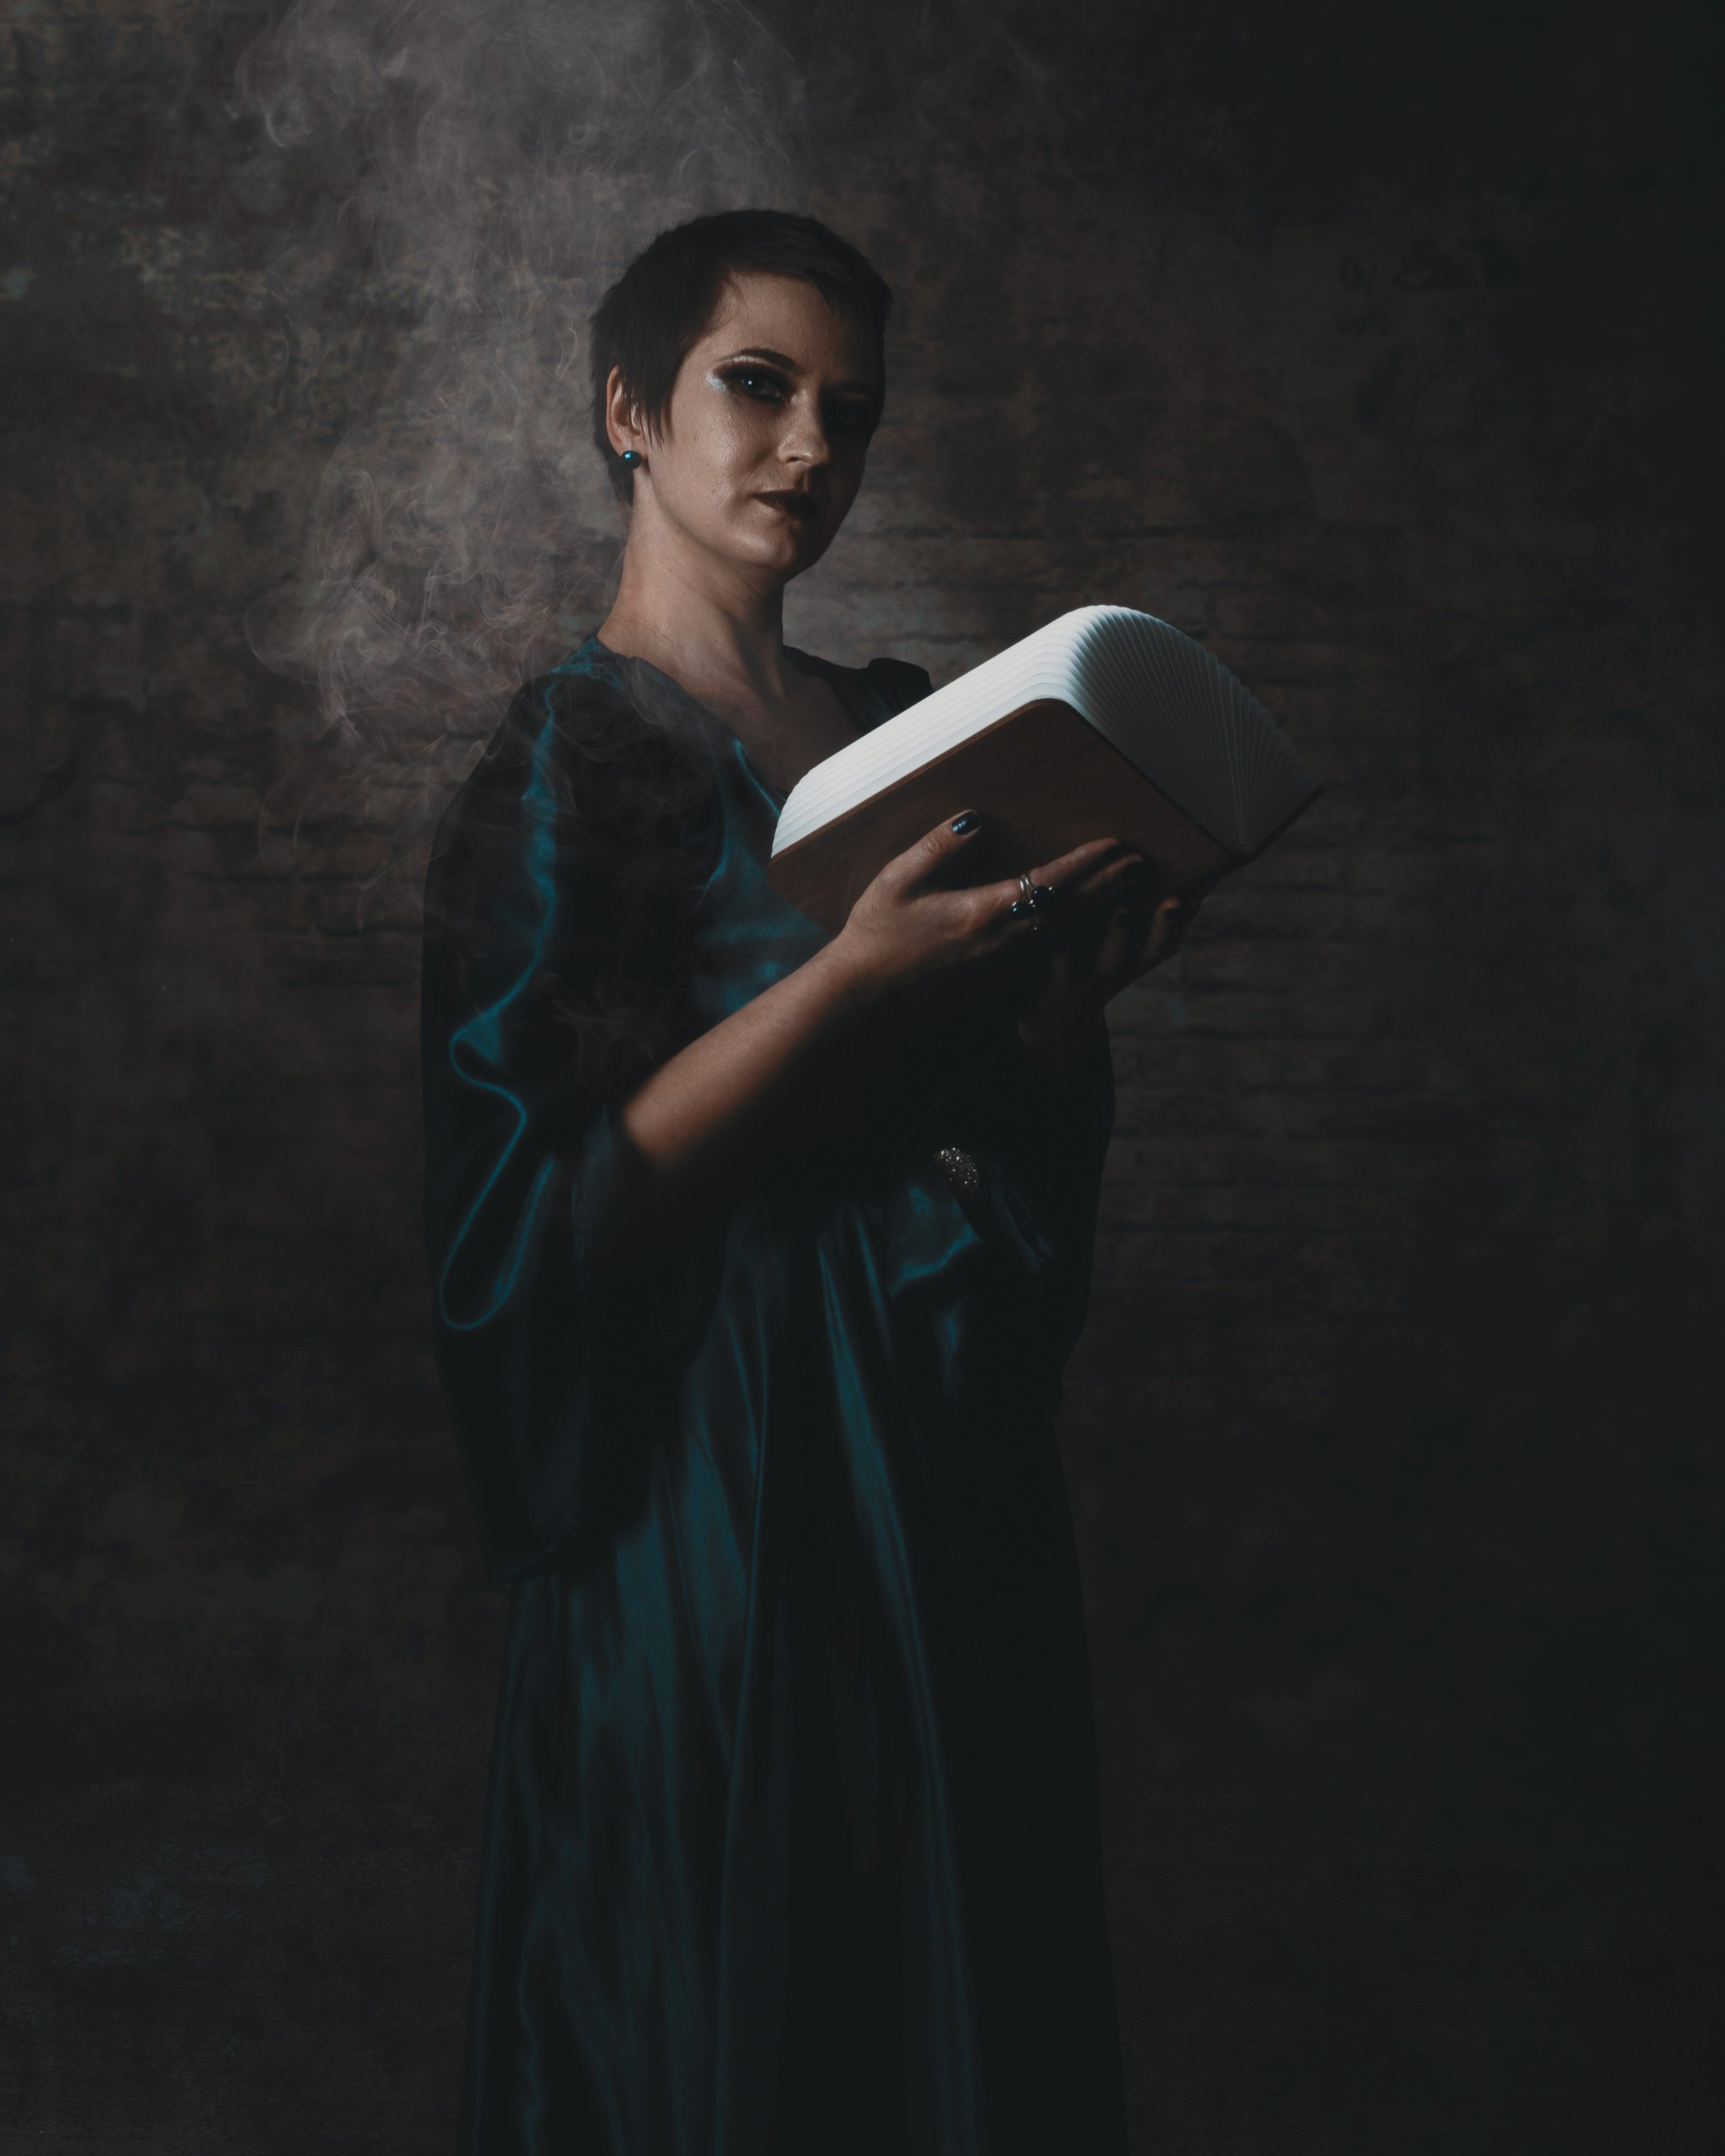
Remember that creating a 21:9 image, the file size can top out at about 1.2 gig which is huge. However, I am now using TIF with ZIP layered compression, as well as other methods to drag the file size down so the Ultra Widescreen image of Faye Wild shown below was a staggering 954 meg, but when saved was a measly 283 meg.

I recreated some recent studio shots using this method.

I noticed that the backgrounds in my portrait images were appearing small in comparison, making them look stretched. To address this, I used Topaz Gigapixel AI to increase their resolution and improve the details. However, going back to edit every portrait shot I've taken would be a time-consuming task, so I have decided not to do so. Maybe in the future, I will consider it.

Fancy a quick one?

Recently, I had the opportunity to indulge in a photo shoot that I hadn't done in a while - an impromptu shoot. Years ago, I used to find random locations and take photos of what I found there. This time, I found myself on the floor above the Leaky bar in The Vaults. The area appeared to be a purpose-built dressing room on scaffolding, and the sound of footsteps from the bar below could be heard through the gaps in the floor.

I was struck by the unique look created by the curved walls and the mirror on the side, which I knew I wanted to incorporate into the shoot. I was accompanied by models Sibyl Grimm and Hot Rod. To start, I attempted one of my favourite shots - the mirror shot of a performer getting ready. A good tip for this shot is to make sure the mirror is clean. Although I didn't realize it at the time, I could have given it a quick clean for better results. Additionally, I asked for the performer's hand to be repositioned, as it can be natural for them to hold a make-up pencil or lipstick across their face, which would obscure the shot. In this case, we see the hands repositioned to avoid this issue.

Next, we moved to the bar, where I asked Sybil to pour a drink for Hot Rod. A picture may be worth a thousand words, but Sybil's intense gaze conveyed much more. It could convey any number of emotions, such as "How dare you order a drink in my bar!", "Who let you in?" or "Enjoy your drink of nothing!" The exact reason for their laughter remains a mystery, but I always try to capture candid moments in my shoots.

We then moved on to some more dramatic shots, vastly different from the previous ones. The bar wall had a light green shade and unique texture, so I had Hot Rod stand with their back facing it, as their attire featured similar green accents. The initial shot was brighter, but using radial layers in Capture One, I deepened the shadows on the wall to create a darker halo around Hot Rod.

I have always followed the rule that "Anything that is not nailed down is automatically a prop", and so when I found a polystyrene head, I handed it to Sybil for an "Alas for Yorick" moment, complete with pearls, of course.

Next, I focused on utilizing the main room and as you can observe, the chair was not secured and was temporarily repurposed as a seat for Hot Rod.

After choosing the cleaner of the two glasses from the bar, I was pleased to see that there were no more incidents. However, it was also evident that the glasses were empty since the budget for the shoot was extremely limited.

I'll end this by sharing a few random photos taken during the shoot. After some time, I ran out of creative ideas and the clock was ticking. There might have been more opportunities for photos, but I was uncertain about how much I could freely move around.

Evolution of a poster

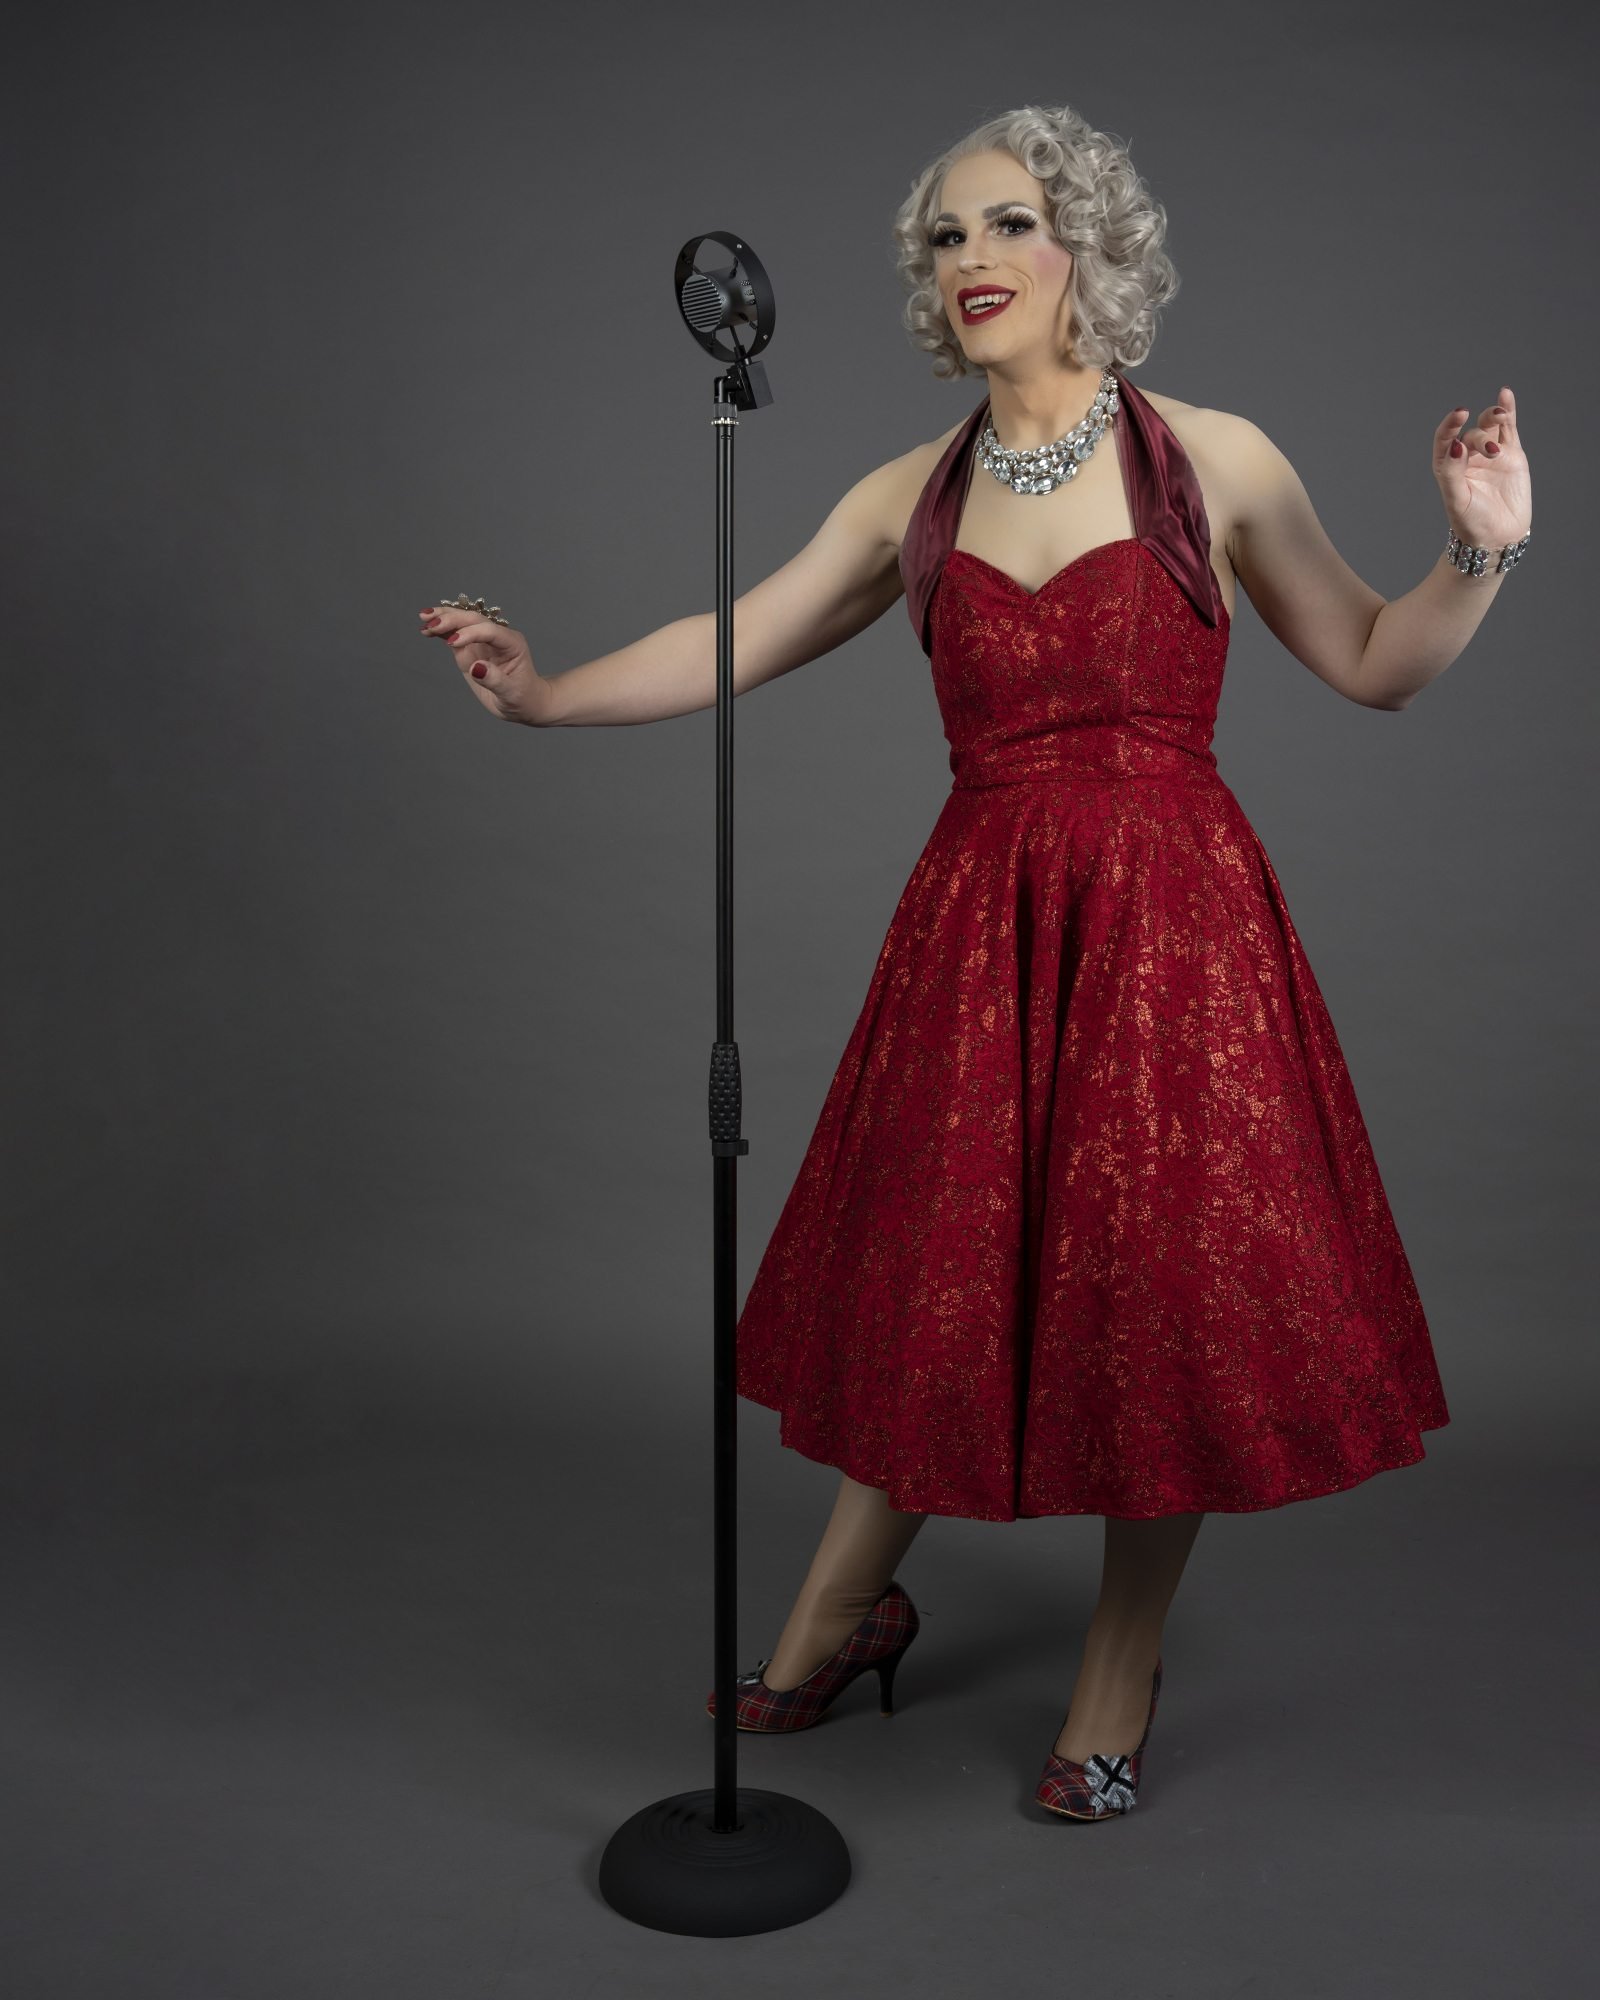
I recently photographed several performers at the Bermondsey studio, including Sibyl Grimm who I previously worked with at Bella Whispers. Sibyl is a talented singer, burlesque performer, and emcee known for her Old Hollywood charm, quick wit, and humour. Upon learning of her upcoming one-woman show, I invited her to be part of my studio shoot day. I envisioned creating a poster to promote her performance, similar to the ones I had made for the Clocktopus Cabaret a few years prior.

In the initial shot I took, I had a concept of featuring Sibyl on one side of the poster with the text running down the other side. I considered placing her on either the right or left side but ultimately decided to put her on the right.

I later cropped the image to a 4:5 aspect ratio, which is suitable for social media platforms like Instagram and Facebook. I've grown accustomed to this shorter and wider ratio, rather than the traditional 4:6. I applied the Rule of Thirds and aligned the rightmost vertical line with Sibyl's body, even though her head was tilted to one side. Her figure still occupied one-third of the shot, creating a balanced composition.

Sibyl and I decided on an Avant-garde theme, fitting for her 1920s background. I added an appropriate background and a vignette, as well as 1920s-style text. While the image was decent, it still felt flat and uninviting to me. The shells in the background may have been too large, but for me, the overall image just wasn't quite right. So, I went back to the drawing board.

For my second attempt, I aimed for a more show business look. The image captures Sibyl mid-swing, and the red dress stands out from the frame. The image is more entertaining and suggests a nightclub setting with the background. I darkened the surrounding area with a vignette while brightening up the dress and face.

In my next attempt, I experimented by adding some lyrics from the songs Sibyl sang at her shows. However, I soon realized that this didn't align with our goal of promoting the show, rather than individual songs. So, I reused the text from the previous image and overlaid it in the lower centre of the image, hoping the viewer's attention would first go to Sibyl and then down to read the text.

Comparing the two images, this one was a clear improvement.

For this shot, I once again used the red dress and a 1920s-style microphone positioned slightly off-centre. Sibyl was placed on the right third of the image, allowing the text to flow down on the left. I added a blue background to contrast with the red of the dress and pulled a border and emblem from my resources folder to fit the theme. This time, I also included the names of the songs as well as the details of the show.

This shot turned out much clearer, featuring Sibyl directly facing the viewer. Her name is prominently displayed, and the text is easily readable. The overall look is clean and professional.

I had a great time working on this project and I am looking forward to more opportunities to create similar works in the future!

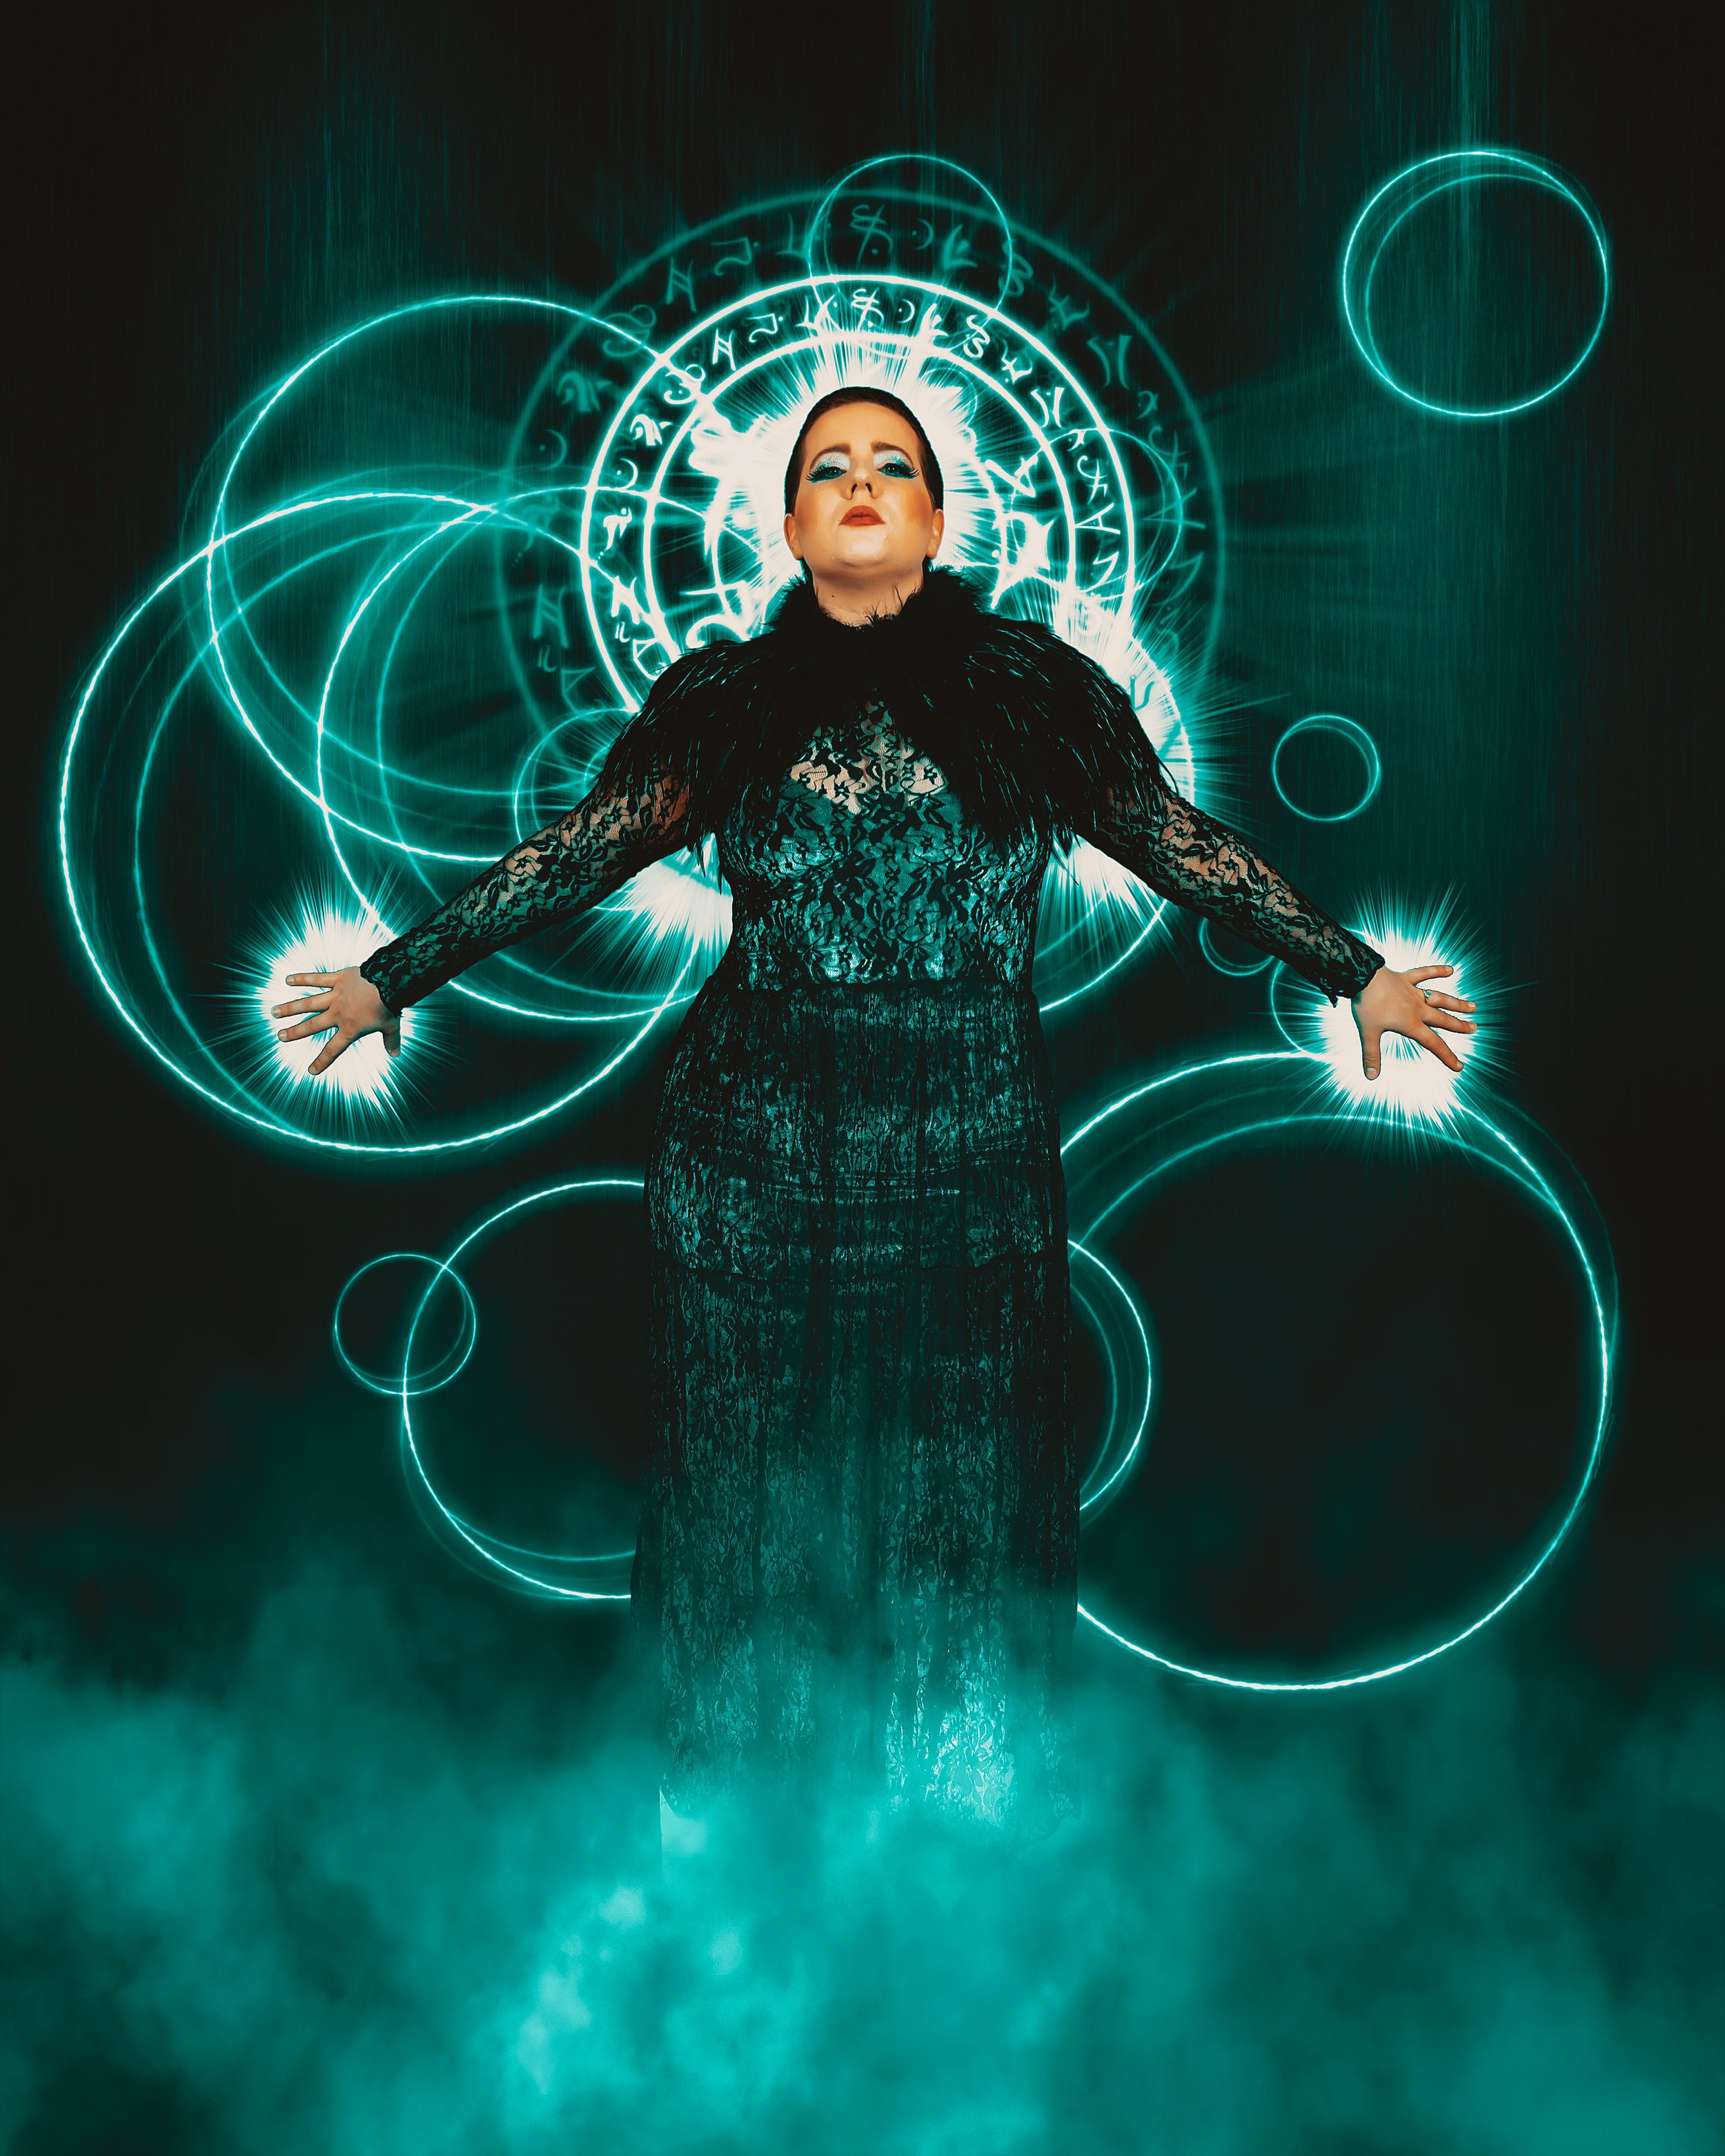
Are you a good Witch or a bad Witch?

Finally managed to get back into the studio for another photoshoot, this time with four witches from the Coven Burlesque. We managed to have a few video chats before the event, nice to meet someone before the shoot so you don’t meet a stranger on the day. I might continue to use Zoom as I had the idea of having a background of images from the previous shoot. Each time I have a set of video chats there is always something that comes up to add to my list of things to talk about.

There were a couple of things that changed from the last time I was in the studio.

  • This was the first time I was using my Sony α7III with the new Sony 24-105 f4 lens, this did not need an adaptor, unlike the Canon version. I had requested of the Coven that they have a witchy-based outfit and a couple of others to give me a large number of shots to play with.

  • As this was another 8-hour shoot (10 till 6) I tried a change from previous shoots. Instead of waiting until around lunchtime to eat and then feeling heavy in the afternoon, I instead ate a little but often, a quick bite of a sandwich here and there while the model was changing and remembering to keep hydrated.

  • One last change was unexpected, I had begun to stand up and take shots rather than sit down on the chair provided. The 8 hours flew by this time!

I was going to set up a numbered set of sticky notes on the walls, I was to put them around the studio and ask the models to look at each one to keep a constant eye line between the shots. However, I forget them so maybe next time.

The editing comes easier now on these shots, I wouldn’t say they were produced any quicker, just the flow of A to B is easier in my work through. Multiple techniques are employed for a final shot. In the gallery below you will see some variant shots as I could not quite decide which was the better image… so why not have both? Background iconography was used to frame the subject in a number of shots, and for the first time, I think, I used perspective tools to form the end of a corridor for one of the shots.

I hope to be in the studio again soon!

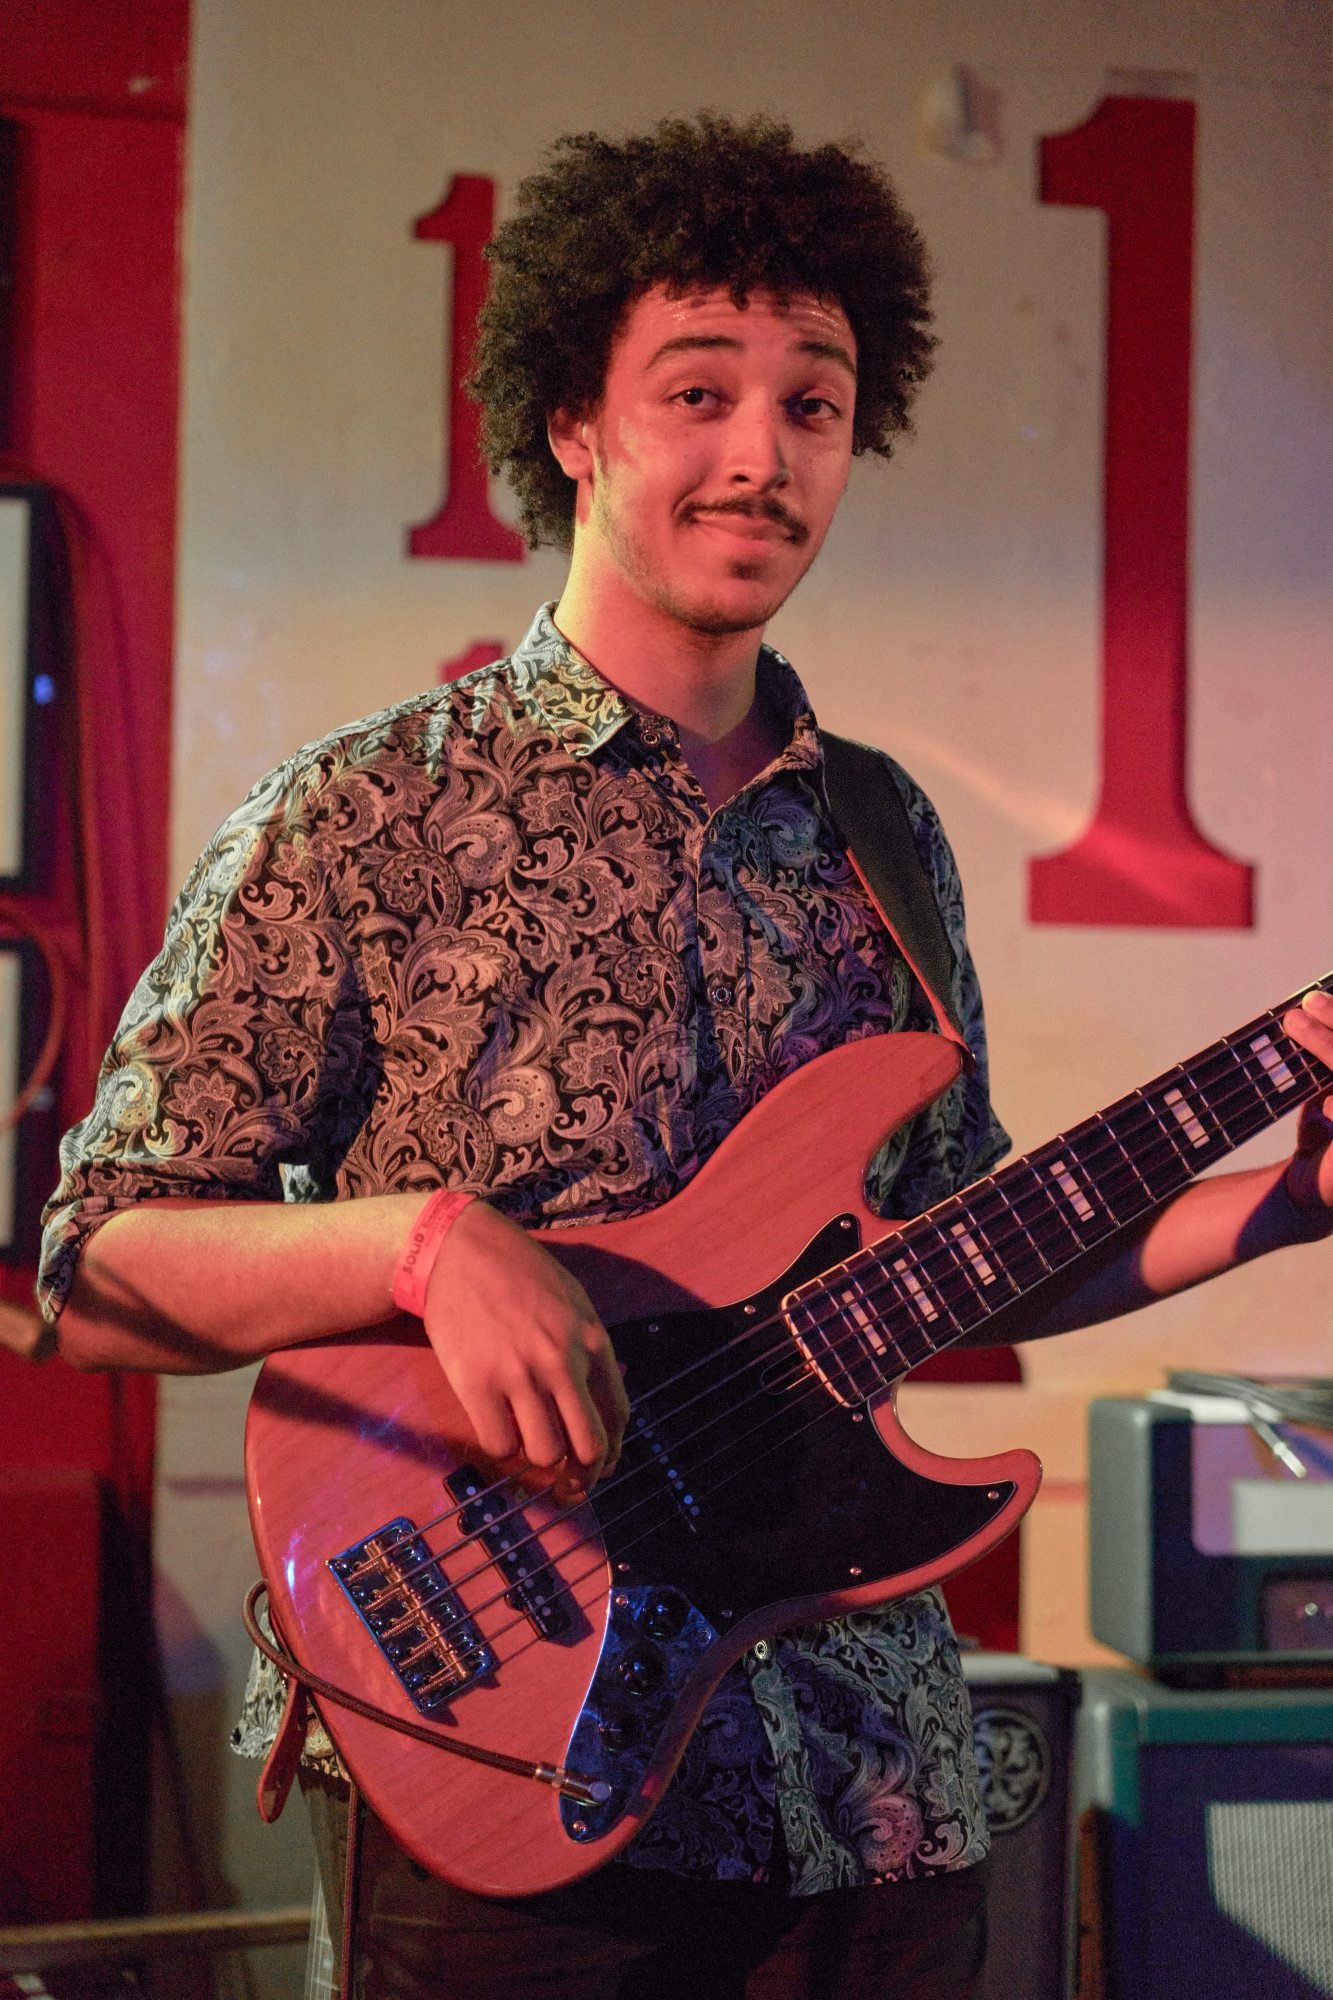
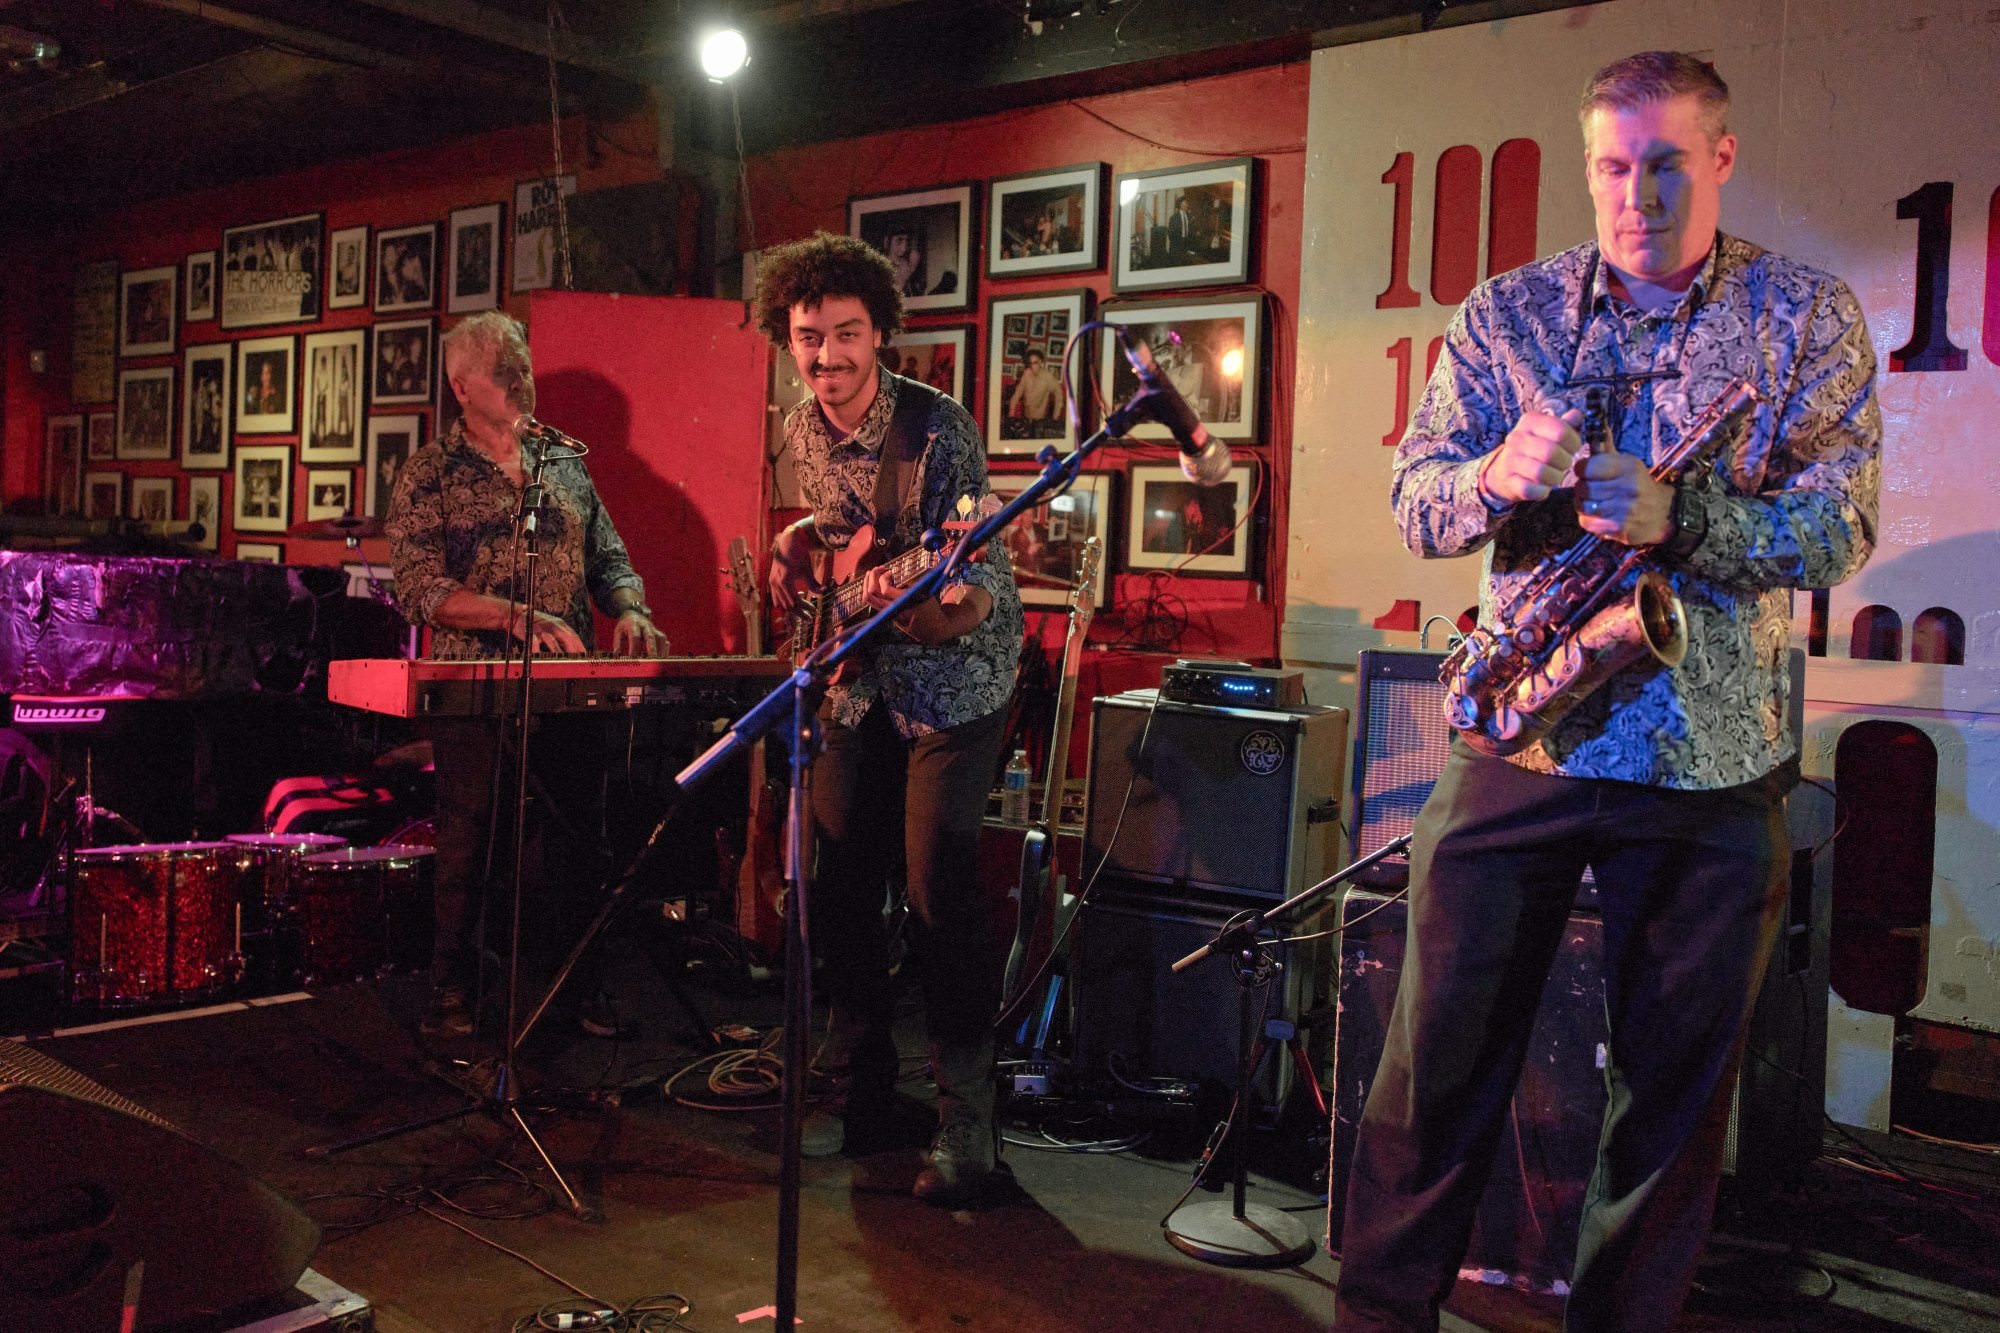
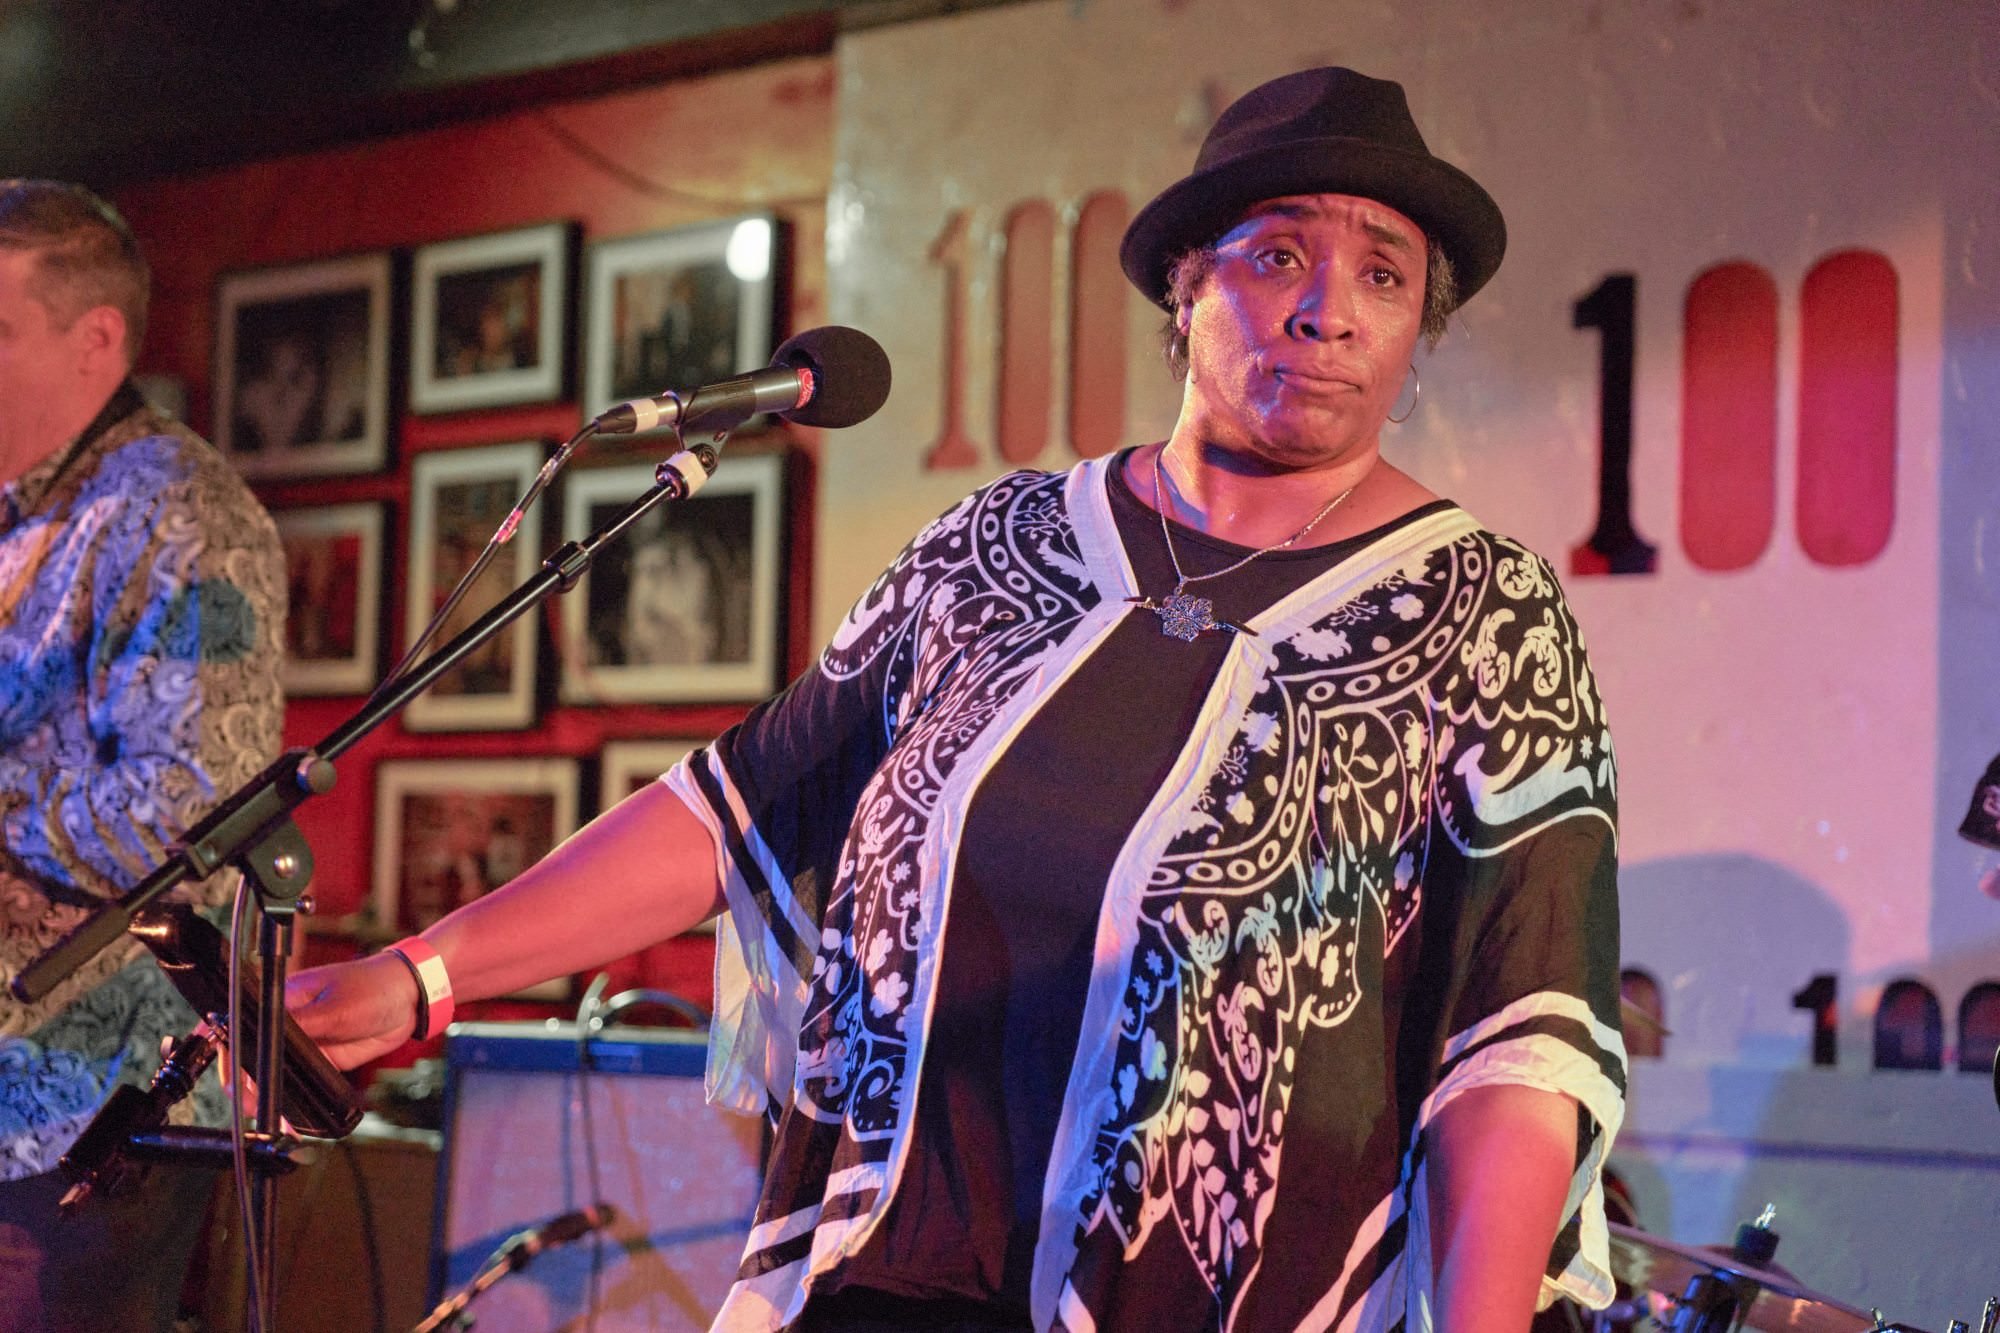
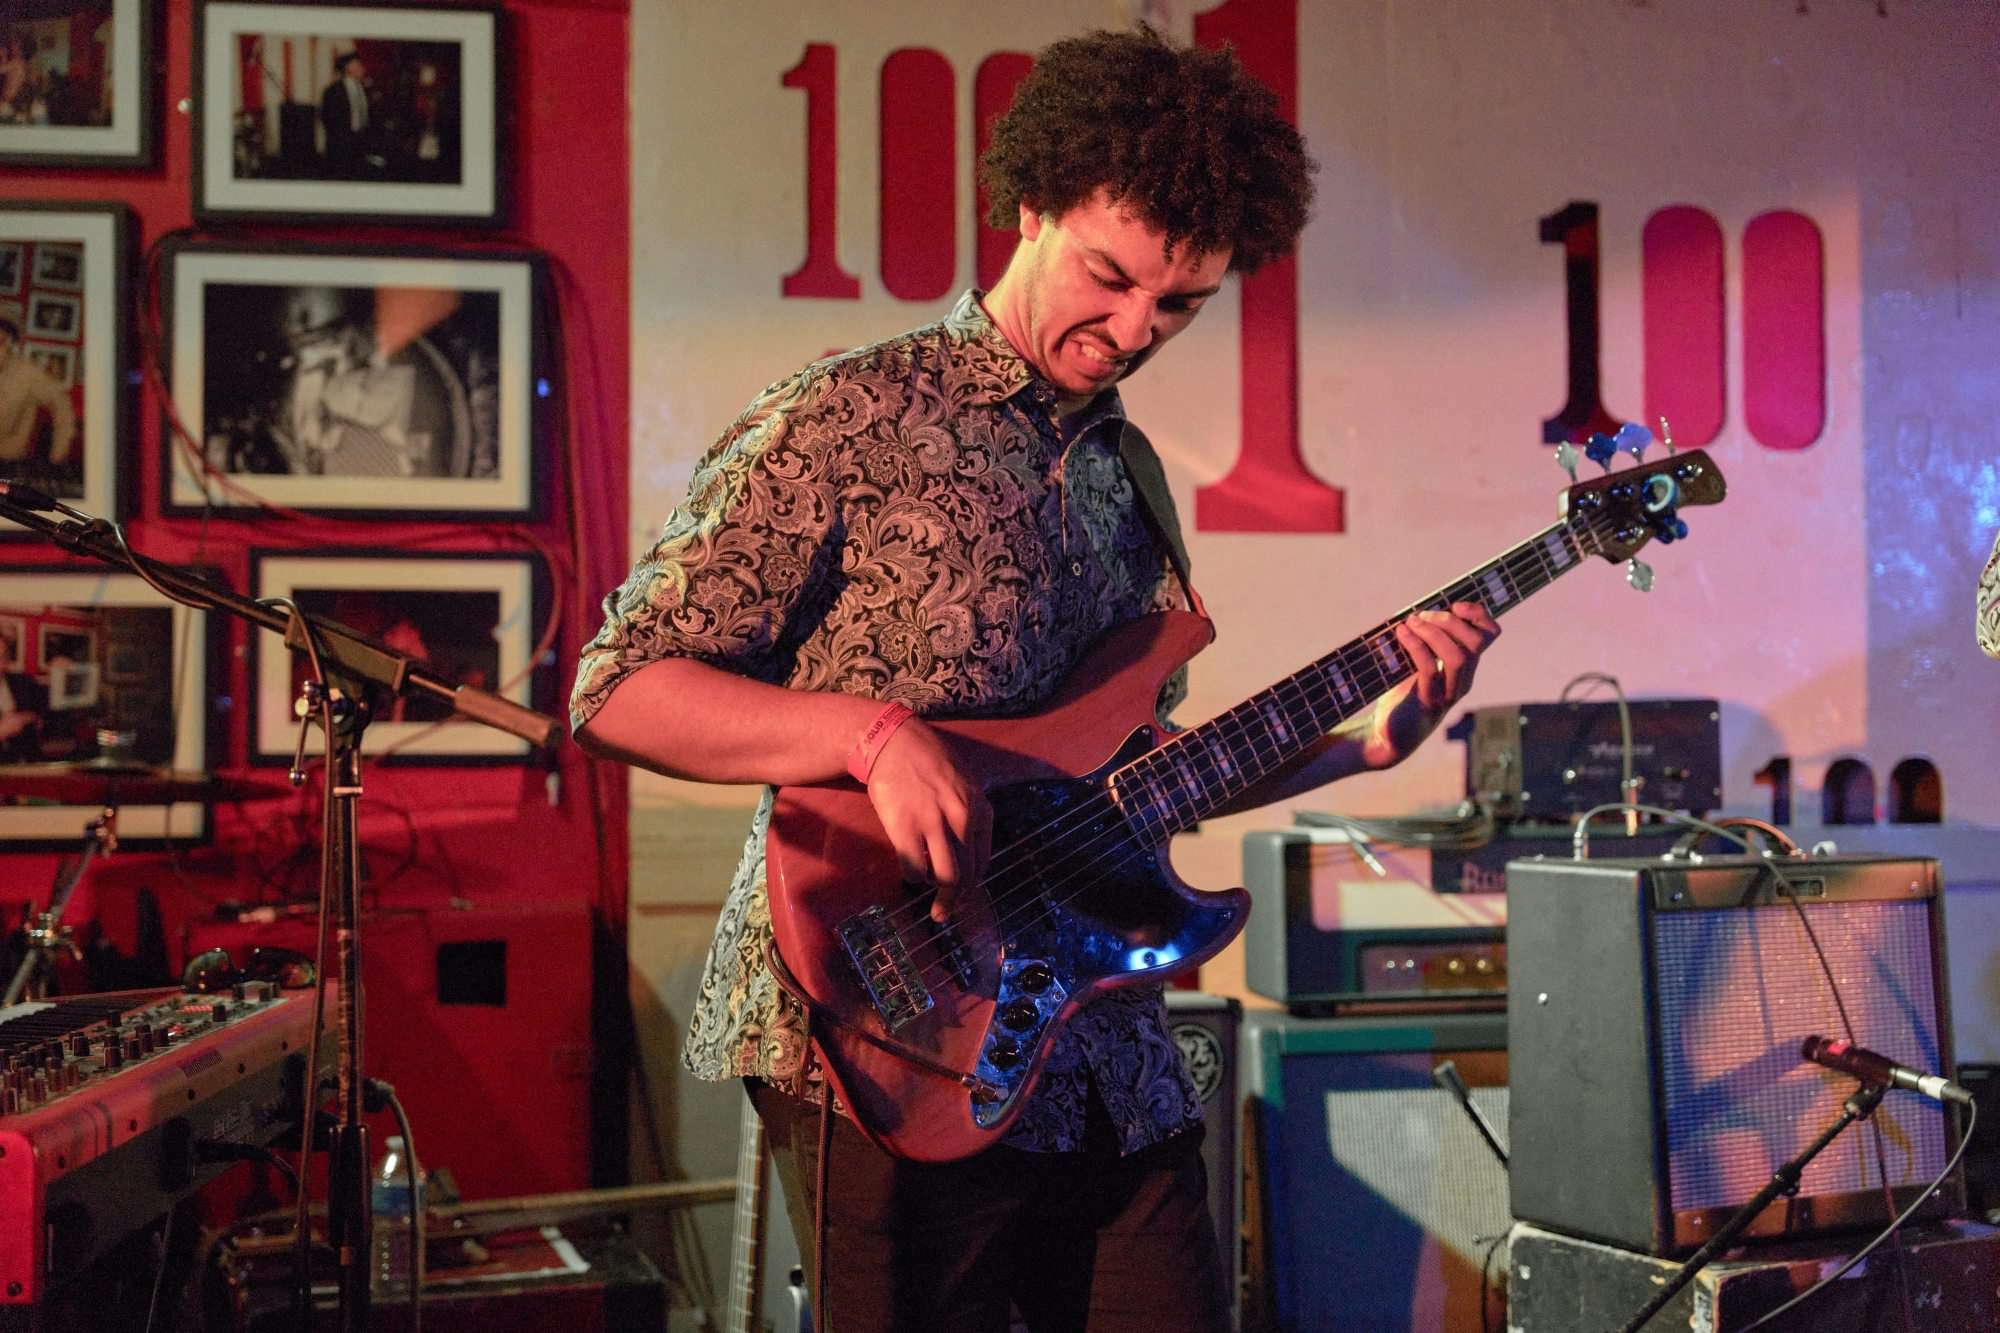
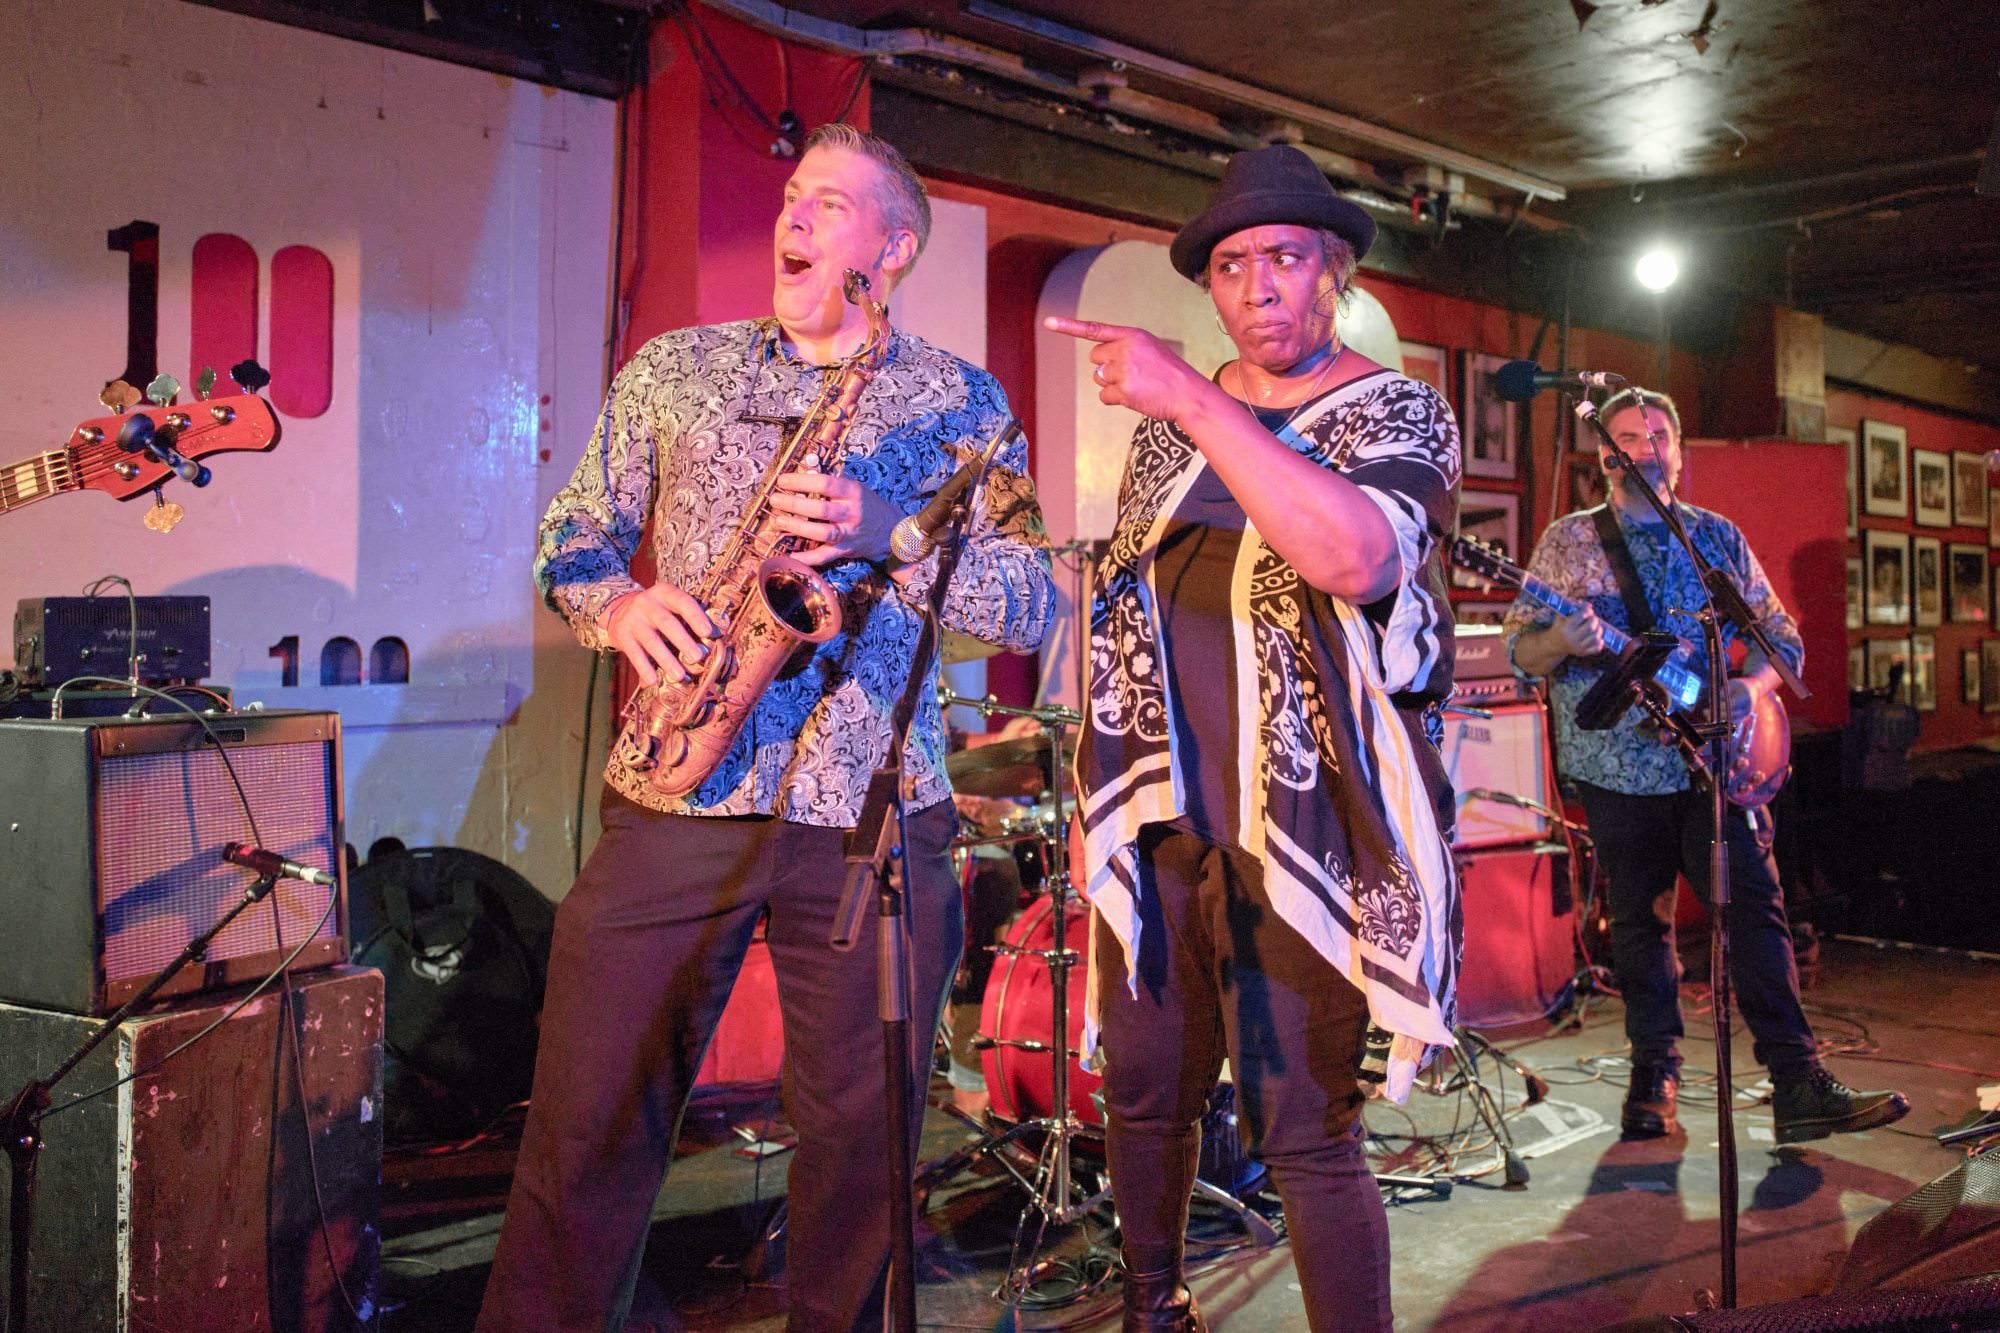
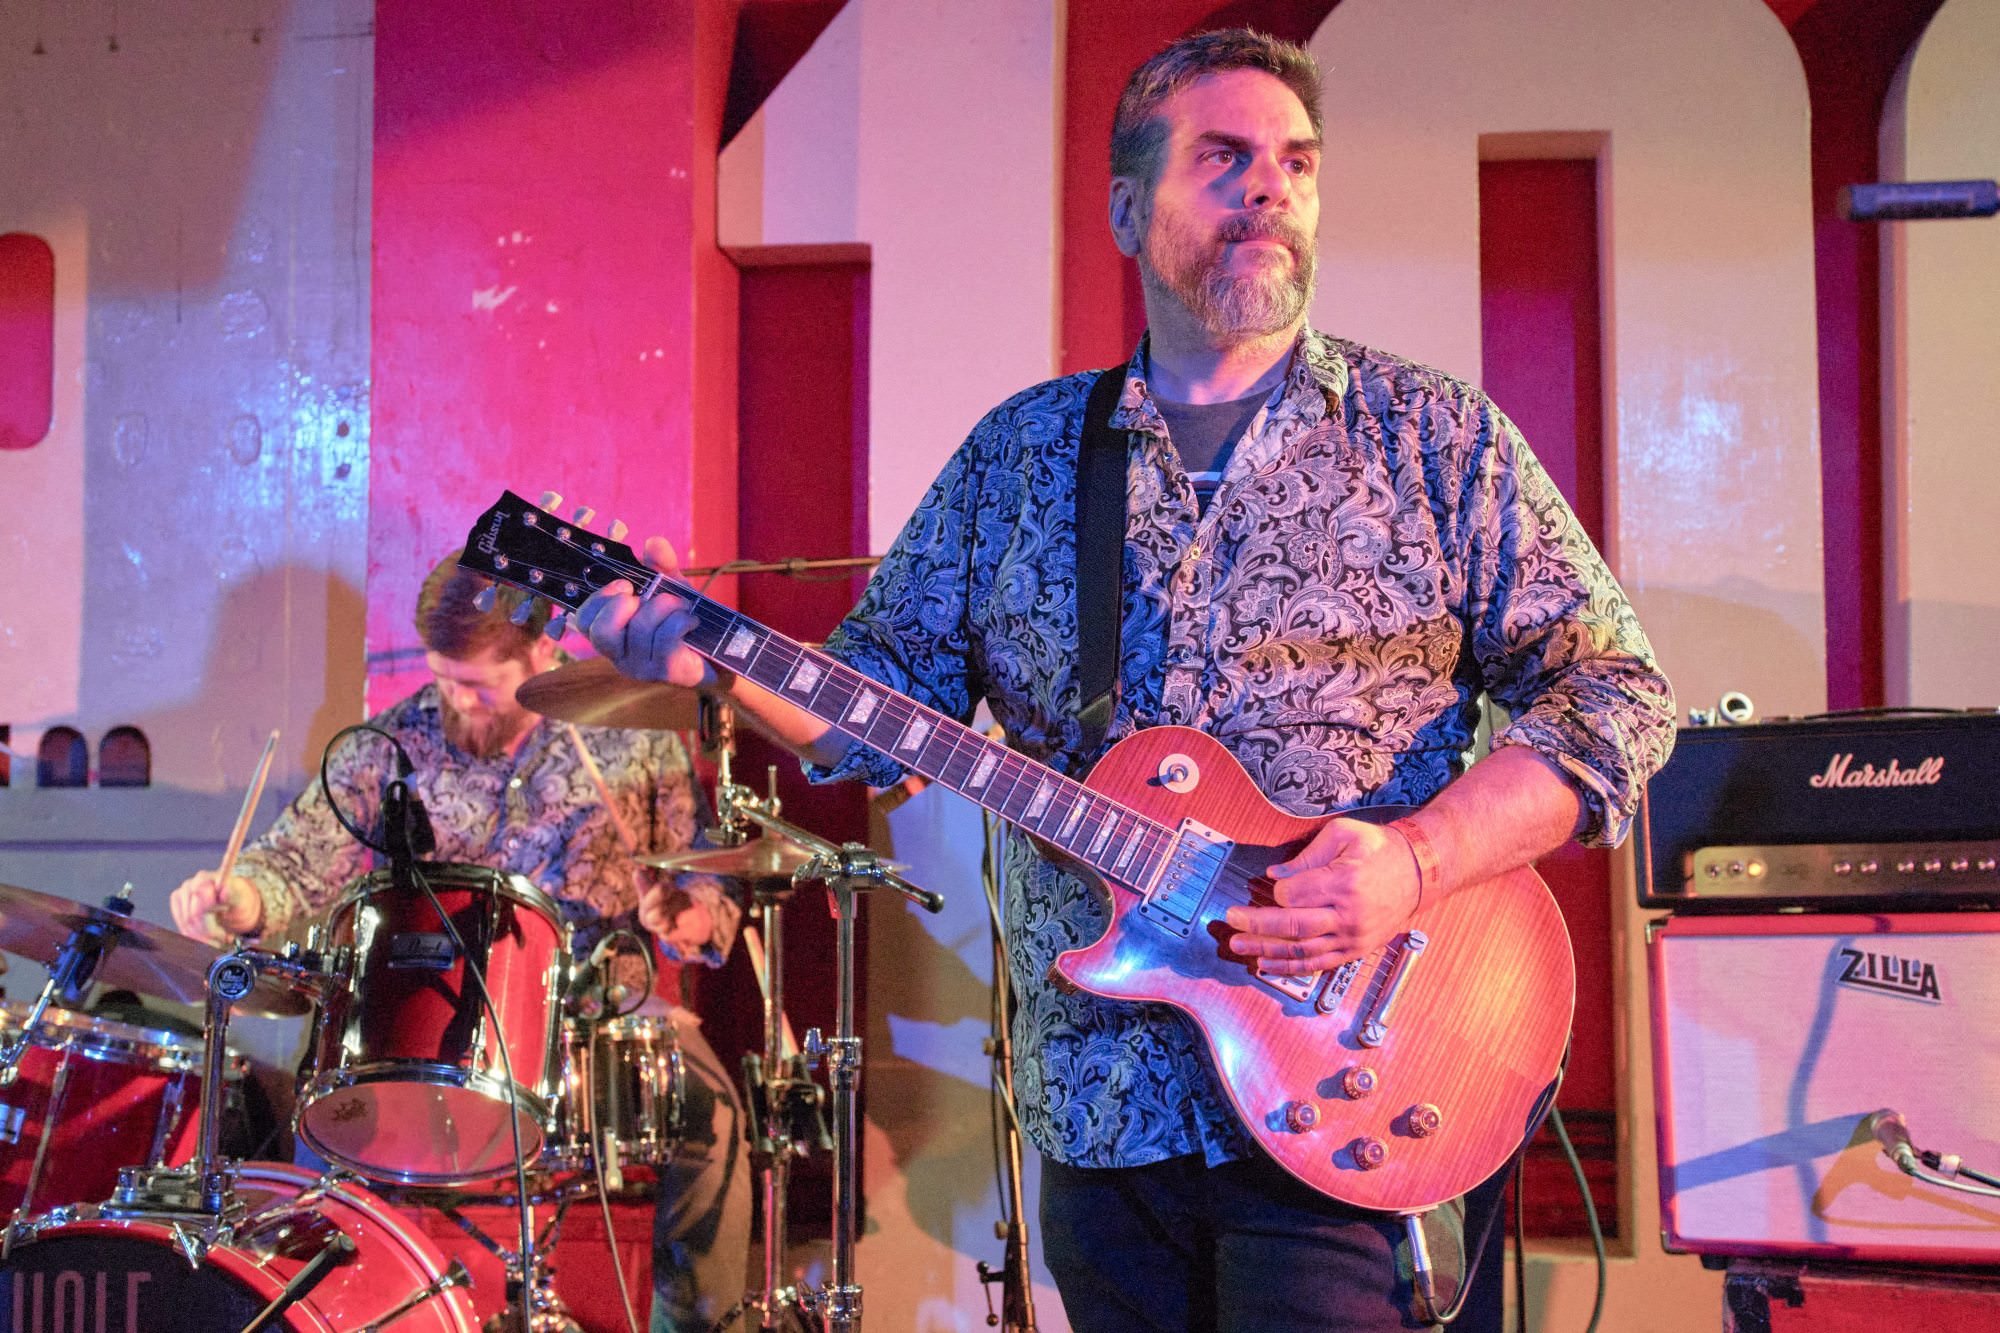
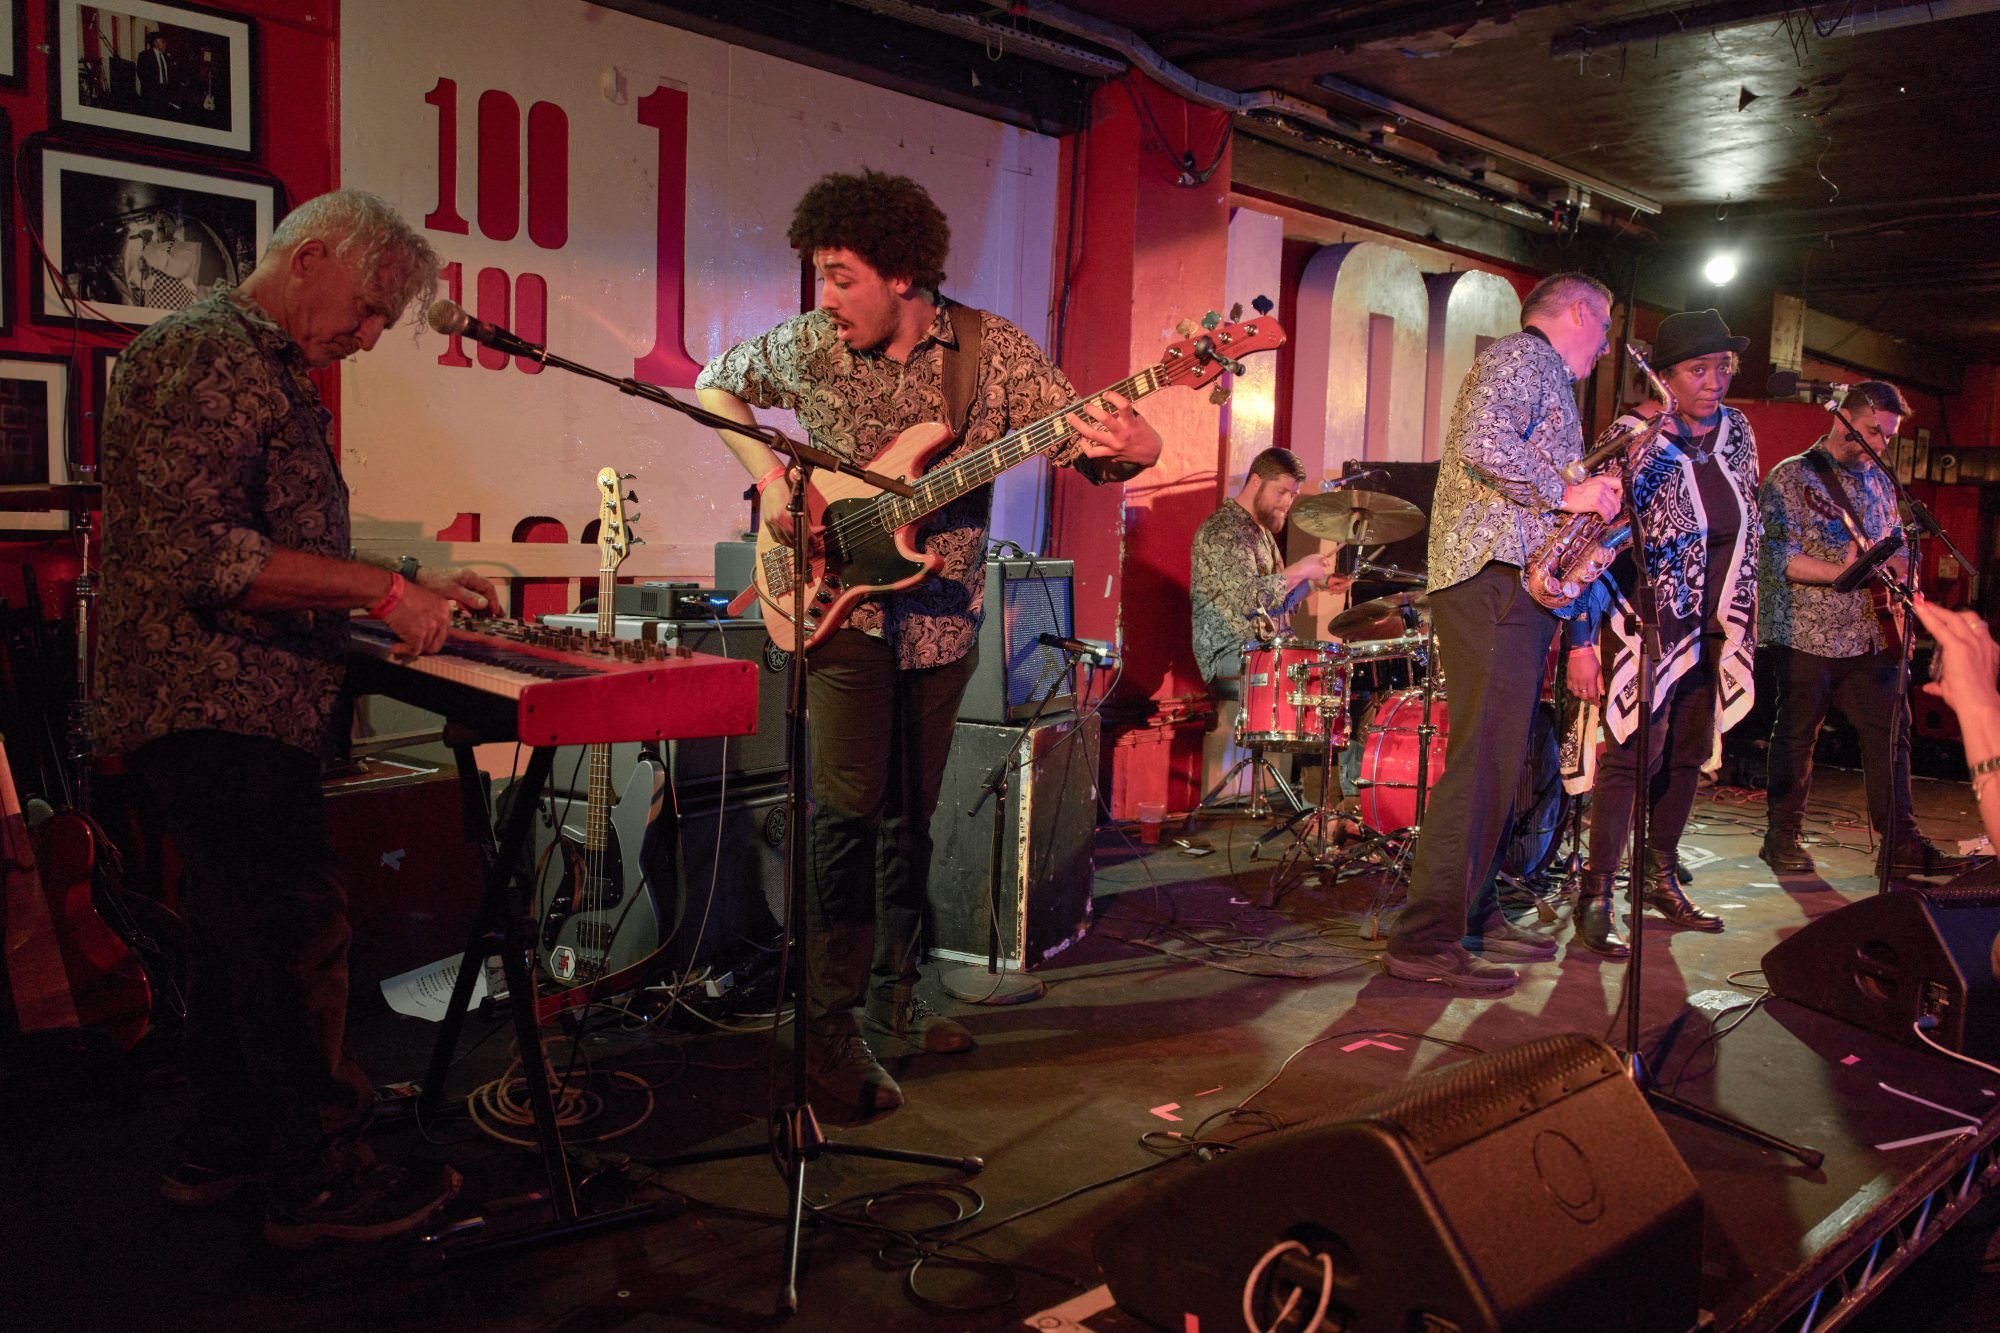
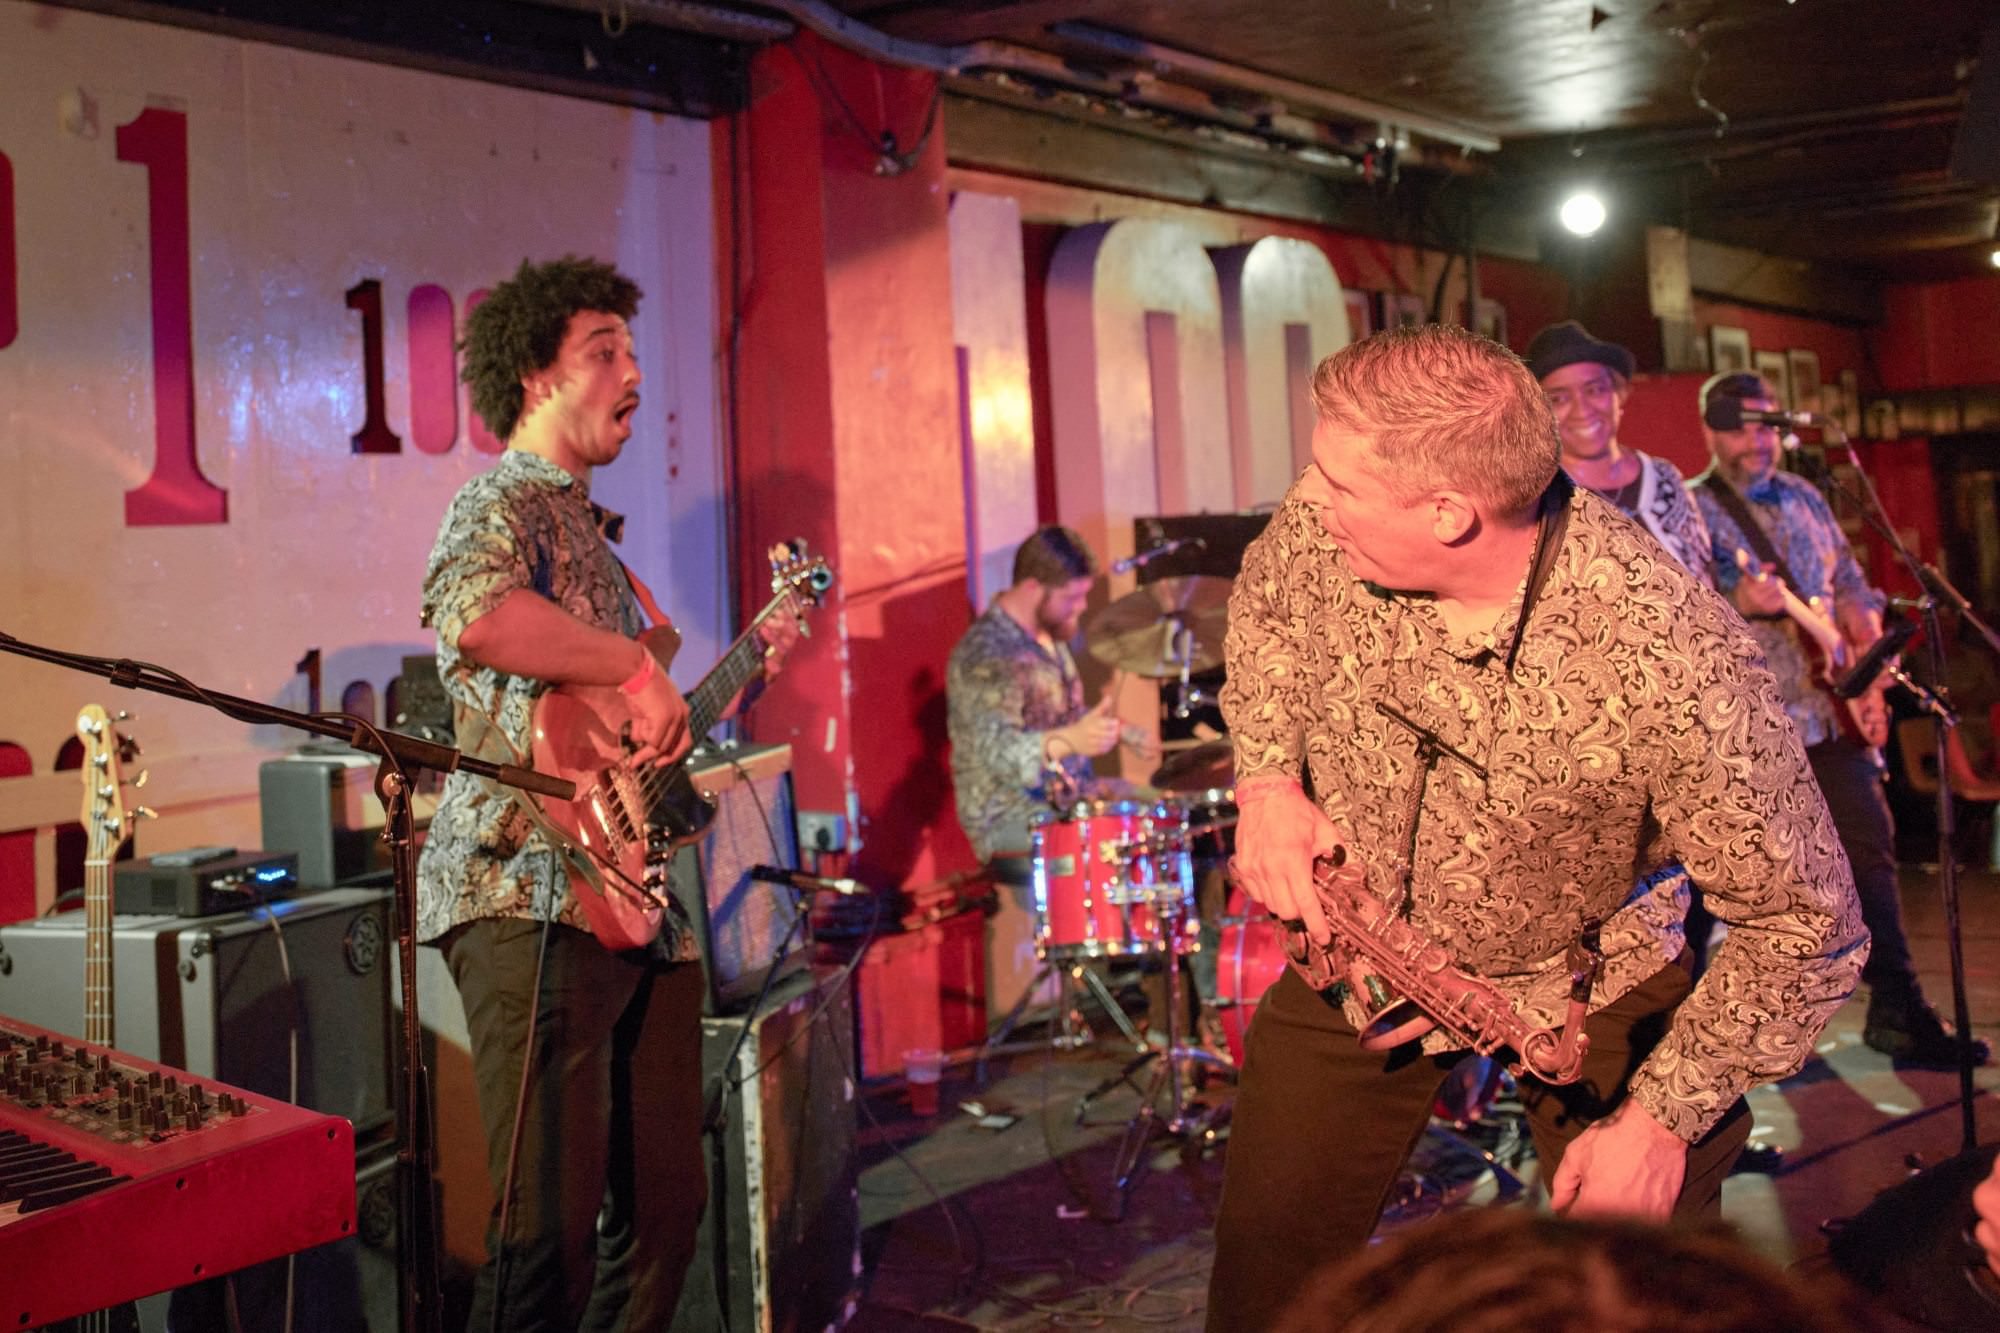
Misty Blues: The 100 Club Oxford Street

The 100 Club Oxford Street

27th June 2023

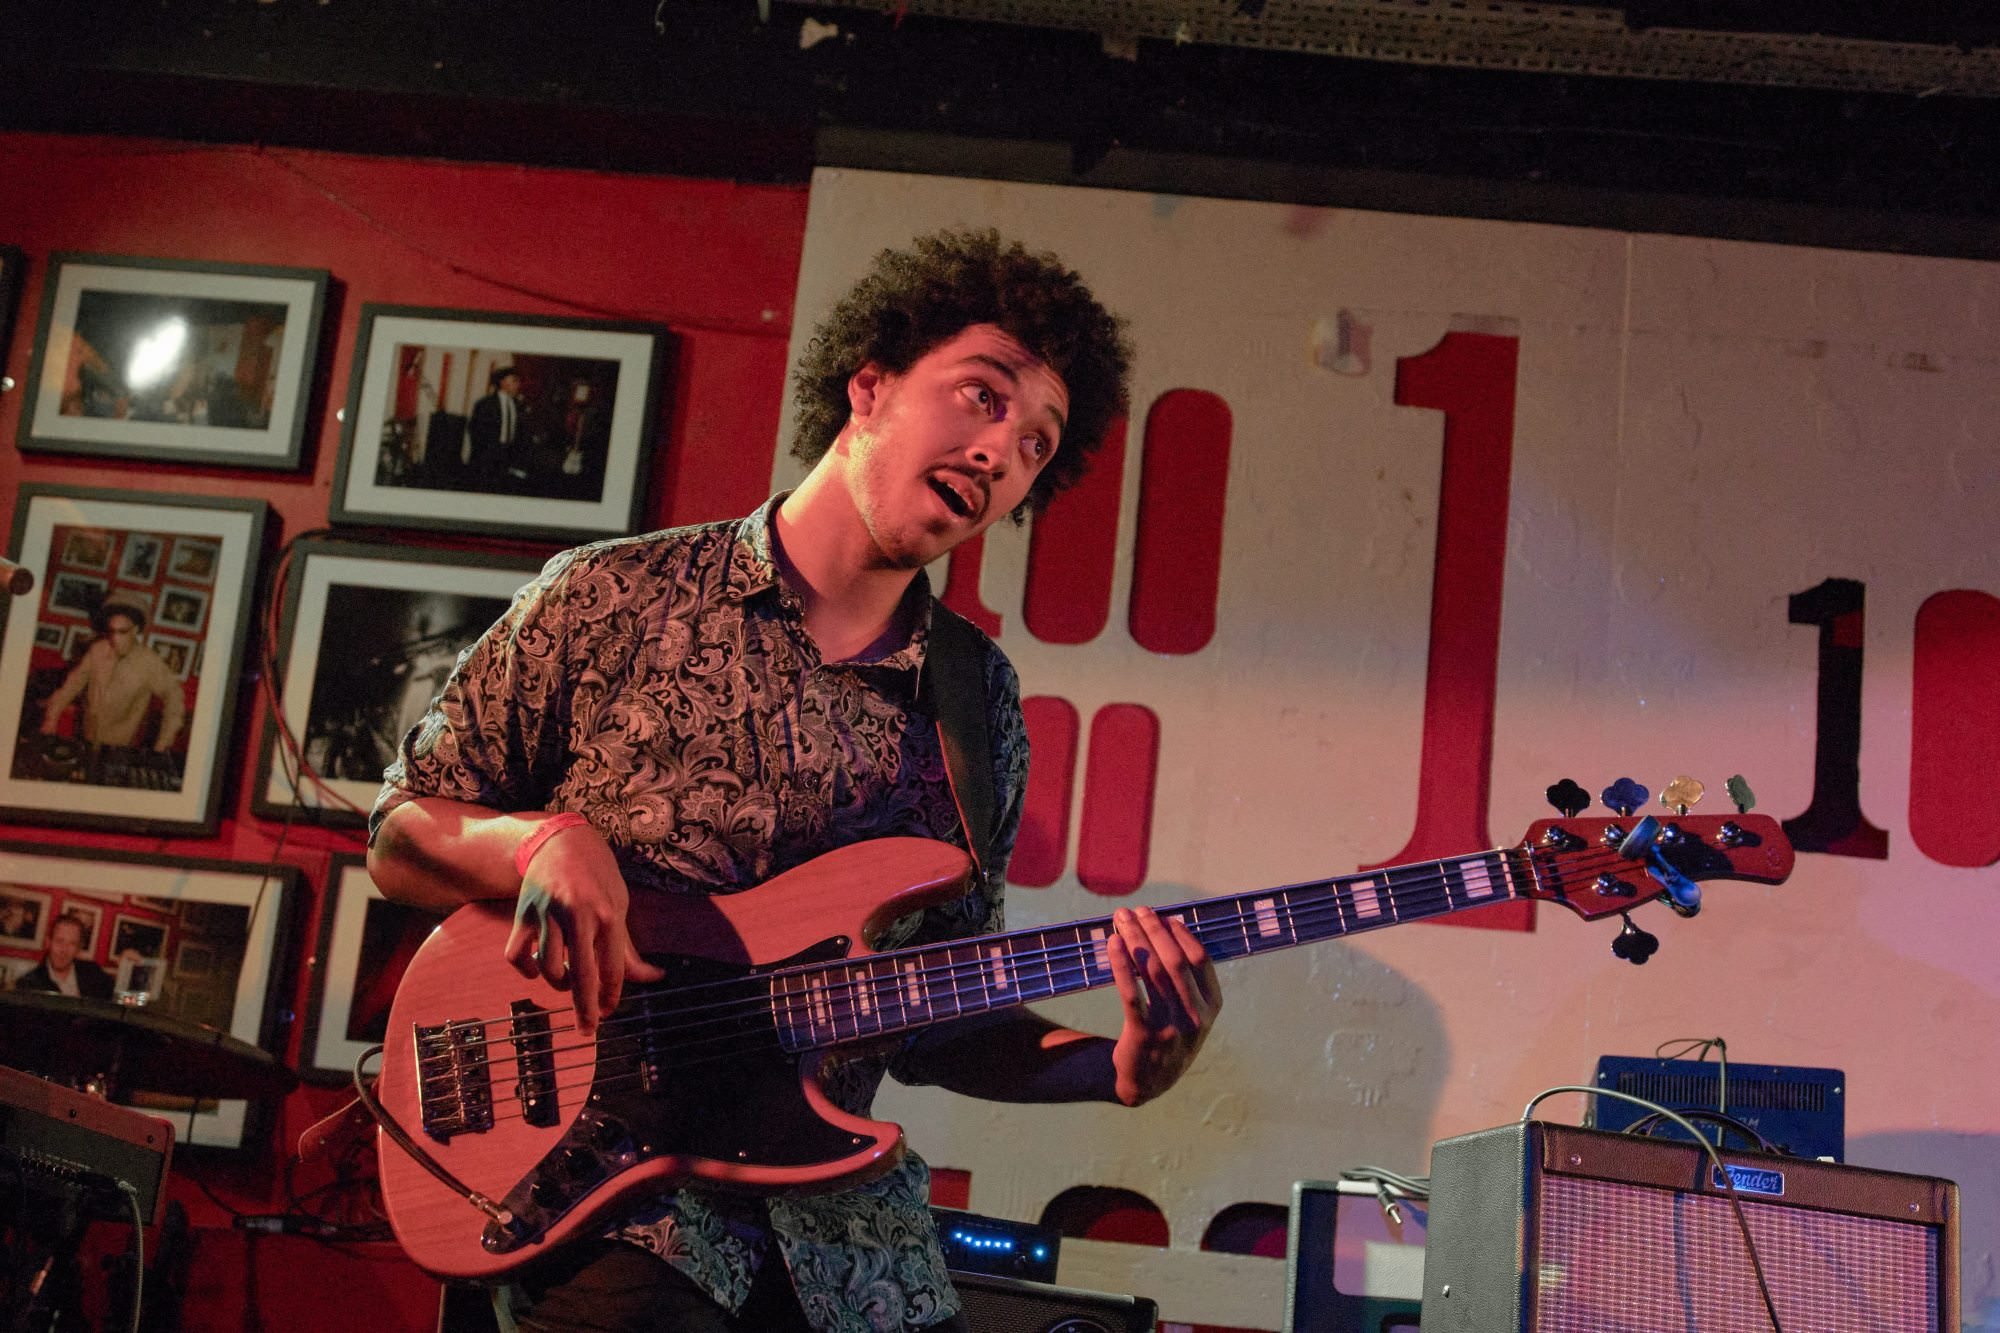
Five Points Gang : The 100 Club - Oxford Street - 23rd February 2022

The 100 Club - Oxford Street

23rd February 2022

End of year walk

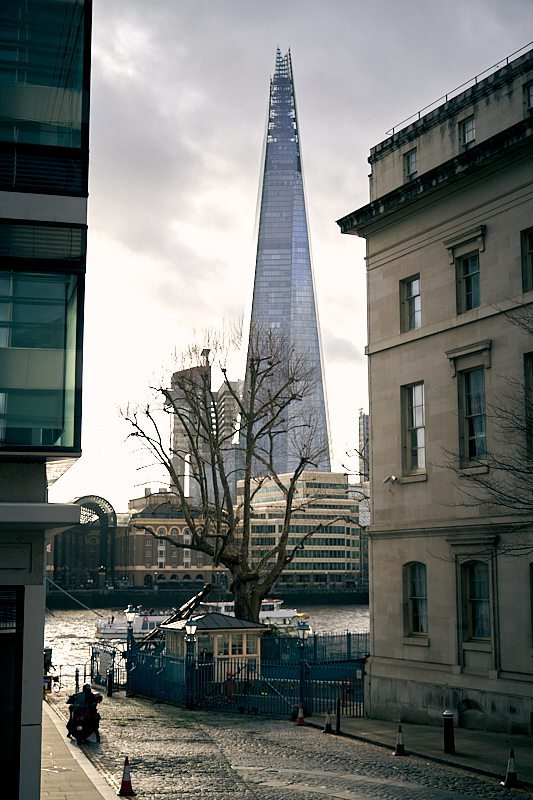
Shall I go out? It’s New Year’s Eve and it is not raining so put on a coat and go out! I consulted Google maps and plotted out a route I wanted to take. I had with me my Sony α7iii with a Sony FE 24-105mm F4 G OSS Lens nailed to it. Exiting London Bridge station I walked east along Tooley Street to my first location.

The Shard photobombed this shot and was very tall, one of the security guards told me they were lighting it up later in the evening. I wasn’t going to wait that long to be honest so I smiled through my mask and walked on.

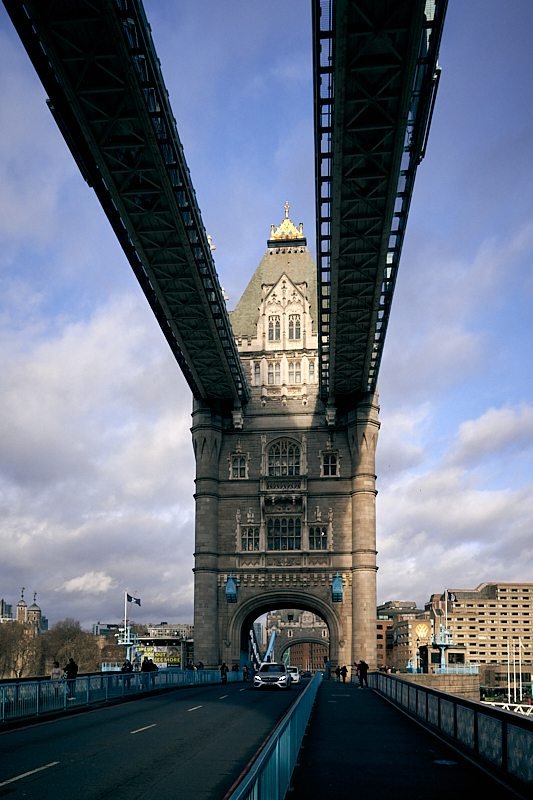
There were more people walking along the south bank than I thought there would be, I wonder how many selfies I walked into in the few minutes it took me to get to my next destination. So this is Tower Bridge and of course, there is a London bus on it, there had to be and yes I did wait. I am not sure where the dingy was going though…

Crossing over the bridge, as it was much better than trying to ford the river, I stopped halfway to take the above shot. To me it seemed all the other buildings did not like to talk to other and were huddled to one side.

I walked the rest of the bridge dodging more tourists waving selfie sticks around like spears and walked past the south side of the Tower of London without taking a shot, to be honest, it didn’t inspire me and I could see more selfie sticks than cranes. As I walked along Lower Thames Street I took this shot of a tree but I was photobombed by the Shard again in the distance.

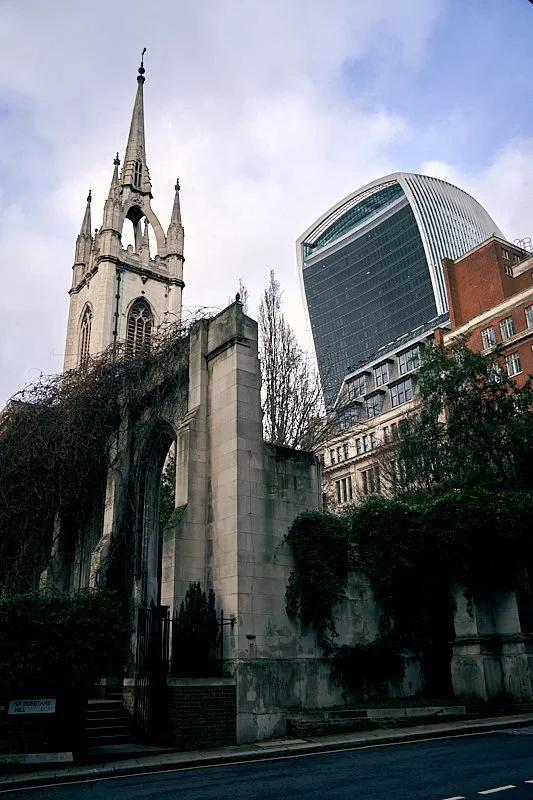
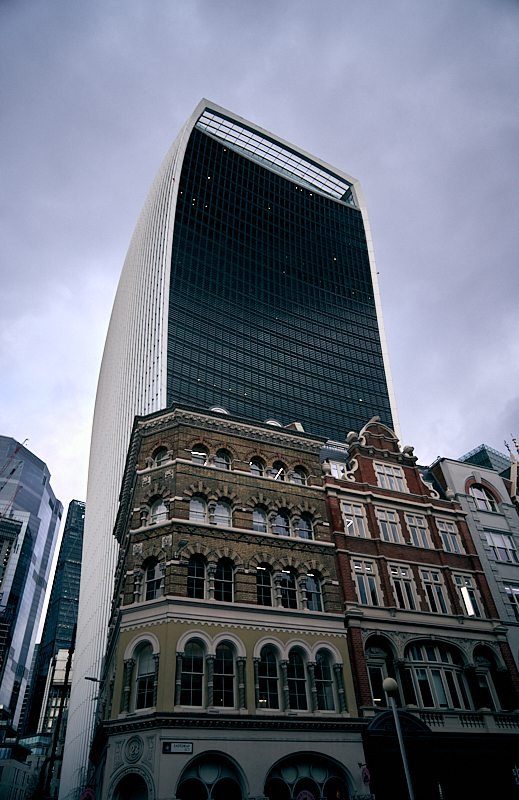
Ignoring the Shard I continued towards St Dunstan in the East church, who had struck up a conversation with the Walkie Talkie building, Probably discussing how rude other buildings were. Then finally onto The Monument. There is no way I think I could make it up there this time… near killed myself last time although it was the height of summer.

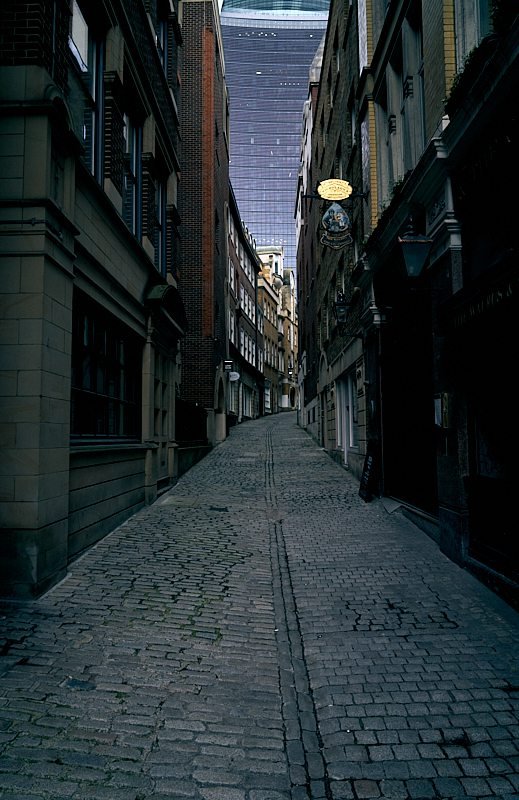
Turning right, instead of walking face-first into The Monument, I walked up Lovat Lane. This looked like an old pathway and most of the buildings were brick-faced and not covered in glass, like most modern ones. I wuoldn’t have minded if a horse and cart came trundling down and ran me over.

[ I really should have named this blog post ‘Shots of buildings from a distance‘ ]

Once at home I curated the images and found the sharpness of the Sony FE 24-105mm was fantastic, most of these shots were taken at f4,5.6 and 8 to get more of the distance in focus so I am very pleased with my Sony kit now.

I wonder what this new year will bring?

Coming soon to a theatre near you!

Coming soon to a theatre near you!

I have always liked watching films and always take notice of the advertising posters. Even more so now as I am keen to work out how it was constructed. So with little to do this afternoon, I set about creating my own. I didn’t go crazy on this project just to see if could get close and create the attraction and excitement for watching the film, that I get from a poster.

Read More

Socially Distant Dog Warmers

Recently I have been refining a couple of processes to make things smoother. One such process is to have a quick video chat with any model I haven’t worked with before. I contacted Aya L’Storm for a quick shoot at Wimbledon Common, I had shot Aya L’Storm a couple of times while performing with The Risquettes but this, would be a single model shoot.

During the video chat, we discussed the shoot, social distancing rules for both of us and I also sent a few pictures as a mood board. As a first, I also sent a map with a route of the area we would be walking through, with a few instructions in case we meet some wildlife.

169591737_291757715793899_4023841767763872084_n.jpg

As usual, I was extremely early so sat at the bus stop watching a Bond film on my phone. This was totally unrelated to the shoot as we were not going to be infiltrating a villains lair, hearing a monologue then blowing the place up.

Aya arrived by bus and not sadly not in an Aston Martin DB5, so putting the Bond metaphors away we started to walk towards the lakes. We chatted about how the pandemic had affected us over the past year and soon arrived at our first stop. I did say during the video chat that my first priority was the health and safety of the model so true to my word the first thing I asked Aya to do was to walk into the branches of a tree.

I wanted to try out all my lenses again with the Sony α7 III so my backpack was quite heavy but it allowed me to get a variety of shots. I was itching to use my Sony 85mm f1.8 lens again for the first set, then swapped to my Canon 24-105mm f4 for a series of ‘walking towards the camera’ shots. This was to test the tracking of the Sony α7 III. Some of the shots missed the eye but I put this down to the Canon lens being nailed to the Sony with the Sigma adaptor. It still got some excellent shots though.

Aya L’Storm_06-04-2021_018 JPEG sRGB 2000px.jpg

Aya continued to walk so I followed, we moved further up along the edge of the lake. While chatting and walking I am always on the lookout for interesting things to shoot along the way. Aya noticed collections of logs stacked up throughout the walk, we also came across a patch of what looked like pigeon feathers in one particular spot. We looked around and could not see any pigeons just a lot of Dog walkers. I misspoke and called them dog warmers instead, Aya was in favour of warming dogs with blankets instead of my suggestion of warming them with fire. One particular collection of logs was a great seat for Aya to sit on for the above shots.

Moving closer to the lake I wanted a shot of Aya standing on the bank. I first checked the area was stable for Aya to walk on. I know it would have made a great shot for one of us to plummet headfirst into the lake but that would have been the end of the shoot and possibly my camera.

Moving further into the wood we tried more ‘walking away and back again’ shots while watching out for more dog warmers. For these shots, I used the Sony 85mm and the Sigma 70-200mm f2.8, the Sigma at 200mm gave me a lot of range for the shots as well as compressing the background.

We had a break at the Windmill for a socially distant cup of hot chocolate... One each, of course, I didn’t have a straw long enough for both of us.

Moving down to another lake, I had expected a bevvy of squirrels to assault me for a bag of nuts. This time, not one squirrel was in sight. That’s the last time I visit Tescos for these ungrateful Sciuridae.

Aya had also brought along a couple of fans to swing around. This was going to mean I would need to up the shutter speed to ensure there is no blurring as the fans move. I know that Wimbledon Common is on a designated flight path so it may have been possible the fan waving could have attracted a passing plane. Not wanting a plane wheel to the back of the head I made sure any fan waving commenced in deep parts of the forest.

There were more dog warmers around and it was getting busy so decided to call it a draw. We also noticed there seemed to be a storm coming along from the North. We grabbed a quick cup of socially distant cup of tea ( two of them ) and walked back to the bus stop, dodging the odd snowflake.

I really enjoyed this shoot, it was good to get out again, get creative and have some generally insane banter.

Aya L’Storm is a Burlesque performer, choreographer and dancer with The Risquettes, a Cabaret/burlesque dance troupe based in Surrey/London.

The Queer Parenting Partnership

During the lock down this year, I had very little choice in the way of photoshoots. Once the main restrictions had been lifted I was contacted by Kim and Kay from the Queer Parenting Partnership. The Queer Parenting Partnership facilitates inclusive antenatal and postnatal education for all family types, and they wanted photos taken for their upcoming website.

Fantastic! This would give me another opportunity to use my Sony A7iii and the Sony 85mm f1.8 lens stuck to the front. Both worked very well for shoots at the beginning of the year so I was eager for another go.

We met at Brompton Park station and walked to a small park in a residential area. The first thing I noticed was the number of dog walkers. To be honest, if I was a dog I would be annoyed coming to this park, as soon as you get some speed up to chase after a ball you are out the main gate and halfway home again. This means the park was small so I had to watch where I was pointing the lens, I did not want to include someone’s house in the shot.

While Kim and Kay were getting prepared I took a quick candid. I always do for a couple of reasons. It makes a quick check of the camera in case I have left a few settings from the last shoot, and can show a bit of background for blogs and the website if needed.

So as the shoot began I took stock of the surroundings and as they were wrapping themselves in rainbow flags I wanted a bit of colour besides the abundance of green, so I choose the purple leaves of the tree behind where we set up.

The Queer Parenting Partnership.30-08-20.043_wowm.jpg
The Queer Parenting Partnership.30-08-20.031_wowm.jpg

As you can see there was a lot of hilarity throughout the shoot, which I find to be a good thing as it gets everyone smiling and results in a more relaxed shoot.

After the laughter had died down we swapped to a picnic type shoot while sitting with two Demo Dolls.

It seems picnics are incredibly funny as well… or I could have told a joke at this point and where would we be in lockdown if it were not for a sign of the times photo with face masks….

The Queer Parenting Partnership.30-08-20.216_wowm.jpg

After the shoot, we retired to a pub in Fulham where Kim and Kay had a look through the shots and we could relax. In total there were around 250 shots to choose from. Thanks to both Kim and Kay for this shoot, I had been stuck indoors for a long time!

The Queer Parenting Partnership.30-08-20.237_wowm.jpg
The Queer Parenting Partnership.30-08-20.150_wowm.jpg

KAY

Has been a qualified midwife for three years and has worked in a range of settings including community, home birthing, on hospital wards and in teaching hypnobirthing and parent education.

The Queer Parenting Partnership.30-08-20.179_wowm.jpg

KIM

Is the co-creator of The Queer Parenting Partnership.

Has worked in the childcare industry for 15+ years and was a finalist in the UK Nanny of The Year Awards 2019.

The Queer Parenting Partnership

Kim and Kay became Facebook friends in 2019 when Kim was looking for queer birth workers within the UK. More than a year had passed when Kay reached out to Kim seeking a consultation to set up an antenatal education business for LGBTQ+ clients. Kim had already been thinking about creating something similar and proposed they both do it together - thus, The Queer Parenting Partnership was born, with Kay covering the medical side of things and Kim covering the practical side of things. The two got together soon after for a photoshoot and it was clear immediately that this was a match made in queer heaven! They were like old friends who hadn’t seen each other for some time having a catch-up!

Website: https://www.parentingqueer.co.uk/

Facebook: https://www.facebook.com/parentingqueer

Instagram: https://www.instagram.com/parentingqueer/

Dark Studio - Return to shooting!

It has been such a long time since I was in a studio taking shots and thinking about creating artwork. So I was very pleased to see that the regular studio I use was available to hire!

You may have noticed in recent blog posts, that I have been using a new way of editing portraiture. I needed some fresh images to work on as I found I was always going back to older images. That isn’t a bad thing but new is always good and inspires new ideas. I contacted a few models and confirmed attendance and we were off. This time though I changed a couple of things.

The first was to have a video chat with each model/performer to introduce myself, I had briefly met all three in passing on other shows so it was a good idea to meet virtually first. This allowed us to go through my introductory web page for new visitors to the studio as well as answer any questions they had ahead of time. I will continue this web meet for future shoots.

The second was to use my Sony A73 with tethered shooting to Capture One. Each shot was copied across to the laptop in under a second, allowing us to see and adjust as we go. This also meant there was triple redundancy in case of the very low chance of both SD Cards failing.

The third was something I wanted to do for a while, I was going to bring some post-it notes to stick on the walls with 1, 2, and 3 marked on them. The model would be asked to make a pose and look towards each marker. This would keep a consistent eye line between each set of shots. This would have worked too if I had remembered the post-it notes…. I just asked the models to pick three points and stick to them. Next time I will bring a big pad of them with me!

Having shot in this studio before the set up was very quick and I was ready to shoot in minutes.

Having shot in this studio before the set up was very quick and I was ready to shoot in minutes.


PAT ELLE

Pat Elle was first and we ran through a few standard portraits before Pat changed into a very colorful wrap. After a few poses, I asked Pat to spin the wrap around to create more movement. At no point was the paper roll harmed in the making of these shots, although it did at one point have my handprint on it. Must have been some left over hand sanitizer. Makes a change from finding glitter all over the camera.
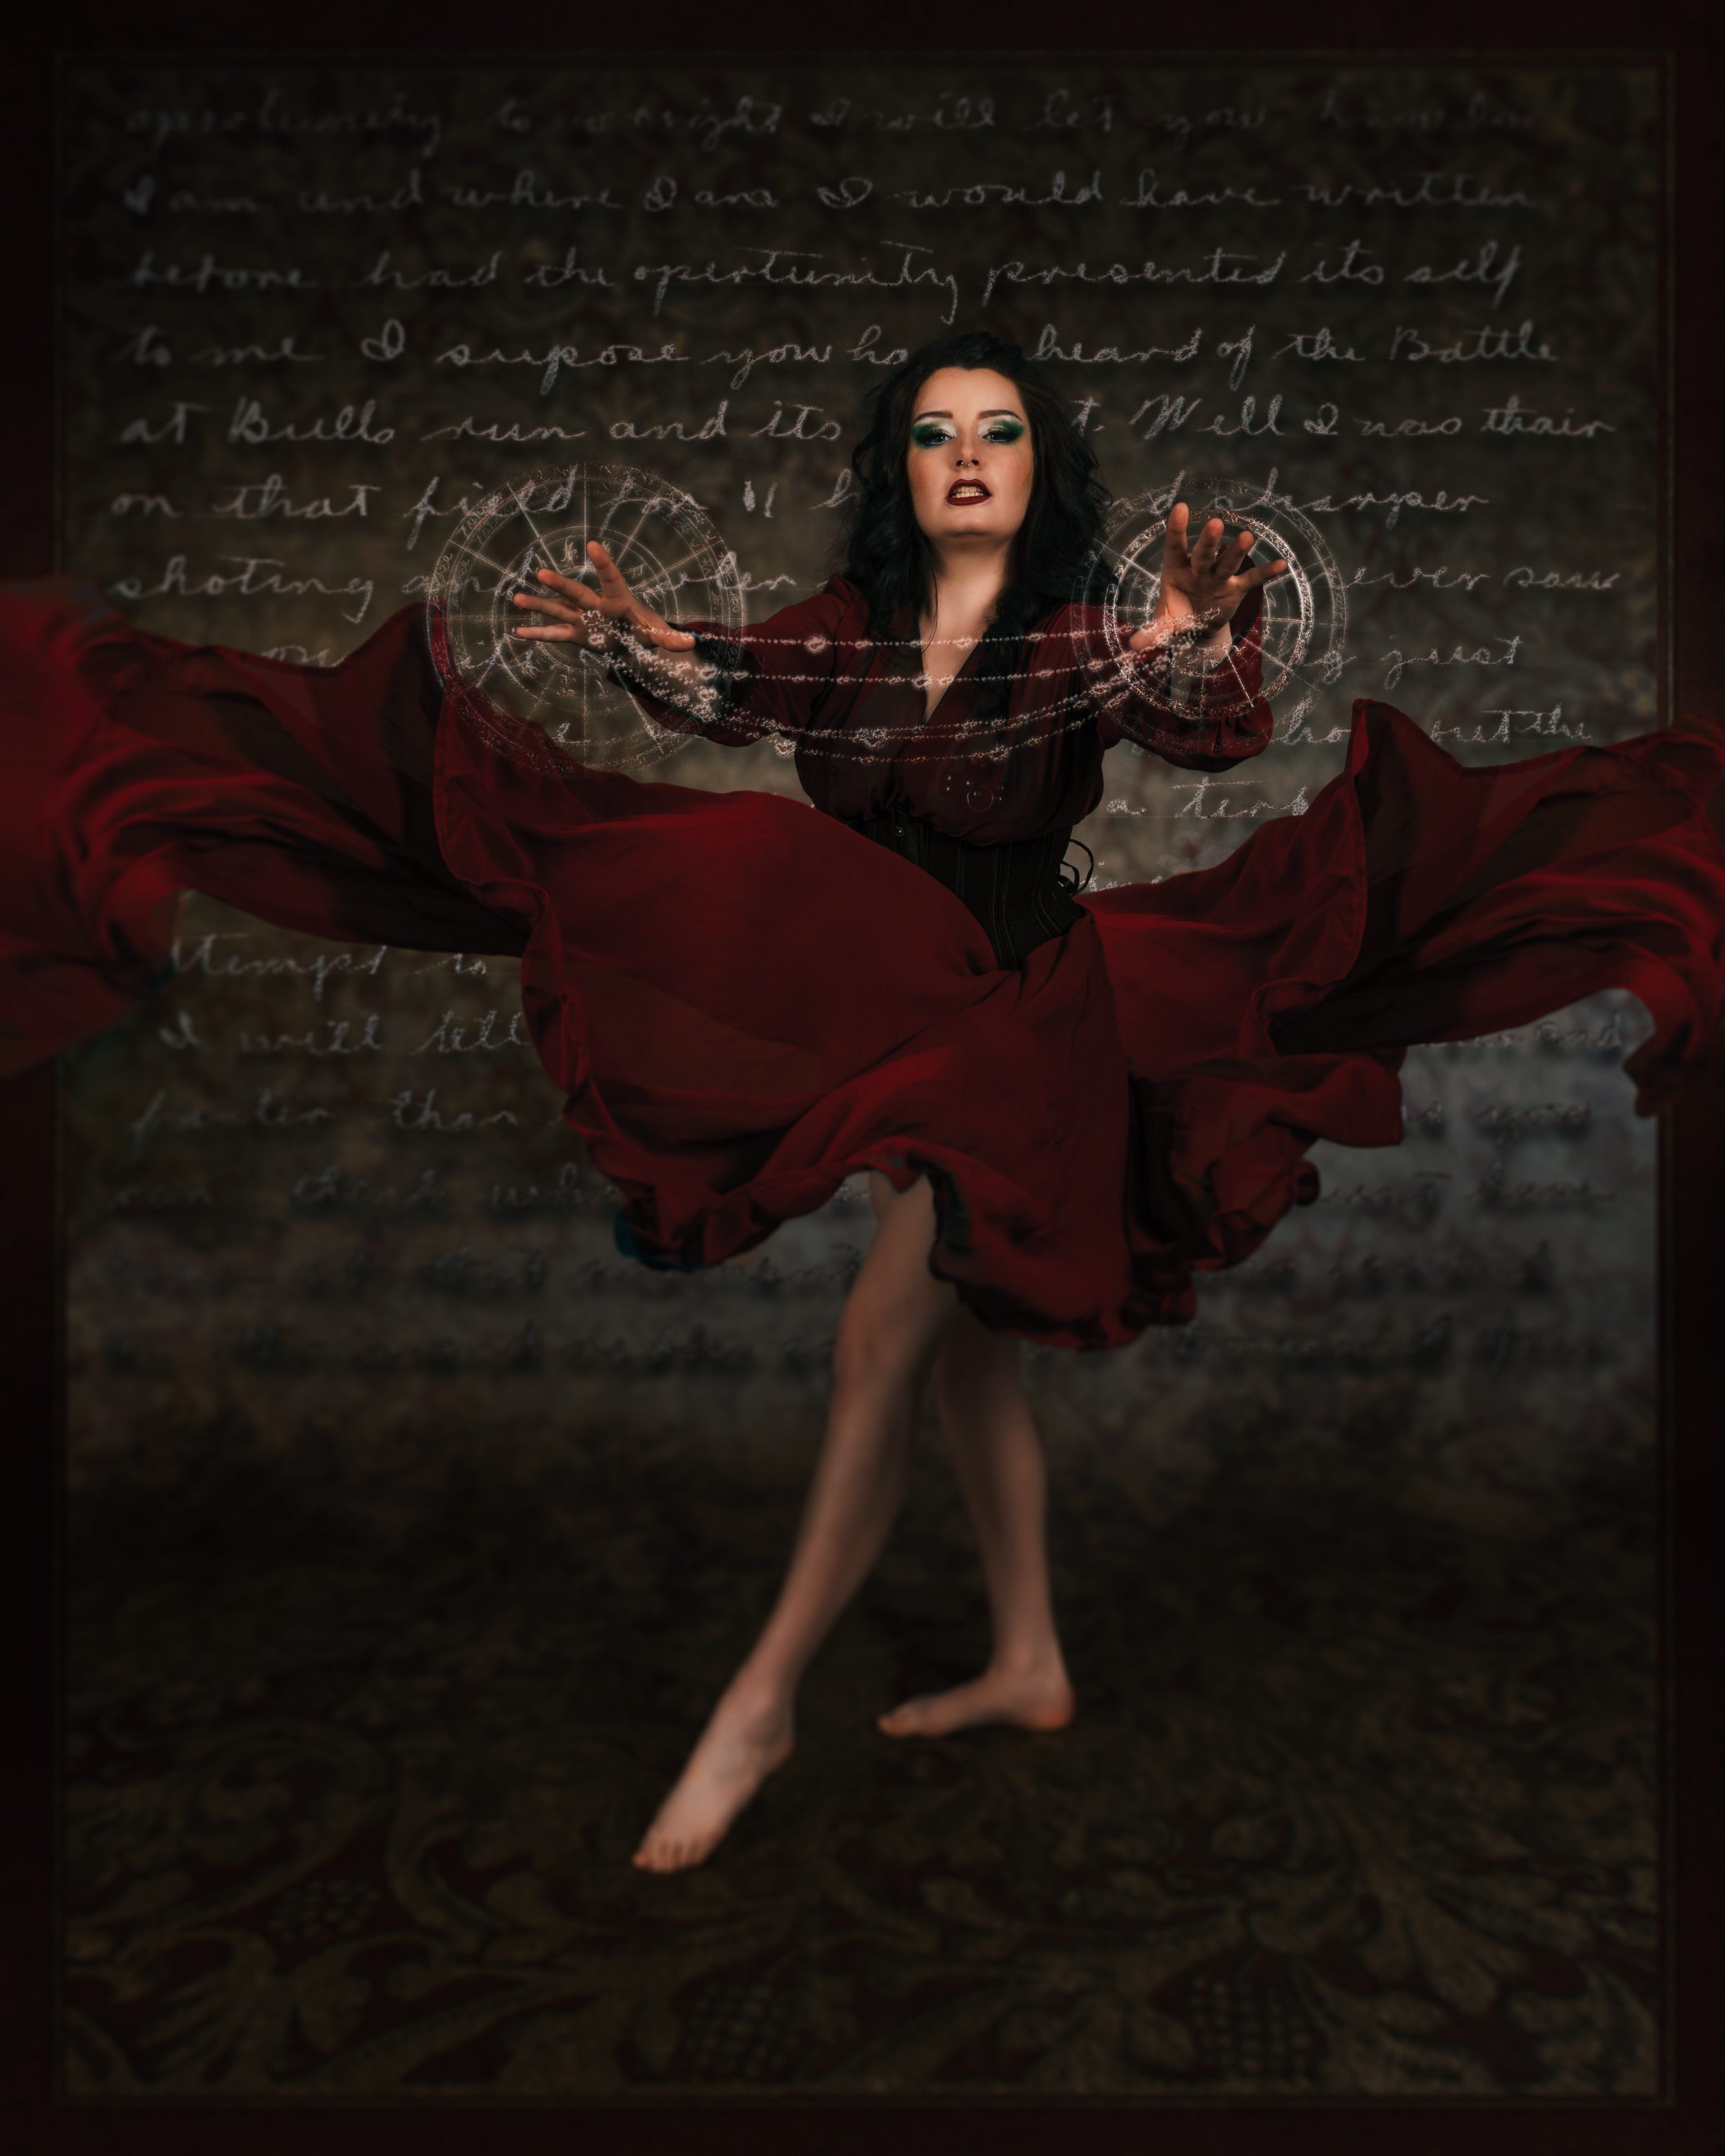
Red, green, and black outfits were next! Again with lots of dance moves created some fantastic shots. I was worried that Photoshop would have trouble picking out the black and gold wrap from the background in post-production but as it turned out it did a very good job. As you will see later.

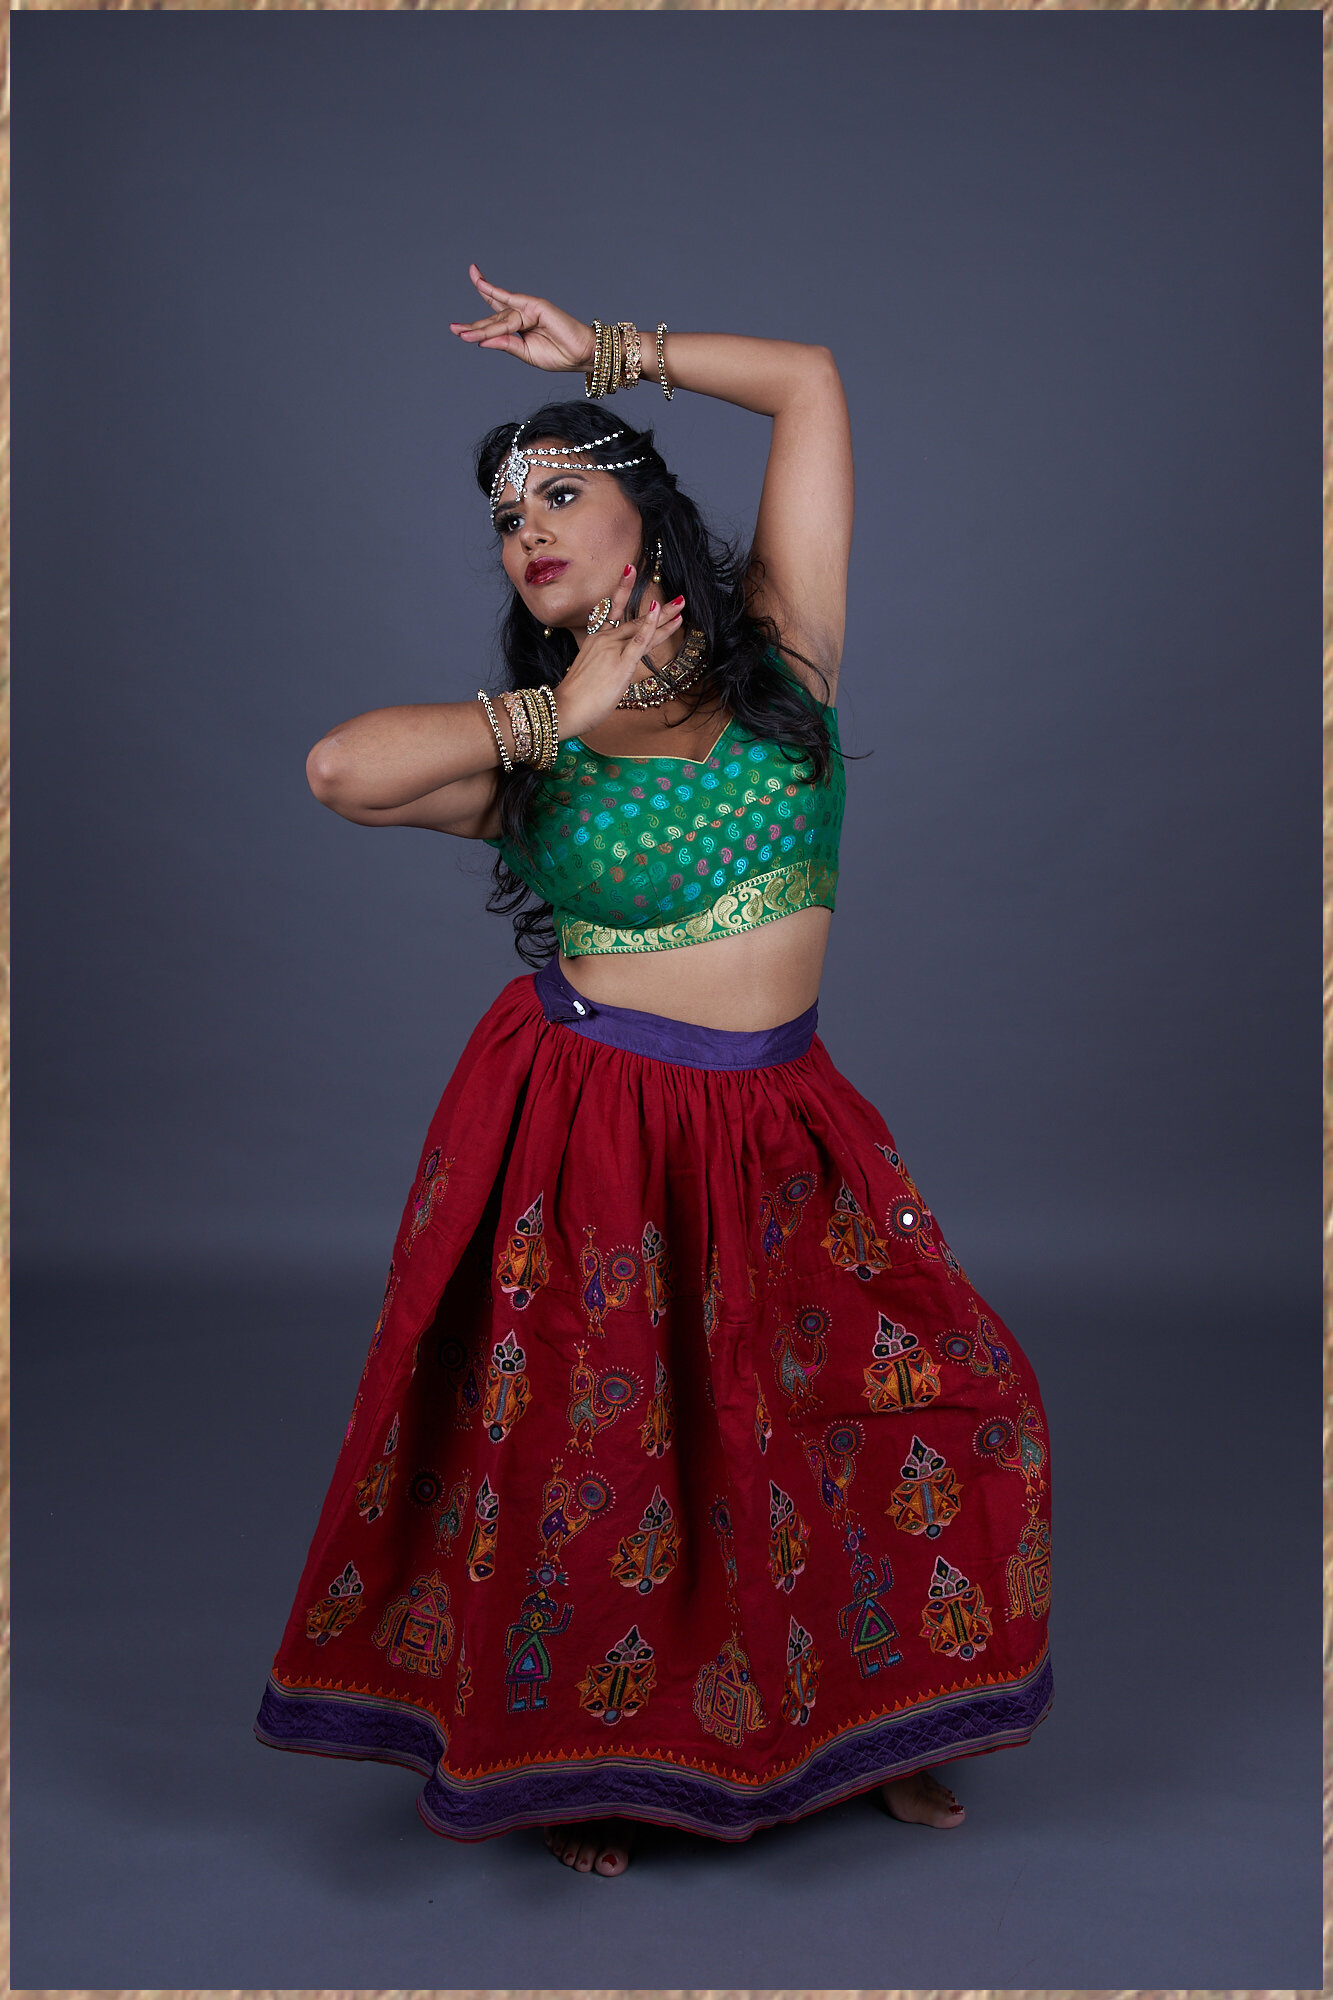
Pat Elle: Debuting last year, With acts hotter and spicier than a vindaloo, more colourful and vibrant than the Chandni Chowk Market in Delhi, and with more sparkle than a wedding sari.

Taking inspiration from risque Bollywood and Arabic movements, her style oozes Bollywood glamour with a touch of British cheek.

See more on Instagram at https://www.instagram.com/pat__elle/


VIOLET DELIGHTS

Next up was Violet Delights who came complete with a space-age style corset. I initially thought the shiny material would play havoc with lights but turned out quite well. I used to use a green screen and that colour seems to coat any shiny surface. I had an idea for a background for these images while shooting and made a mental note to include the idea in the edited shots.

Amber Sargent.15-10-20.003_wowm.jpg
Amber Sargent.15-10-20.025_wowm.jpg

Next was a Sims inspired character which in turn inspired me to add some recognised iconography on the resulting shot. Violet also displayed some fantastic rubber glove balancing! This was only our second attempt to get both gloves to stand up and we nailed it.

Amber Sargent.15-10-20.080_wowm.jpg
Amber Sargent.15-10-20.166_wowm.jpg

Violet Delights: Violet Delights is a London based neo-burlesque performer. Prepare for silliness, sass, and a sizeable ass. Violet loves to turn feminine archetypes on their tits and dance the line between sexy and ridiculous.

See more on Instagram at https://www.instagram.com/itsvioletdelights/


JAMBOREE JONES

I have seen Jamboree perform a couple of times, one such performance ended with a liberal amount of milk making an appearance all over the stage. I didn’t think it would be a good idea to spray a nutrient-rich dairy product around the studio when there was a lot of electrical equipment nearby! Jamboree had brought along a couple of fans instead. I do like fans and these were not large so they were perfect to frame Jamboree as she posed. Which again gave me an idea for one of the edited shots.

Following on from the fans we had a very regal outfit and cape which, like Pats wrap, I asked for it to be swished around to create depth and movement. Finally, Jamboree changed into a magicians outfit, think the trousers may have pulled a disappearing act… lol

Jamila Dixon.15-10-20.110_wowm.jpg

Jamboree Jones:

See more on Instagram at: https://www.instagram.com/jamboree_jones_official/


It was so good to get back in the studio and I hope I get the chance to again soon. I spoke to the ladies and they were all having a tough time choosing their favourites, to me that just shows that we all did a good job in creating great shots.

I now have a lot of material to be getting on with but will be doing this again at the earliest opportunity.

You can see the edited shots here.

If you would like to shoot with me at the studio then please register your interest using the Contact page.

Thanks!

Dark Portraiture - A new step in editing

Maybe it is the lockdown that has affected my work but the other day I was going through several studio shots which were taken in February at the end of last year and I thought to myself, as no one else would listen, how could I make these better?

Below you can see the studio shot, both Captain Bang Bang and Stormina Teacup are standing on plain grey roll paper. I prefer using plain roll paper as it is easier to add different backgrounds when I like in post. The right-hand photo shows the finished shot, a single spotlight and a slight blur to the digital background to add some separation.

Studio shot

Studio shot

Added background and lighting

Added background and lighting

Clocktopus - 008_1_wowm.jpg

Directional Light

The directional light, coming from the top of the frame lights up part of the background but stops at the centre of the image. The layer that holds the lights in Photoshop is above the background as well as the iconography layer so it lights both. The light fall-off is soft to provide a slow fade rather than a harsh line of light.

Iconography Layer

The flat background is blurred out and iconography layer is added to spice up the image. This layer is a simple Photoshop brush provided by https://www.obsidiandawn.com of a cog with another layer on top with smaller cogs. Each layer has an independent pattern attached to it and separately blurred to create different depths of field.

Shadows Layers

The shadows layers consist of a vignette around the whole image, a dark gradient from the bottom of the frame upwards, this is to control the light to remain in the centre of the image.

There is also a dodge and burn layer to darken areas between the steampunk clad sirens and lighten the skin as well.

Additional Layers

There are a couple of other layers that control the ambient colour. Additional selected sharpening is completed in Capture One editing tool.

This style of editing really struck a chord with me… The lighting, iconography and directional light all came together and showed that there was a proper progression from the old style to the new.

I have produced several images in this style, some darker and some lighter than this inception image. You can see them here. More will be added over time.

Dark Portraiture - The Gallery

Dark Portraiture - The Gallery

A new style of portraiture has arrived. This was originally conceived when I wondered how I could better a shot from last years shoot with Bambi Bang Bang and Stormina Teacup. The resulting experimentation created the following images. Added iconography really sells the images as additional eye candy to frame the subject or to draw the eye towards the centre of the image.

Read More

TAKE MY MONEY!!! RAW file compression at last!

There are not many times I would shout 'TAKE MY MONEY!!!' at someone.

The first was when I discovered JPEGmini, I have saved 396 gigs so far because of that application and the other was when I saw the excellent black Friday deal which secured me a Sony A73. Since purchasing the A73 I have noticed my storage space being decimated. Each shot I keep is 24 meg in size. There is no ability for the A73 to produce a medium or small raw file like the Canon 6dmk2 could do for me. I could use lossy DNG compression but that really hits the quality of the image. So I am looking at either expanding my storage space or deleting images that didn't make the cut. I don't like deleting images in case I need them later. Technology and RAW editors will improve so maybe the raw files can be edited again.

So enter DotPhoton, this tool promises lossless raw image compression. Considering the fantastic result from JPEGmini I could not jump onto the web page to take a look fast enough. Using knowledge of the cameras sensor and some fancy quantum computing it will convert a raw file to DNG format and reduce the file down by 80% which is just insane. It retains the versatility of the RAW file and preserves metadata. It is also not a lossy format so full quality is retained. However, I was sad to see there is not a Windows version of the software yet and no online conversion service so as of yet I cannot use it.

However, I did get talking to an online chat called Boris. These chatbots are usually Ai that can answer basic questions but it out Boris is real as I could not imagine an Ai being that articulate. I mentioned that it looked an amazing product but was unwilling to commit the images without a test first. Even the free version is MAC only. However, Boris offered to convert a couple of images for me to test out. I haven't moved so quick in ages. I dropped a couple of images into a zip file, one from a recent photoshoot and the other from a music gig and sent the link via Dropbox to Boris.

It wasn't long till Boris had a link for me which I immediately downloaded and unpacked. I opened the photo-shoot raw and the new converted version as layers in Photoshop and set the new version as a different layer to see any changes, a sort of digital spot the difference. There wasn't any on both images. This was when I typed in the chat 'TAKE MY MONEY!!!' but with the caveat of when the Windows version arrives.

Original

DotPhoton

I did notice a slight difference in the colour of the paper background of the when viewing the new file in Capture 1, only slightly though and mentioned this to Boris. This is due to the way that Capture 1 reads and displays DNG files which hopefully can be resolved. The colour change was easily corrected though so I am not worried about it yet. So on to the file size reduction. Both files were 24 meg in size yet they came down to 7 an 9 meg a saving of 60-70%... A recent photo-shoot topped out at 18 gigs, if all the files came down by 70% the resulting folder would be only 5.6 gigs.

Original

DotPhoton

I know storage space is cheap but to me, this is no contest. Time will tell though as more testing on various shots will be needed but if successful I will be one of the first to kick the door down and throw money at DotPhoton.

Photo: Roman Ackley / DOUBLE GUINNESS WORLD RECORD HOLDER INTERNATIONAL CABARET & CIRCUS PERFORMER

Vincent Flatts Final Drive : Half Moon - Putney - 4th February 2020

Half Moon - Putney

4th February 2020

Imaginem Phantasticam

Imaginem Phantasticam

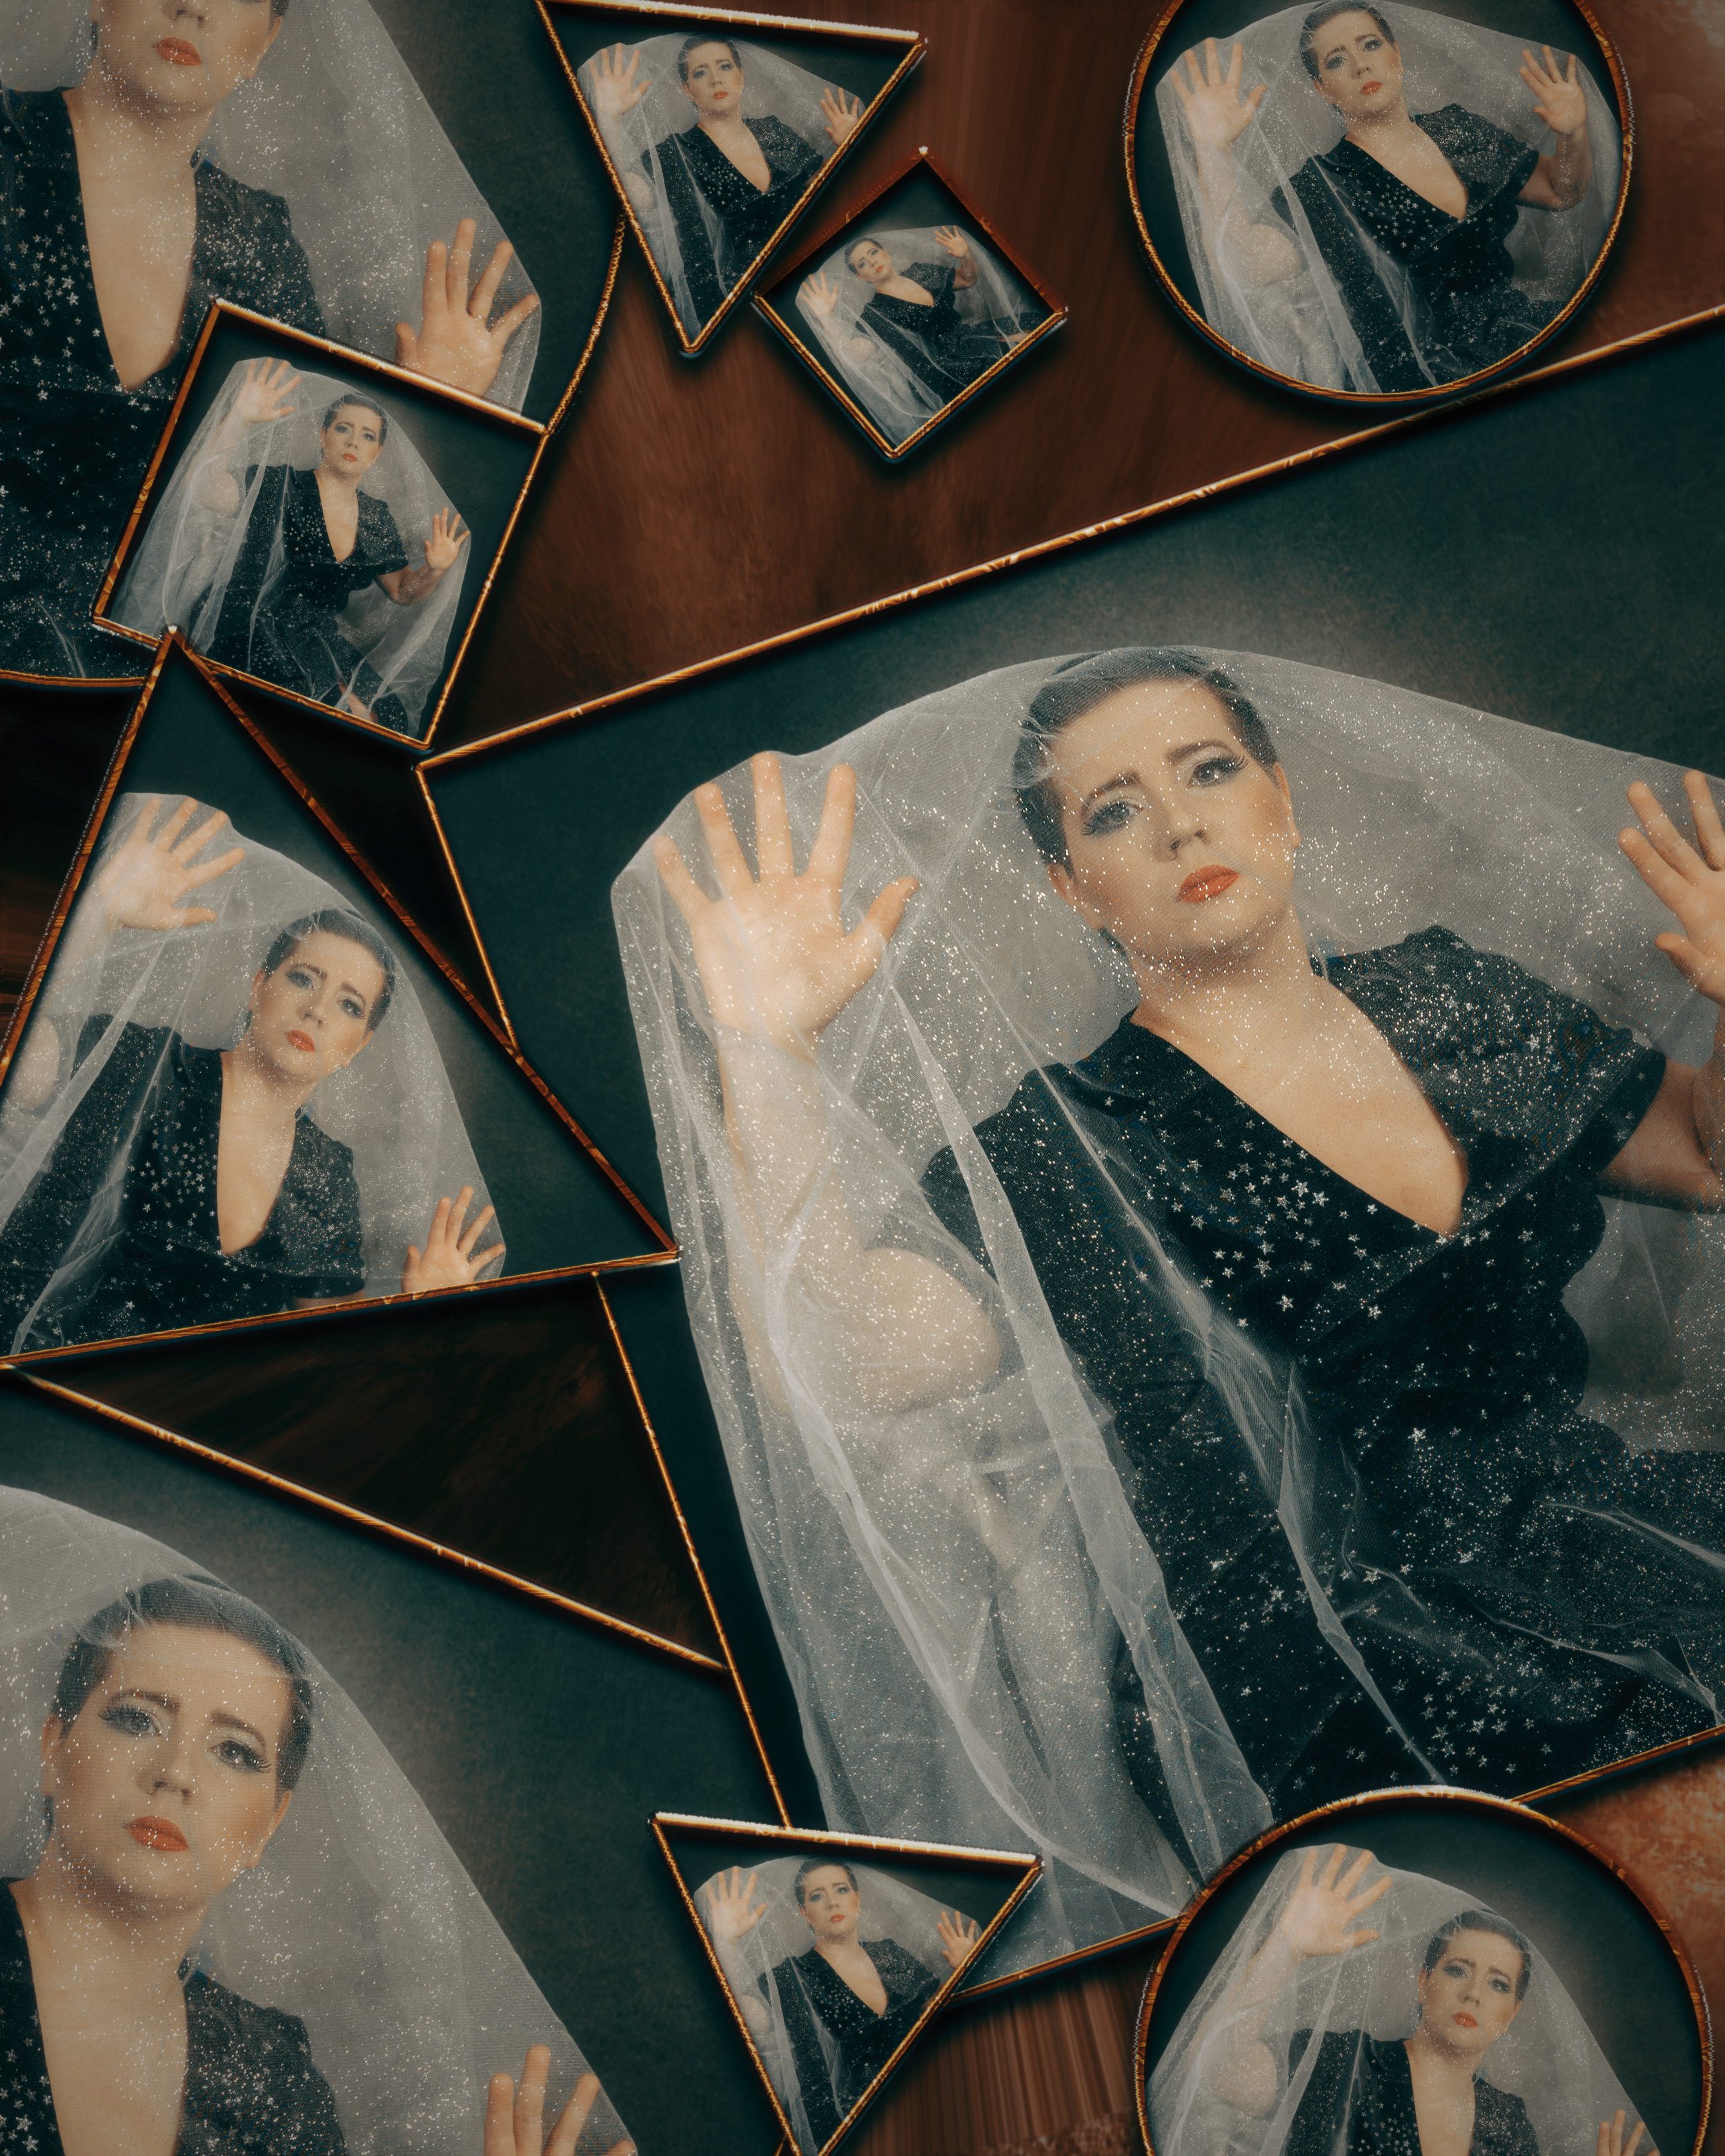
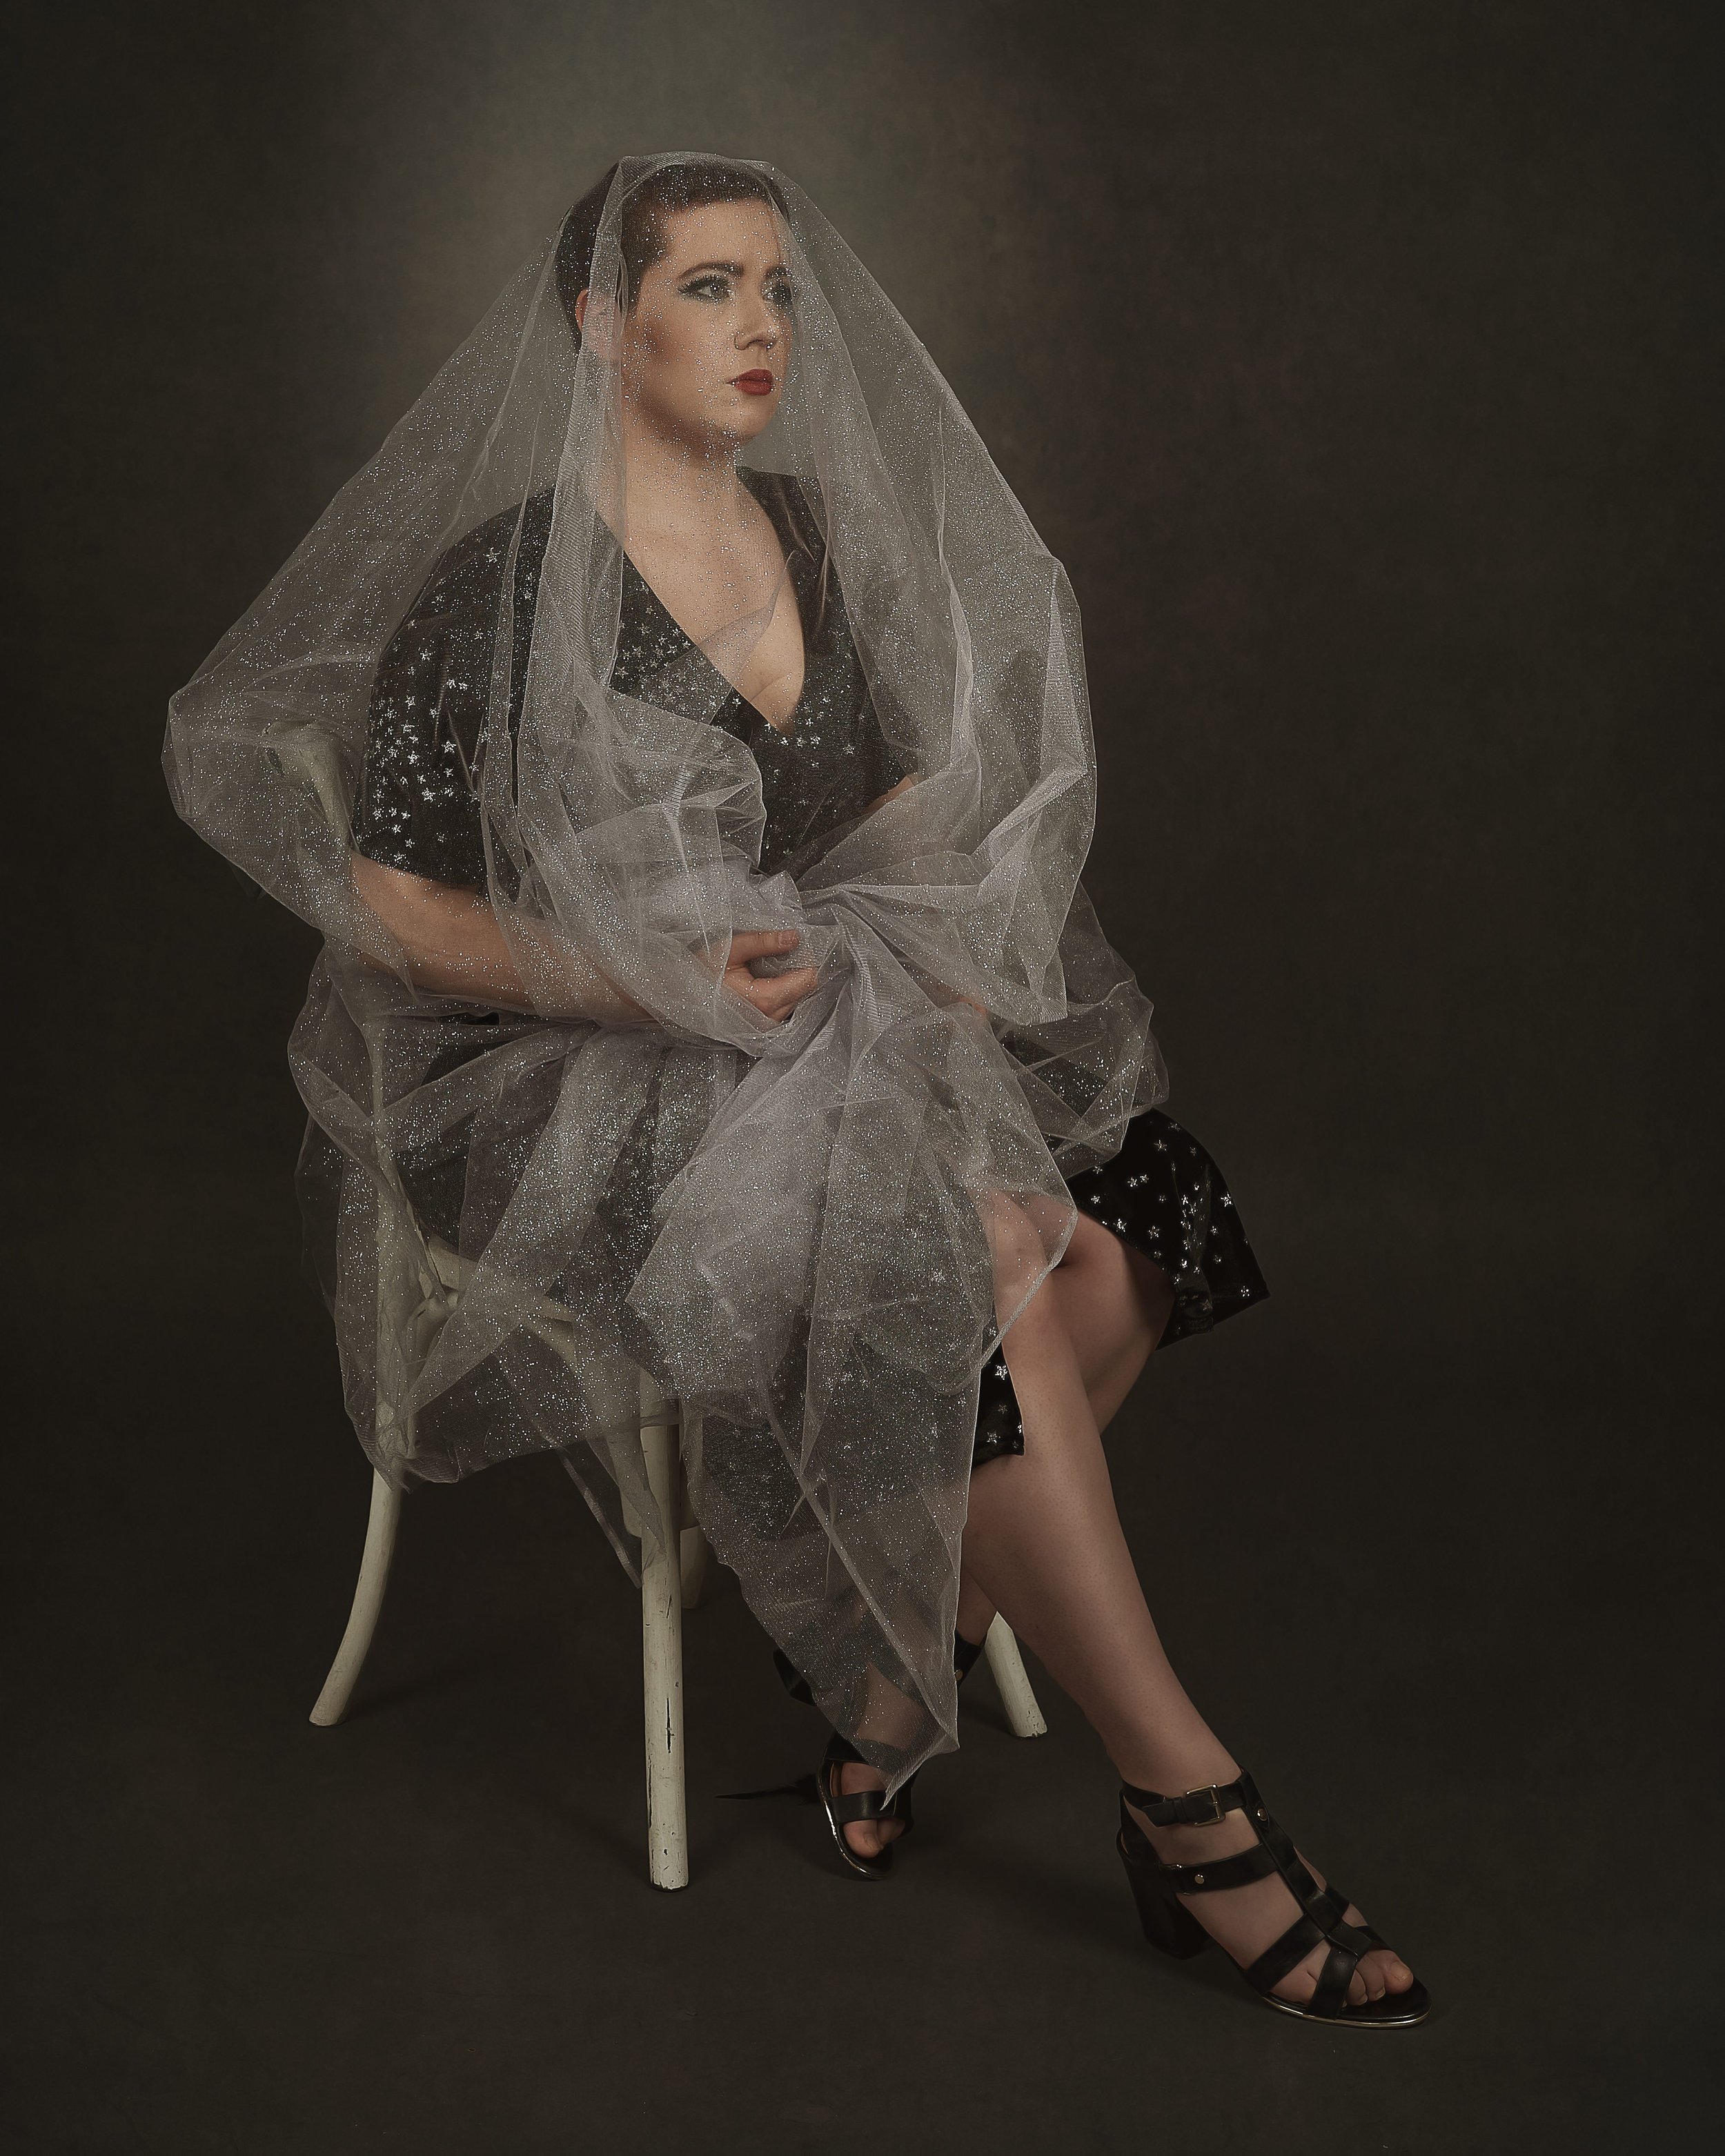
These are recent project work centred on creating art similar to an old paintings like Sir Peter Paul Rubens, OK it is a bit of a stretch to compare my work to a Flemish artist living in Belgium but there are some similarities. This type of portraiture has hit a spark with me and I want to continue doing more of these.

Read More

Boudoir Bambi!!

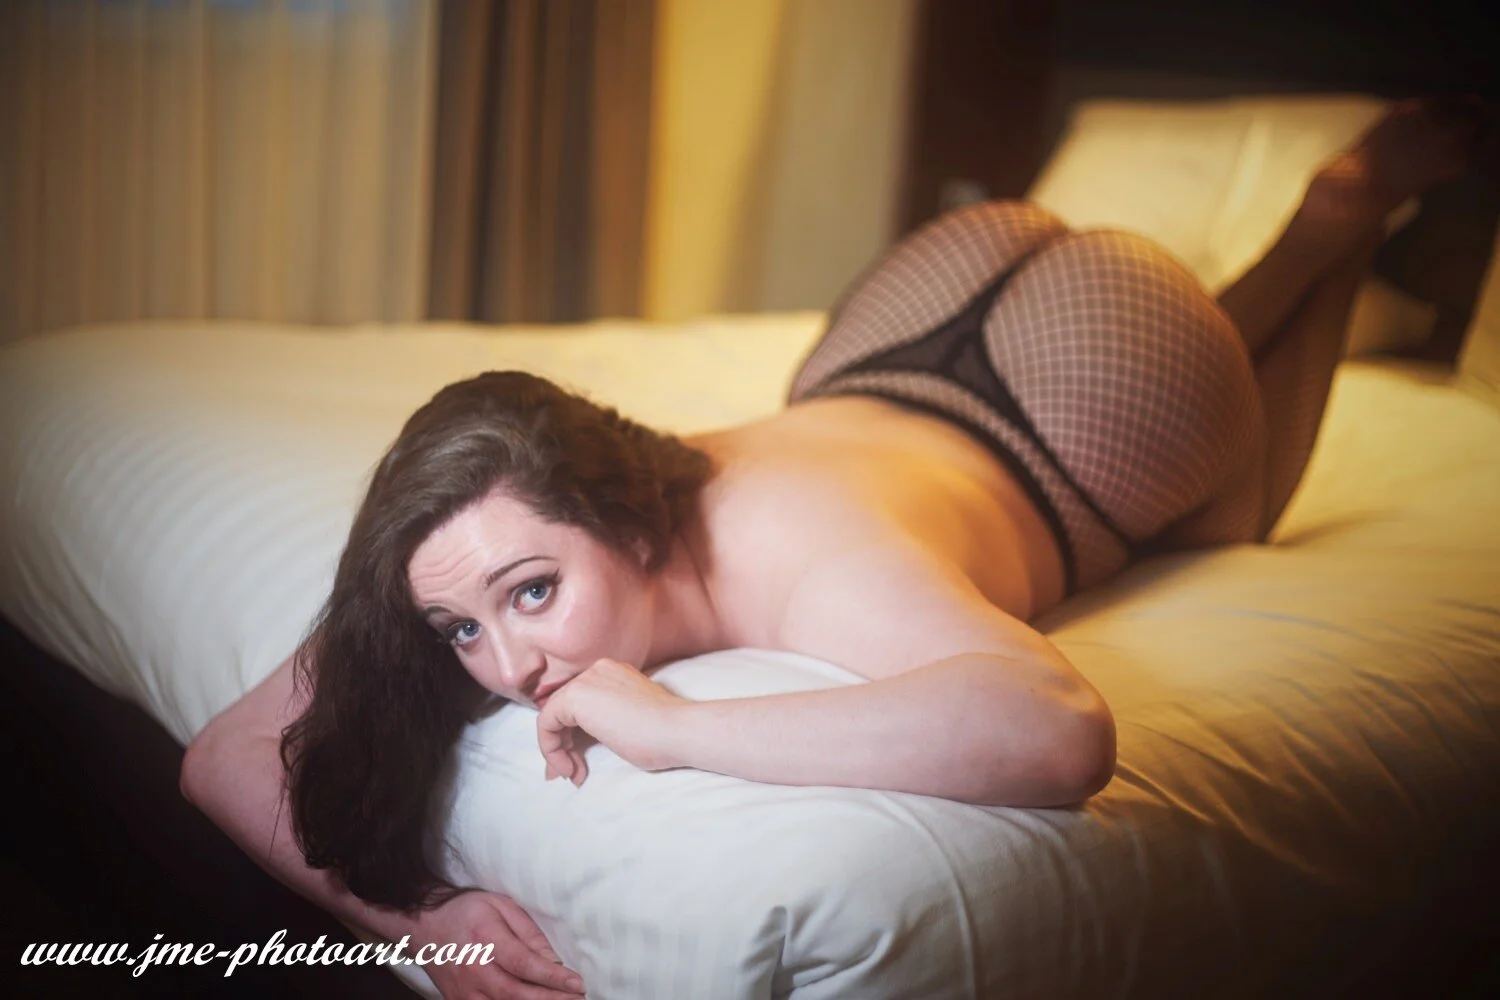
For a long while now I have been wanting to do a boudoir photo shoot but never got around to it. So new year means new horizons and new opportunities, so why not try it? I had a great tip to use a hotel room on a ‘day use’ purpose rather than an overnight stay.

I selected a hotel in London for a decent price and booked a room from 10-6. I had already discussed the shoot with Bambi Bang Bang a few weeks before so we were all set. On entering the room I was surprised as it was a little smaller than I had hoped, there were tea and coffee making facilities but they were not going to be great as props in a shoot like this.

I had bought my Sony A7III along with my 85mm f1.8 lens as well as the Canon 24-105mm f4 and 50mm f1.8. Both the Canon lenses were mounted on the Sigma MC-11 Adapter.

Bambi and I had a look around the room along with the bathroom and decided the bed would be a good start. It was at this point I mentioned the ‘rotisserie chicken’ method we would be employing. I explained I would first like Bambi to lie down on her front for a few pictures then roll on to her side and finally onto her back. (rollover like a rotisserie chicken…)

Yeah I know I forgot to flatten the bed cover….

Yeah I know I forgot to flatten the bed cover….

The above shot was one of the first we took. I had my Rotolight Neo 2 on the left side throwing soft light on to Bambi and the golden light above her is the just the light above the beds.

I will smooth out the bump with some elbow action…

I will smooth out the bump with some elbow action…

This shot is the continuation of the rotisserie chicken, same light setup as above. This is halfway chicken…

The chicken is complete.

The chicken is complete.

All the above shots were taken with the 85mm f1.8, because of the focal length of the lens it meant I had to be a distance away from the subject. At times it could have been better opening the door to the room and shooting from the corridor instead of being pressed up under the fire safety notification. If I had brought my Sigma 70-200mm f2.8 then I would have to have been back in reception to get a shot! ( which was down four floors…)

Bambi Bang Bang - 106.jpg

After this, we moved to the bathroom and a change of outfit. I was pleased to see we had a lot of natural light in there so switched to the 50mm f1.8 so I didn't have to be in the next room.

Bambi Bang Bang - 154.jpg

Making full use of the natural light while it lasted we moved to the shower to play with the plastic shower curtain, I brightened and bloomed both the above images to enhance the brighter light. ( and also to hide the wrinkles and folds in the shower curtain…)

Bambi Bang Bang - 116.jpg

I asked Bambi to lie down in the bath for the above shot, we did briefly discuss doing one of those half water submerged shots but we were losing light rapidly. We had lunch in the handy restaurant where there was actually rotisserie chicken on the menu! As the Gallus gallus domesticus had featured quite a bit I continued the theme by having a Chicken Burger while Bambi ordered Chicken with wilted spinach. No idea why the spinach had wilted… perhaps it had been out in the sun too long or hadn’t been as successful as other spinach…

After lunch, we had a brief rest and looked through the mornings work on my laptop. For the last hour, it was back to the bed for this excellent sequence of shots to round off the day.

Oh hi!

Oh hi!

Bambi Bang Bang - 2482.jpg

Considering this was my first boudoir shoot I think the shots came out very well! But… just as an outtake, I wanted a shot of Bambi looking into the mirror in the bathroom. It was going well until I noticed the way the mirror had been cleaned looked like a certain caped crusader had been there before us… what do you think?

Bambi Bang Bang - 263.jpg

Thanks very much too fantastic Bambi Bang Bang for helping me with this little project!

You can see more of Bambi on her Instagram @bambibangbanguk and also do check out her brilliant artwork at @doeeyedoodles !

New year, old location.

The first shoot of the new year so I thought we could go back to a favourite place of mine just south of Cousin Lane in London. Towards the end of this lane, you can keep going south and you will eventually find yourself knee-deep in the River Thames… if you keep going you will be neck deep.

I was clever and stayed dry by only walking down the steps to the beach. Today I was with Marquissa Darq dressed as a cross between Beetlejuice and the Joker, more on that connection later!

We started off walking to the east where I noticed there had been a lot of work done to shore up the beachfront since I was last here. We found a lot of clay pipe stems lying around but no bowls this time.

The green of the wall was a great contrast to the black and white costume Marquissa was wearing. We could not go too much further without falling into the Thames so I had Marquissa stand between two metal towers to frame her for the next shot.

Marquissa Darq - 023_wowm.jpg
Marquissa Darq - 047_wowm.jpg

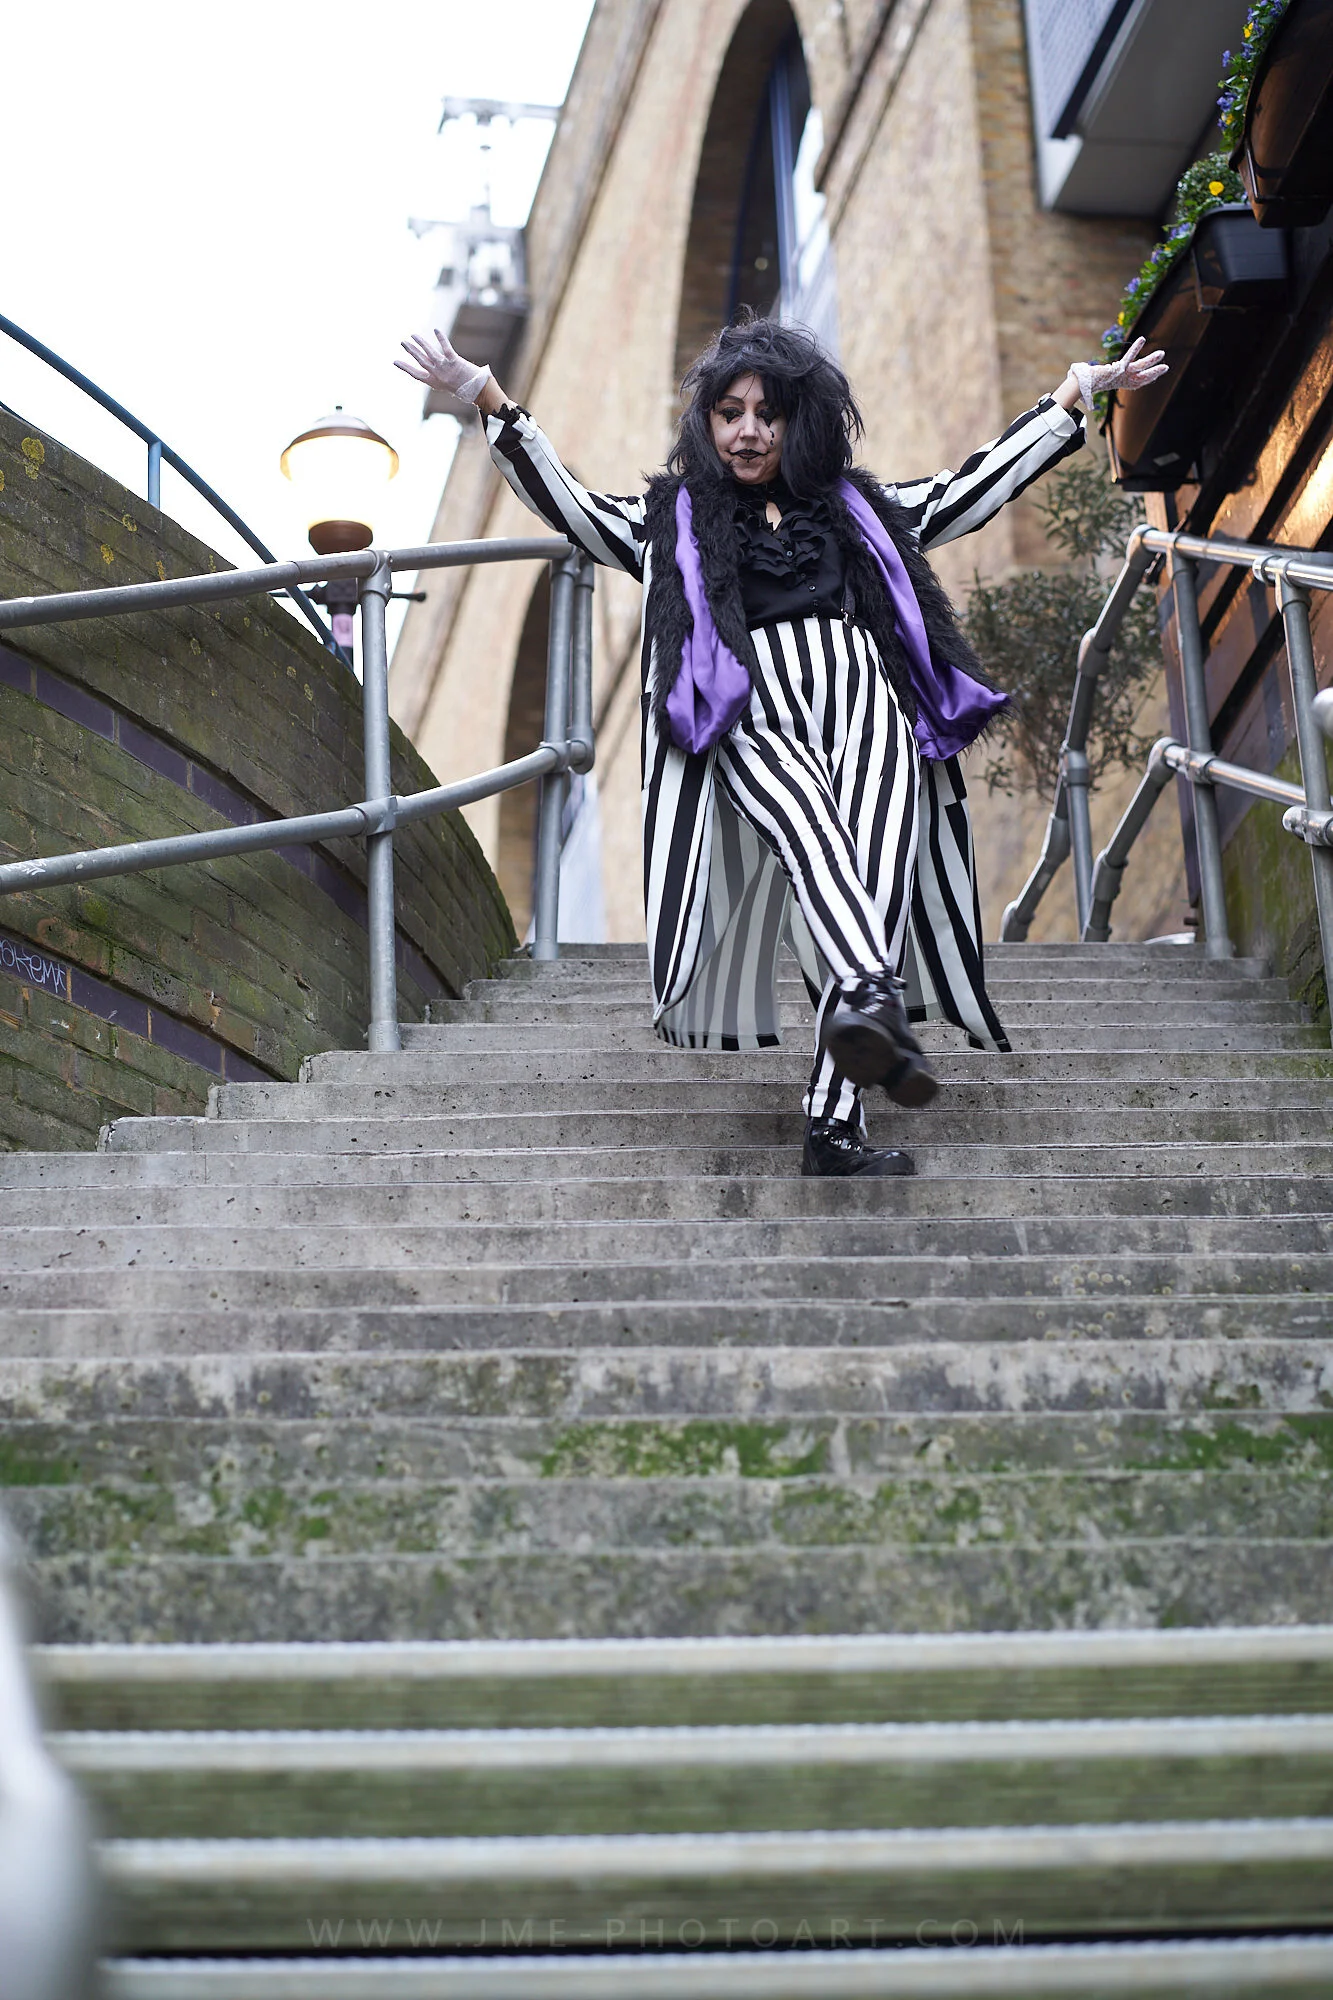
Now back to the Joker connection. Everyone by now must have seen the iconic shot of Joaquin Phoenix dancing on the stairs in New York, if not then just Google ‘Joaquin phoenix joker stairs’ so see what I mean. Well, I may have the equivalent here, so I present the Marquissa Darq Beetlejuice/Joker stairs!

Am I going to be responsible for hoards of tourists flocking to these stairs like they do in New York? No…probably not but Marquissa had fun!

Marquissa Darq - 116_wowm.jpg

After all that stair dancing Marquissa had to recline for a bit and do a few stretches before we moved on!

Marquissa Darq - 139_wowm.jpg
Marquissa Darq - 128_wowm.jpg

After a couple, more at the stairs, we moved on the rusty barge which is right next to the stairs. Last time I was here I was using this to shelter under from a sudden hail storm! No such weather this time luckily. The barge and the wall make a great corridor for the next shot, here again, I noticed the timbers on the wall had been replaced since last time. Seems a bit of urban renewal has been going on.

Marquissa Darq - 202_wowm.jpg

Love this final shot of the day, the depth of field using the Sony 85mm f1.8 lens is very apparent here and the A7iii Eye detect worked so well on this shoot!

Marquissa Darq - 291_wowm.jpg

Thanks to Marquissa for the shoot and the chat in Starbucks afterwards!

The Snow White effect

The last shoot of the year for me so I took along my new Sony A7III and Sony 85mm f1.8 lens to try out in a portrait scenario. I contacted ZeeZee Stardust to see she was available for a quick shoot so we met up at Mile End Park.

We started with a few simple shots so I could get the feel of the lens and the awesome eye detect feature of the Sony A7III. The 85mm at f1.8 produces a fantastic depth of field so I wanted to try out some shoot through shots, shooting through branches and shrubs we found along the route.

Now where is the squirrel?

Now where is the squirrel?

Nope no squirrels here either….

Nope no squirrels here either….

I bought the Sony A7III along with the Sigma MC-11 adapter so I could still use my Canon lenses. One of which I had with me on the shoot to test out was the 10-20mm f3.5 Sigma wide-angle lens. This lens is for a crop sensor camera so when fitted the A7III drops into crop mode automatically. This reduces the megapixel count from 24megapixels down to 10megapixels but that is not something I am worried about. The fact I can use this lens and all my other Canon lenses is fantastic!

This allowed me to get this shot of Mile End lock and surrounding buildings.

Mile End Lock - A famous place with no squirrels….

Mile End Lock - A famous place with no squirrels….

Further along the towpath, whilst dodging a few people on bikes we arrived at a bridge. We knew this was a bridge as whenever a jogger approached they would shout ‘BRIDGE!!’. Now, this was either to alert any bikers that there was a fully informed jogger with knowledge of bridges in the vicinity or that this particular jogger liked to shout out things while passing them, like ‘BRIDGE!’, ‘DISCARDED BOTTLE OF BEER!’ and ‘FISH!’. However, none of them shouted ‘SQUIRREL!’.

‘BRIDGE!!’

‘BRIDGE!!’

This under the ‘BRIDGE!!’ shot is one of my favourites from the shoot. The sun was reflecting off the water onto the brickwork so I asked ZeeZee to stand on the other side to balance the composition.

ZeeZee Stardust - 076.jpg
ZeeZee Stardust - 121.jpg

Moving further down we encountered a flight of stairs, these can be great as they produce a natural frame for the subject as they move up and down the steps. Past the stairs, the park spaced things out and there wasn’t much around. I did notice the long shadows at this time of day so asked ZeeZee to walk away from me in the middle of the path and then look back.

‘Squirrel!!!’

‘Squirrel!!!’

And then this happened… ZeeZee called it the Snow White effect. For the second time in our shoots, as we entered a wooded area, we were surrounded by seven squirrels… You could not make this up… If this keeps up I will have to bring some peanuts with me as one of the squirrels had the wrong idea and scampered up my leg….

After which we retired to the Rusty Bike Pub just up from Mile End tube station… I had Chicken Katsu Curry which was really nice!

Many thanks to ZeeZee Stardust for helping with this shoot! You can follow on her Instagram.

Burlesque Studio Work!

And it is back to the studio for more experimenting with some Burlesque friends!

I had booked another 8 hours at the studio and this time had in mind to add a few things to the shoot. Last time there was an issue with the third party remote trigger not functioning with the Canon cameras Live View mode. I had a massive headache after last time from composing shots through the viewfinder so I was determined to make it work this time. Searching through the menus and a quick check on the internet found the solution.

When I shoot Cabaret shows I have the shutter sound as silent as possible. It is not completely silent but it does reduce the noise a great deal. However, this has been set for Live View mode as well and needs to be switched off for third party flash triggers. This worked a treat so no more headaches for me!

EOS-80D-EN_disable-silent-1.jpg

The second change was to bring my laptop with me and start using tethered shooting. I could connect up my camera to the laptop and have Lightroom open and display the shots, full screen, a couple of seconds after the shot was taken. I could also have a preset added as the image came in to add saturation and a little exposure compensation too. Lightroom would also build previews in the background as we were working so when I got home I could easily transfer all the data to my main pc for further processing.

This set up was great for me and fantastic for the performers as it allowed them to adjust a pose without having to come to see the shot on the back of the camera.

So first up we had Dusty Boudoir! I have shot Dusty a couple of times for Madam Krumpets and Afterdark Cabaret shows so it was good to meet her in person.

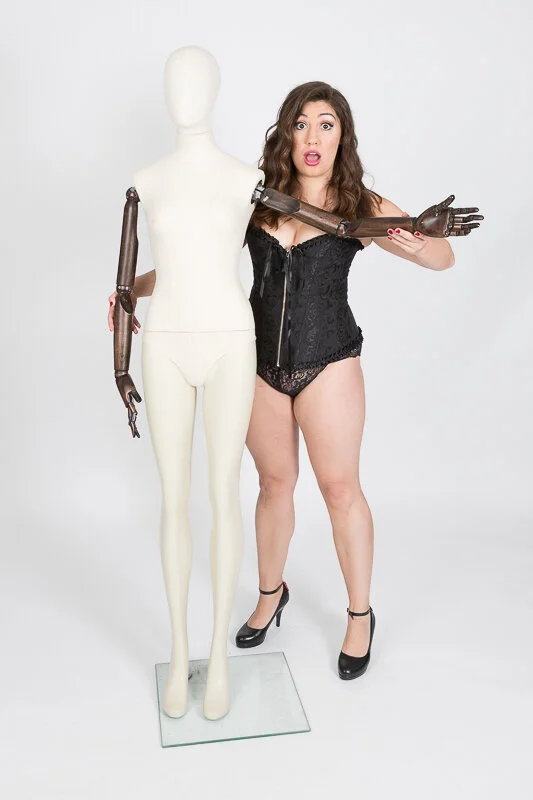
We started with some lingerie where we also employed the help of a small white chair, we employed the floor for the shots with a flowery dress and a fruit patterned bikini, then we enjoyed the stylings of a strange mannequin for the final shots.

Black Lingerie - 035.jpg
Blue White Dress - 078.jpg
Manaquin - 001.jpg
Bikini - 045-Edit.jpg

Next up we have the trio, Belle De Beauvoir, Roxy Van Plume & Sebastian Angelique of Ménage à Rouge. These three are insane…

We started quickly with red costumes with flying red trim which we tried to capture. This is the final shot with added swirly lines in the background.

Charlston - 051.jpg

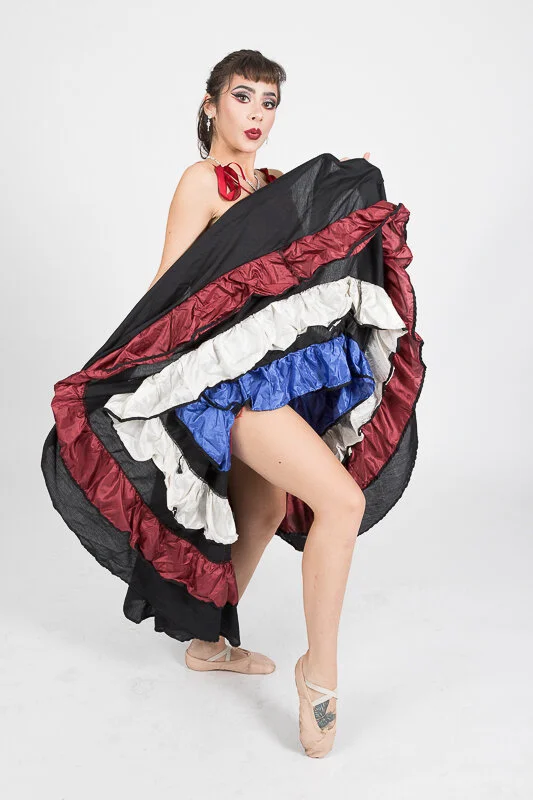
This was followed by some hysterical Can-Can moments with some high kicks!

Can Can - 006.jpg
Can Can - 009.jpg
Can Can - 019.jpg

We then shot individual sessions for each of the trios acts.

Belle - 065.jpg
Roxy - 001.jpg
Sebastian - 006.jpg

The session ended with what I can only describe as ‘desecration of a mannequins head…’

The time with Belle, Roxy and Sebastian flew by but I made a mental note to use an application called Flame Painter to draw out some lines for the shot above and for this fantastic picture of Belle De Beauvoir.

Belle - 102-Edit-Edit-Edit.jpg

After the trio of insane performers left another bundle of fun arrived, Ginger MisDemeanour!

We had several outfits planned and we had been asked to finish a little early so we raced through the outfits. A red and black feather boa made appearances in the shots too!

Dress and Boa - 013.jpg
Dress and Boa - 021.jpg
Blue Lingerie and Red Boa - 008.jpg
Red Latex - 016.jpg
Clown - 006.jpg
Lingerie and Boa - 070.jpg

In all each session had just over 300 shots done, give or take a couple of outtakes this leaves then with a lot to choose from!

The day went well and I will definitely be returning with the tethered shooting setup as it was so helpful!